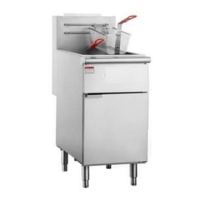
KINTERA FLOOR MODEL GAS FRYERS OWNER’S/INSTALLER MANUAL
Page 12
Owner’s/Installers Manual Rev 20180822 For Warranty Service Call 866-909-2855
Do not restrict the flow of gas. Use only commercially approved gas appliance
connectors OR Flexible Hoses! Non-commercial connectors or Flexible hoses will
O
PERATION
Lighting
IF YOU SMELL GAS DURING THE LIGHTING PROCEDURE, IMMEDIATELY SHUT OFF THE GAS SUPPLY
UNTIL THE LEAK HAS BEEN CORRECTED!
Open the burner compartment door and do the following:
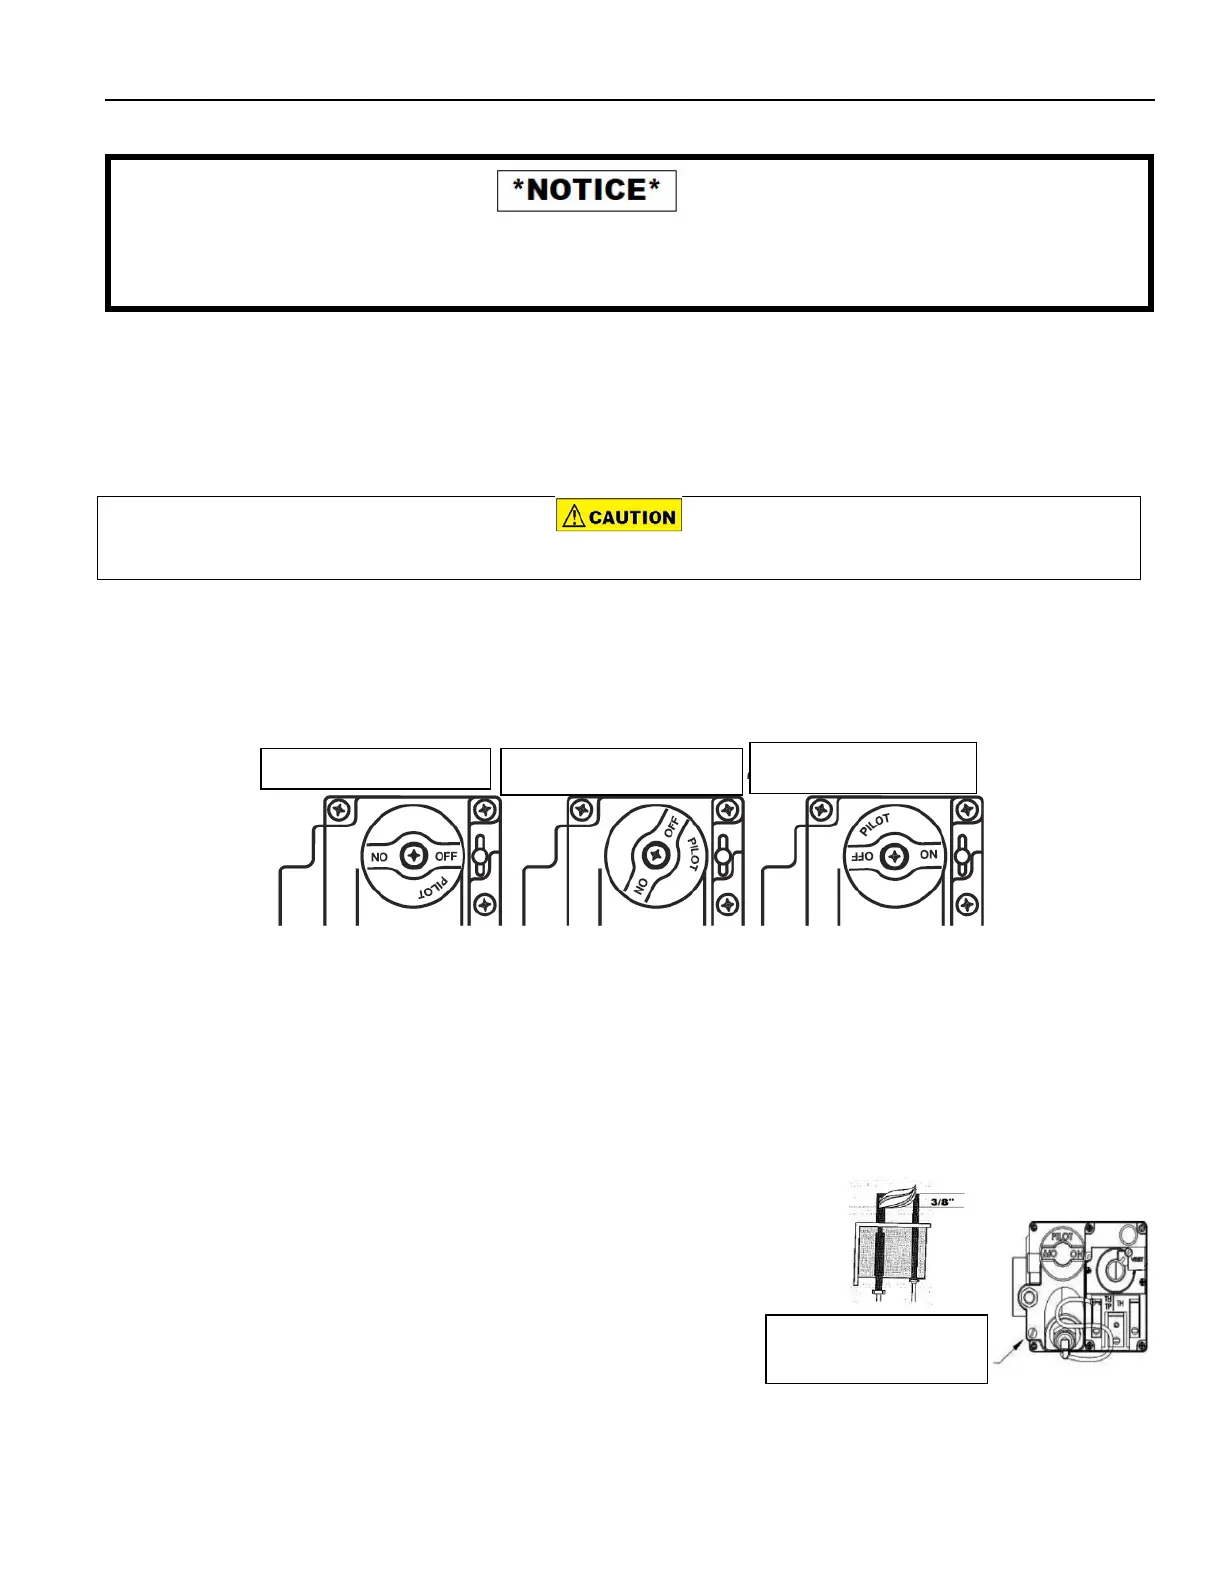
1. Turn thermostat to “OFF”
2. Press down the knob of the combination gas valve, turn it counterclockwise to the “PILOT” position
(shown), and continue to press the knob down.
3. While pressing the knob down, use a lit match to ignite the pilot. Continue to press the knob down for
about 30 seconds. If the pilot does not stay lit when the knob is released, repeat the lighting
procedure and keep the knob down longer. Adjustment of pilot flame may be necessary.
4. When the pilot stays lit, turn the knob counterclockwise to the “ON” position. Do not press down on
the knob in this step.
5. Do NOT turn the thermostat “ON” until the frypot is filled with oil or solid shortening.
6. Once the frypot is filled with shortening, set the thermostat to the desired temperature.
Pilot Burner Adjustment
1. Remove pilot adjustment cap.
2. Adjust pilot key to provide properly sized flame on the thermopile.
The flame should cover the upper 3/8” of the tip.
3. Replace pilot adjustment cap.
Pilot adjustment
Under this screw