Do you have a question about the Kirby Heritage II and is the answer not in the manual?
General guidelines for operating and maintaining the Kirby Heritage II vacuum cleaner.
Summary of the 5 Year/2 Year limited warranty coverage and terms.
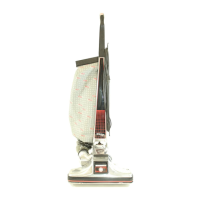
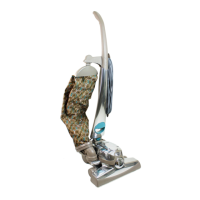
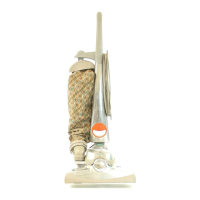
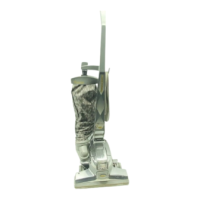
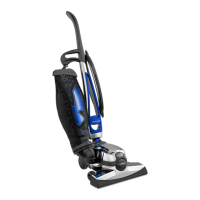
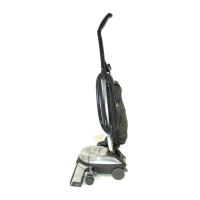
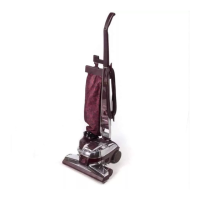
Detailed list and diagrams of all parts and controls on the Kirby Heritage II.
Instructions for using the flexible hose and extension wands for extended reach cleaning.
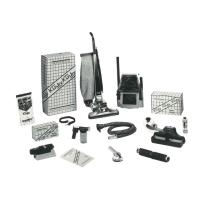
Details on using crevice, duster, utility, and surface nozzles for specific tasks.
Information on Kirby disposable bags and replacement belts for maintenance.
Essential safety rules and precautions for operating the Kirby vacuum cleaner.
Specific warnings related to electrical hazards and proper cord usage.
Prohibited uses and conditions to avoid for safe and effective operation.
Step-by-step guide for replacing the disposable filter bag in the Kirby cleaner.
Procedure for emptying and maintaining the optional reusable cloth filter bag.
Instructions for efficient carpet cleaning using the upright cleaner function.
Details on cord release, handle positions, and storage configuration.
Guidance on setting the correct rug nozzle height for optimal cleaning performance.
Instructions for fine-tuning nozzle height for specific carpet types or difficult pushing.
Recommended method for moving the cleaner for the best and easiest cleaning action.
Steps to convert the upright unit for straight suction cleaning of bare floors.
Explanation of the indicator light for brush roll operation and belt status.
Procedure to convert the Kirby Heritage II into a mattress cleaner attachment.
Guide on how to connect the flexible hose for above-floor cleaning tasks.
Explanation of the power indicator light's function and meaning.
Instructions for attaching various tools to the flexible hose for different cleaning needs.
Using the crevice tool for tight spots and the utility brush for surfaces.
Details on using the surface nozzle and utility air nozzle for various cleaning jobs.
Recommendations for properly storing the flexible hose when not in use.
Using extension wands for reach and the duster brush for delicate surfaces.
Using the shoulder strap for portability and the massage cup for personal use.
Utilizing the inflator/deflator for inflatables and the air intake guard.
Steps to reconfigure the Kirby for use with blower attachments and tools.
Procedure for attaching the flexible hose to the air outlet for blowing functions.
Instructions for using the inflator/deflator attachment for low-pressure inflation.
Guide on assembling and using the spray gun for liquid application.
Using the Suds-O-Gun for cleaning upholstery and fabrics.
Procedure for replacing the headlight bulb on the Kirby cleaner.
Cleaning and clearing lint, string, and hair from the rug nozzle brushes.
Common issues and checks to perform before contacting service personnel.
Adjusting the brush height for optimal cleaning and performance.
Diagnosing issues when the brush roll performance indicator light is not active.
Step-by-step guide for replacing the belt in the rug nozzle assembly.
Instructions for using the optional Rug Renovator for carpet cleaning and its maintenance.
Steps to prepare the Kirby Heritage II and attach the Rug Renovator base.
Guide on connecting the nozzle and tray components of the Rug Renovator.
Final assembly steps to attach the Rug Renovator nozzle and tray to the Power Plant.
Procedure for installing the fluid tank and connecting the hose for carpet shampooing.
Instructions on filling the tank with water and cleaner, and operating the unit.
Adjusting the renovator height and using the Stop Suds™ feature for effective cleaning.
Method for stopping suds flow to spot scrub heavily soiled carpet areas.
Instructions for cleaning the Rug Renovator's tray, nozzle, hose, and internal parts.
Procedure for replacing the belt on the Rug Renovator nozzle assembly.
Steps to assemble the Floor Polisher and Carpet Fluffer attachment with the Rug Renovator nozzle.
Guide on how to mount the Floor Polisher and Carpet Fluffer to the Kirby Power Plant.
Instructions for using the floor polisher for waxing and achieving a lustrous shine.
Using the carpet fluffer to raise and restore the nap on rugs and carpeting.
Procedure for replacing the belt on the Floor Polisher and Carpet Fluffer attachment.
Guide on how to connect and use various turbo-powered attachments with the Kirby.
Details on using the ZIPPBRUSH for deep cleaning carpets, upholstery, and hard surfaces.
Instructions for taking apart, cleaning, and reassembling the ZIPPBRUSH unit.
Steps for attaching the Turbo Sander to the hose and initiating its operation.
Proper techniques for sanding wood and polishing surfaces with the Turbo Sander.
Using the scrubbing pad for hard surfaces and the massage pad for personal use.
Guide on how to properly load sandpaper into the Turbo Sander.
Instructions for fitting and using the dust shroud with the Turbo Sander.
Overview of other Kirby cleaning solutions and supplies available for use.
Ensuring proper purchase from authorized distributors and maintaining serial numbers.
Detailed explanation of the limited warranty, exclusions, and limitations.
Information on the Kirby Heritage II Fire Plan and coverage for fire damage.
Warranty terms for repairs or replacements made under the Kirby Fire Plan.
Information about the availability of a VHS/Beta video for product instruction.
| Model | Heritage II |
|---|---|
| Type | Upright |
| Power Source | Corded Electric |
| Warranty | 3 years limited |
| Attachments | crevice tool, upholstery nozzle, dusting brush |
| Features | adjustable height |