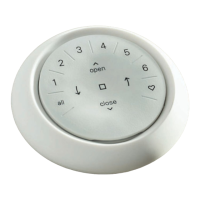
5
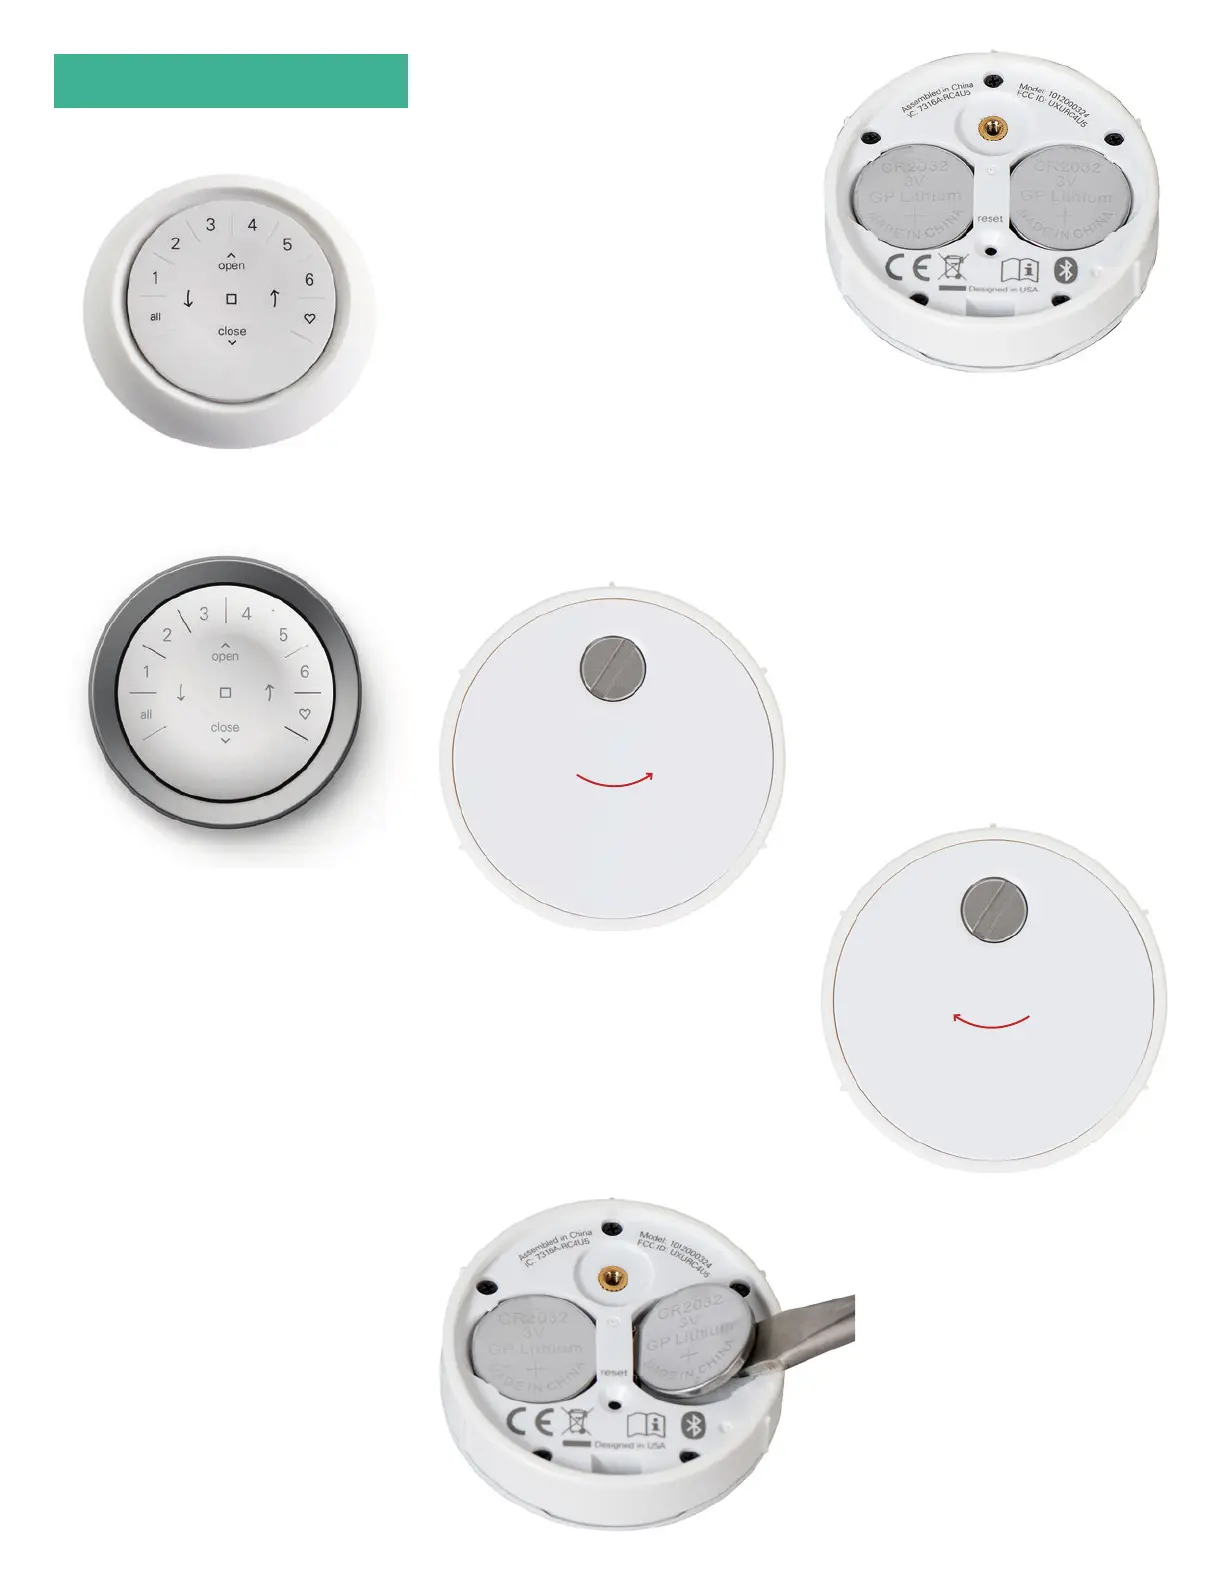
Battery Replacement
REPLACING BATTERIES
IN THE REMOTE
Replacing the batteries in the remote
module will not cause the loss of any
window covering programming, including
GROUPS and FAVORITES. The remote
uses two CR 2032 batteries.
1. For the Automation III Remote,
slide your thumb in the indentation,
gently li and remove the remote
module from the remote housing.
For the Automation III Remote with
Wall Mount, remove the Wall Mount
from its mounting plate by twisting
it counter-clockwise. Push the
remote module out from the back
of the Wall Mount.
2. Using a flat-head screwdriver, rotate
the safety screw counter-clockwise
two times.
3. Remove the back cover from
the remote.
4. Using a finger or small screwdriver,
gently li and remove the old batteries.
5. Insert new batteries in their correct
orientation, making sure each is snug.
6. Align and replace the back cover onto
the backside of the remote module.
7. Using the flat-head screwdriver,
rotate the screw clockwise two times
or until the screw is snug.
8. Align the ribs on the remote module
with the grooves on the remote
housing or the Wall Mount.
9. Gently push the remote module
into the remote housing or the Wall
Mount until it is snug.
 Loading...