NOTE: DIMENSIONS
GIVEN ARE MINIMUM
- IF’ -
Fig. 2
PL-17472
3. Insert the 3-pronged plug into a 3-prong
receptacle. If the wall receptacle is not of the
proper 3-prong grounding type, an electrician
should be consulted.
CAUTION: The use of an extension cord is not
recommended.
4. Slide compactor into cavity under counter. DO
NOT push the compactor against the plug as
damage to the receptacle and/or plug may re-
sult.
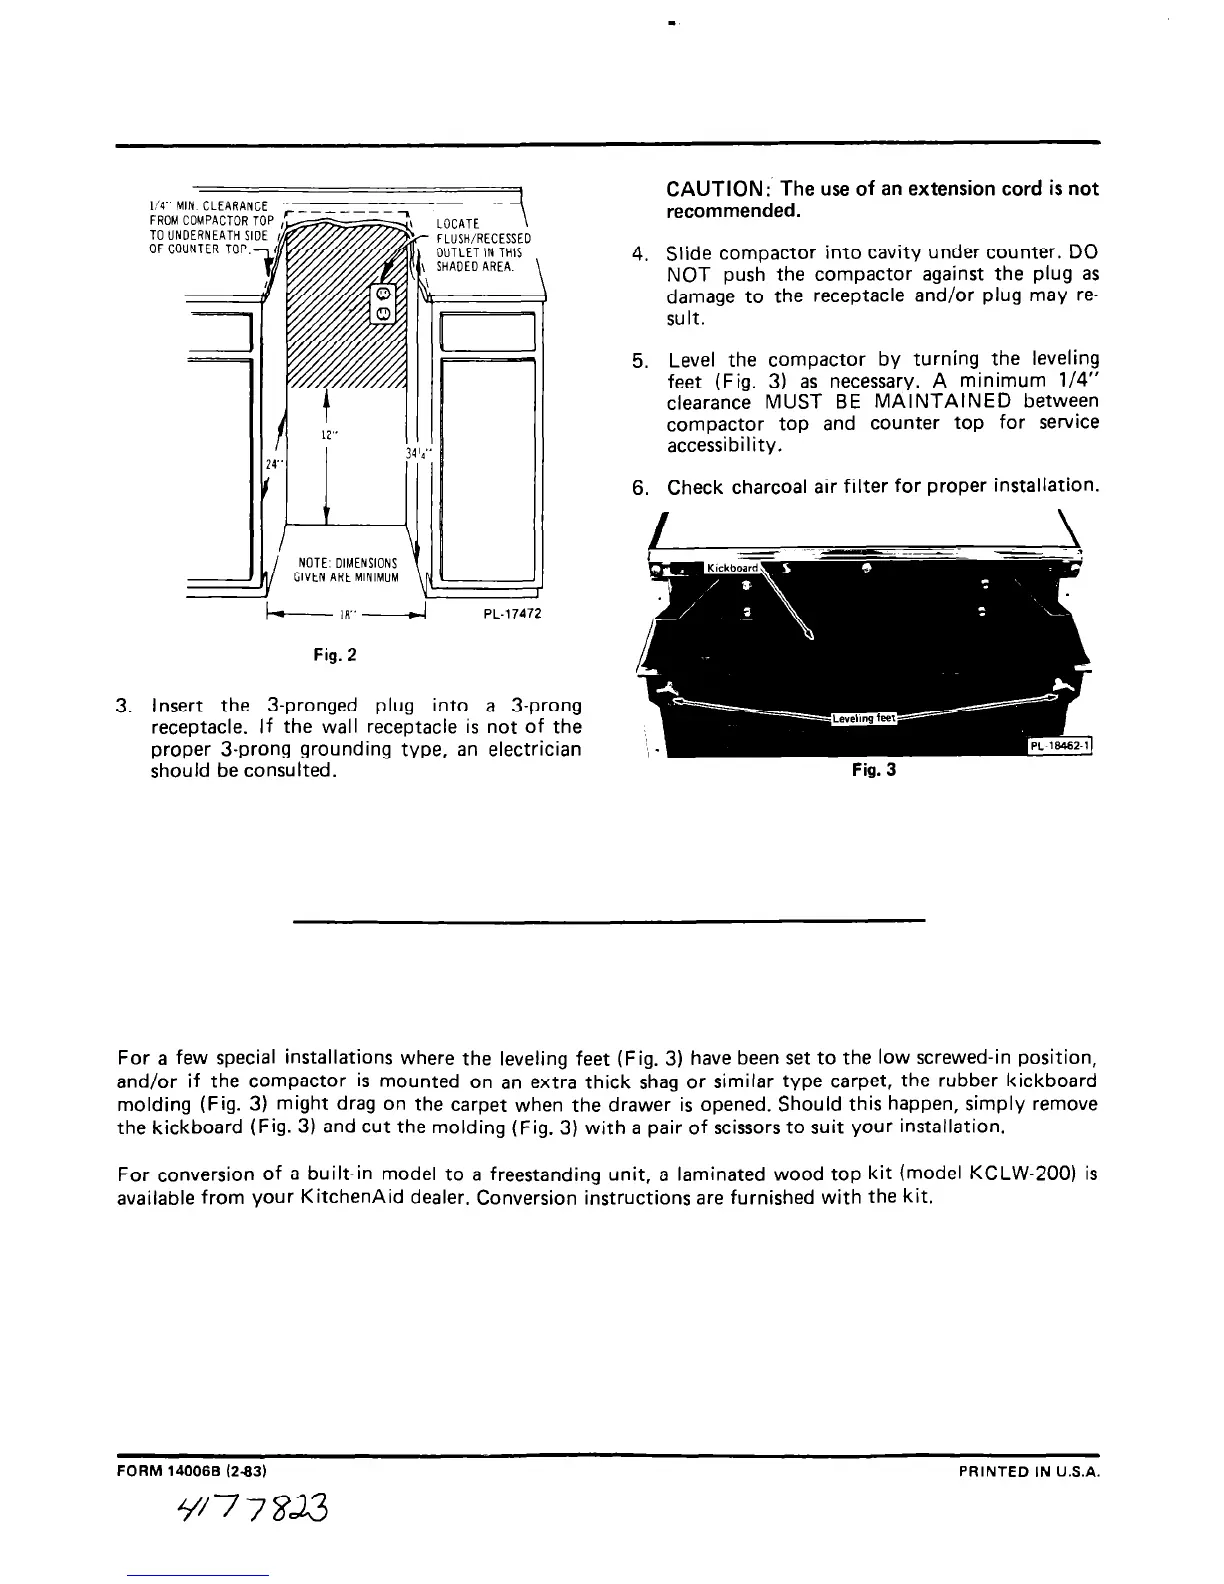
5. Level the compactor by turning the leveling
feet (Fig. 3) as necessary. A minimum l/4”
clearance MUST BE MAINTAINED between
compactor top and counter top for service
accessibility.
6. Check charcoal air filter for proper installation.
For a few special installations where the leveling feet (Fig. 3) have been set to the low screwed-in position,
and/or if the compactor is mounted on an extra thick shag or similar type carpet, the rubber kickboard
molding (Fig. 3) might drag on the carpet when the drawer is opened. Should this happen, simply remove
the kickboard (Fig. 3) and cut the molding (Fig. 3) with a pair of scissors to suit your installation.
For conversion of a built-in model to a freestanding unit, a laminated wood top kit (model KCLW-200) is
available from your KitchenAid dealer, Conversion instructions are furnished with the kit.
FORM 140068 (283)
PRINTED IN U.S.A.
5477233