TipOverHazard
A childor aduJtcantip the range
andbekiiJed.
Connectanti-fipbrackettowa!I
behindrange.
Reconnectthe anti-tip bracket, if
the range is moved.
Failure to follow these instructions
can result in death or serious
burns to children and aduJts.
line I
I
aHti-tip --_._ I _;
bracket _ _
I
I
__f_ wall stud
I
I
I
_ mounting
screws
I
I
I
I
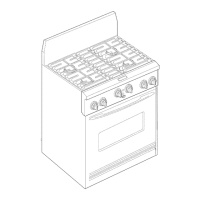
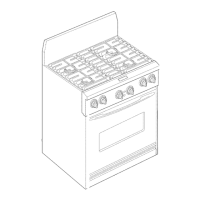
Position top of anti-tip bracket at
line marked in step 5 and mark holes.
Drill two 1/8" (3 mm) holes. Use screws
provided to fasten anti-tip bracket to wall.
NOTE: Anti-tip bracket must be mounted
securely to stud in wall behind the range.
Depending on thickness of the wall
covering, longer screws may be required.
mMake electrical connection.
If your house has aluminum wiring, see
"Electrical requirements" page 5.
Electrical Shock Hazard
Disconnect power before servicing.
Use 8 gauge copper wire.
Electrically ground range.
Failure to follow these instructions
can result in death, fire, or
eJectricaJ shock.
This range must be connected to a
grounded, metallic permanent wiring
system or a ground connector should be
connected to the ground terminal or wire
lead on the range.
This range is manufactured with a frame-
connected, green or bare ground wire
factory-crimped to the neutral (white)
wire. Connect the range cable to the
junction box through the U.L- or CSA=
listed conduit connector. Complete
electrical connection according to local
codes and ordinances.
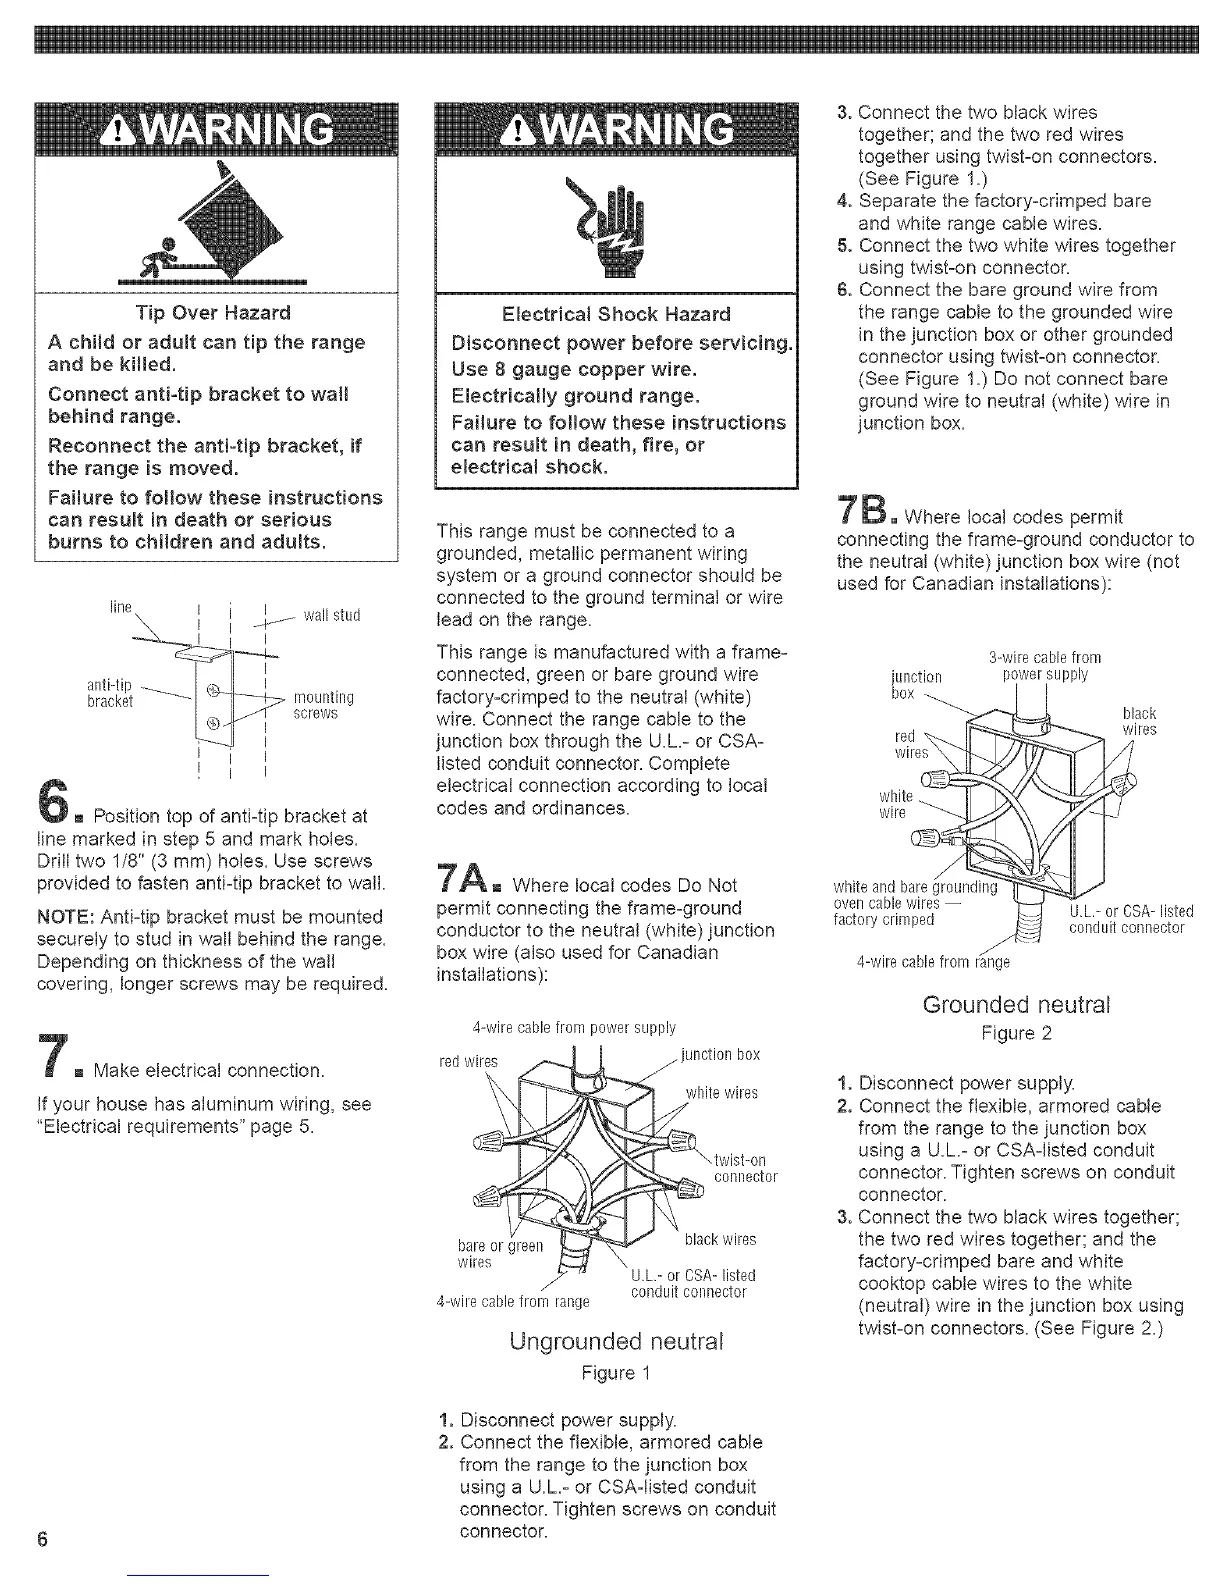
Am Where local codes Do Not
permit connecting the frame-ground
conductor to the neutral (white) junction
box wire (also used for Canadian
installations):
4-wire cable from power supply
red wires ,._,j [ ./junction box
lite wires
J iY'_'X /_t_'_._ J ".twist-on
connector
bare_ greel__ / black wires
wires _d] \ U.L- oz CSA- listed
/ conduit connector
4-wire cable from range
Ungrounded neutral
Figure 1
1. Disconnect power supply.
2. Connect the flexibJe, armored cable
from the range to the junction box
using a U.L- or CSAqisted conduit
connector. Tighten screws on conduit
connector.
3oConnect the two black wires
together; and the two red wires
together using twist-on connectors.
(See Figure 1.)
4. Separate the factory-crimped bare
and white range cable wires.
5oConnect the two white wires together
using twist=on connector.
6oConnect the bare ground wire from
the range cable to the grounded wire
in the junction box or other grounded
connector using twist-on connector.
(See Figure 1.) Do not connect bare
ground wire to neutral (white) wire in
junction box.
B. Where local codes permit
connecting the frame-ground conductor to
the neutral (white) junction box wire (not
used for Canadian installations):
junction
box
red
3-wire cable from
power supply
black
wires
white
wire
white and bare
oven cable wires --
factory crimped
4-wire cable from range
U.L.- or CSA- listed
conduit connector
Grounded neutral
Figure 2
1. Disconnect power supply.
2. Connect the flexible, armored cable
from the range to the junction box
using a U.L.- or CSAqisted conduit
connector. Tighten screws on conduit
connector.
3. Connect the two black wires together;
the two red wires together; and the
factory-crimped bare and white
cooktop cable wires to the white
(neutral) wire in the junction box using
twist-on connectors. (See Figure 2.)