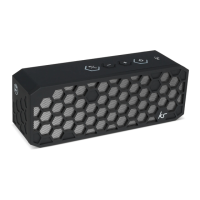
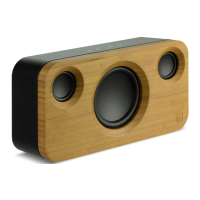
6 7
Charging the battery
The Hive 2 has a built-in rechargeable lithium battery. Make sure the Hive 2
is switched o. Connect one end of the Micro USB charge cable to the Micro
USB charge port (8) on the Hive 2 and connect the other end to your PC or
USB mains adaptor. The battery will start charging.
• It takes up to 4.5 hours to fully charge the battery
• Whilst charging, the battery LED indicator (6) will ash red when below 30%,
ash green and red when between 30 – 70% and ash green when above 70%
• When fully charged, the battery LED indicator (6) will turn solid green
Battery protection mode
– If you haven’t used the speaker for 90 days, the speaker will switch to battery
protection mode automatically
– To keep the rechargeable battery in good condition, please discharge and
recharge speaker every 3 months, especially if you are not using the speaker
for long periods of time
– To cancel the battery protection mode, simply plug the Hive 2 into a charger
Getting started
– To turn the Hive 2 on, press and hold the power button (5) for 5 seconds.
To turn the Hive 2 o, press and hold the power button (5) for 5 seconds
whilst it is on
– The Hive 2 has an auto power o feature to save battery power when not
in use. The Hive 2 will automatically switch o if it has not played any audio
for 15 minutes
– Please ensure the rubber feet are free from dirt to prevent the speaker
moving/vibrating when playing music. If the feet need cleaning, simply
wipe them with a damp cloth
Battery LED indicator
Whilst the Hive is turned on and in use, the battery LED indicator (6) will light
up to indicate how much power is remaining in the battery. It will light up as
the following:
• Green when the battery is at 70% charge or above
• Green and red when the battery is between 30% – 70%
• Red when the battery is below 30%