Inflation of airsponsons:
Important for good center positioning: On forward deck outside,
left & right of mast hole are two D-rings, below the D-rings are
two metal hooks. these have to engage below the top strut of
gunwale. this would be most important for use with sails, to
transfer stress to wood, else D-Rings might rip out. Reminder:
yes, you want to fill sponsons properly for good shaping of hull.
Before you inflate the tubes, please take care that the deck seam
lies on the deckbar and the gunwale tubes are not twisted. Now
inflate the air sponsons by turns right and left up to max 0.25 bar
this way, that the deck seam fits onto the deck bar. Mouth inflati-
on can never do harm, inflation with very simple foot bellows
(turtle, accordion type) is done with caution. Never, never use
compressed air.
Possible deformations of the tubes can be removed by milling
them by the hands. Be aware, that there is a natural variation of
air: in the cold air will shrink in volume, in hot sun air will expand
10%. Please do not overfill the tubes, especially if you have
an intensive sun. (tubes could explode because of too high
pressure)
While inflating, check that hooks inside (of D-rings) are secured
to frame. (IMPORTANT if sail gear is installed).
Only Quattro XT:
Inflate the upper sponsons first, lower ones next. Hull shape can
be altered by varying air pressures.
Placement of seats:
As you cannot look under the seat, it is best to place one finger at the thumbscreb, and one to the bolt screw in rear. Line up
thumb screw, let bolt screw drop into hole in bar, then lower front end. Push seat to rear, that thumbscrew gets into bar. Place
seat at comfortable position and secure it by turning the thumbscrew.
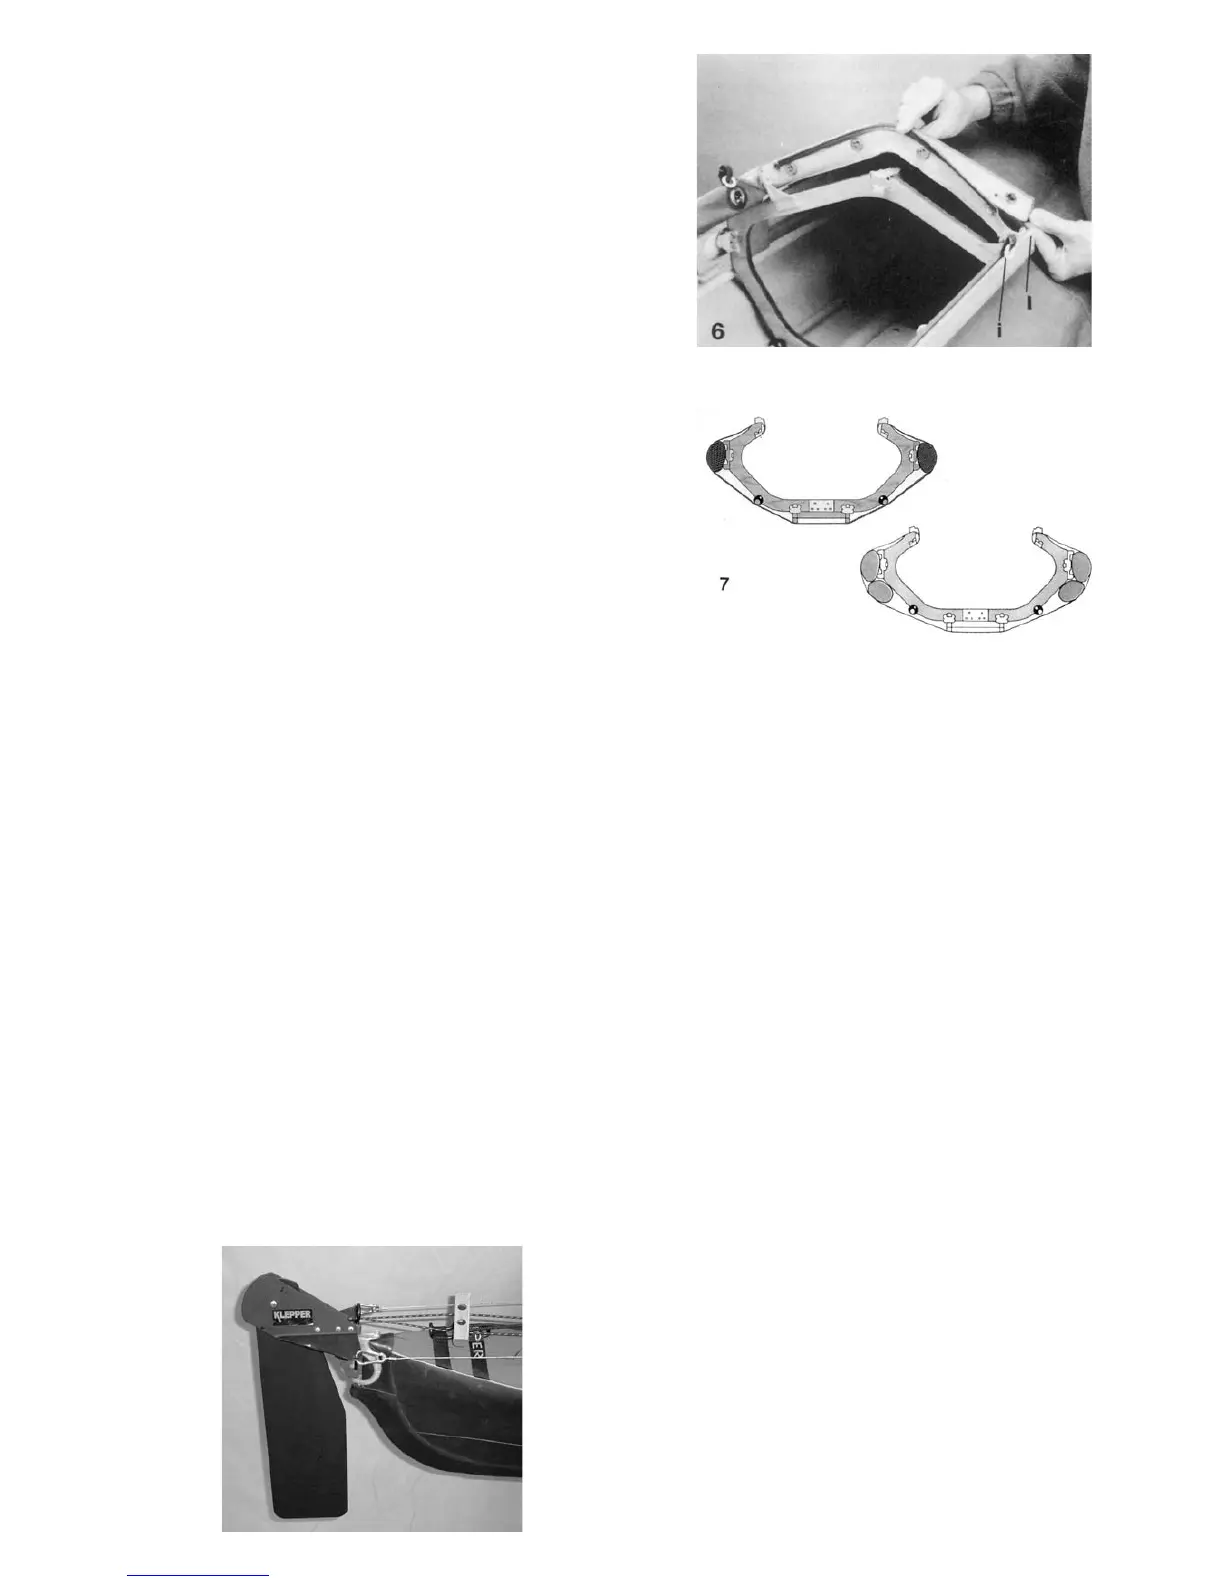
Attachment of backrests:
Front backrest is longer (17 _ in.), rear backrest is shorter (16 in.). the endcaps can do a quarter turn - open/close. Open end-
caps, slide from front to rear over T-fitting, then close with a quarter turn (fig. 9)
Attaching a spraycover:
All spraycovers are attached front first, rear next, then fasten the sides. Pointed front end (with strap below goes over mast-
hole bracket; rear end of cover over rear end of coaming, let 2 grommets go over the screwheads in rear. Press the velcro on
the coaming, spraycover is mounted.
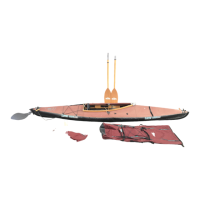
Taking boat apart:
Deflate sponsons, which gives you slack, take out seats, backrests, stern of coaming. Use black rings (i. fig. 6) to pull edge out
of coaming slot (1, fig. 6). Remove coaming remember: 90 degree turn-out! Remove ribs 3,4 and 5, then 4 rods. Open up gun-
wales and keelboard, disengage. - Now pull out rear half, then front half.Take apart in reverse order of assembly.
How to pack boat into bags:
Logically, all long parts go into long bag. Place bag in grass, load from side. 2 keelboards on top of each other, hinges first. 4 gun-
wales side by side, hinges first. Coaming on top of keelboards (some wrap a towel around). 10 thin pieces as a bundle, with
outside of bag, held by cross-belts.
Hull bag: fold up hull first, pull bag over hull.Then soft sides of seats & bachrests against hull. Ribs, bow & stern, other small
items next.
Attaching a rudder assembly:
A good position for foot pedal is, if you are comfortable,
knees slightly bent, foot pedals rather vertical. Foot pedal: loo-
sen black starnut, open up moveable jaws on bottom, rubber
pad is heel rest, faces operator. Easiest: take out from seat,
keelboard is narrower there, attach to keelboard and slide
back towards rib 4, pad could rest on rib 4, now tighten black
starnut. - Hook up elastic band. Rudder blade: carry to stern
rudder bracket, match up teeth, push rudder pin from above,
there is a little catch spring. (fig. 8) Rudder cables: attach hook
at rear to holes in crosspiece, run chains through grommets
of boomerang (rear of coaming), stick plastic sleeve into
grommet like a
 Loading...