IMPORTANT SAFETY INSTRUCTIONS!
READ these instructions. | KEEP these instructions. | HEED all warnings. | FOLLOW all instructions.
DO NOT use this apparatus near water. | CLEAN ONLY with dry cloth.
DO NOT block any ventilation openings. Install in accordance with the manufacturer’s instructions.
DO NOT install near any heat sources such as radiators, hear registers, stoves, or other apparatus
(including amplifiers) that produce heat.
ONLY USE attachments/accessories specified by the manufacturer,
or sold with the apparatus. When a cart is used, use caution when moving the cart/
apparatus combination to avoid injury from tip-over.
DO NOT expose this apparatus to dripping or splashing and ensure that no objects filled with
liquids, such as vases, are placed on the apparatus.
The exclamation point, within an equillateral triangle, is intended to alert the user to
the presence of important opertating and maintenance (servicing) instructions in the
literature accompanying the product.
The lightning flash with arrowhead symbol within an equillateral triangle, is intended
to alert the user to the presence of uninsulated “dangerous voltage” within the
product’s enclosure that may be of sufficient magnitude to constitute a risk of
electrical shock to persons.
WARNING: To reduce the risk of fire/electrical shock, do not expose this apparatus to rain/moisture.
WARNING: No naked flame sources - such as candles - should be placed on the product.
CONNECTING
CONVENTIONAL CONNECTION — Using 16—gauge or larger speaker wire, connect the RED “positive”
(+) terminal of the LEFT speaker to the RED “positive” terminal of your amplifier’s LEFT channel.
Connect the BLACK “negative” (—) terminal of the LEFT speaker to the BLACK “negative” (—)
terminal of your amplifier’s LEFT channel. Repeat this procedure for connecting all remaining
speakers to the appropriate amplifier channels. Refer to Figure 4. Make sure that no bare wires
from any of the connections touch any other terminals as this could casue a short and damage
your equipment.
Some Synergy speaker come with dual binding posts that are connected by a
metal strip. Do not remove this strip or your speakers will not function correctly.
Keep this strip in place and connect your speaker wire to the top set of the
binding posts. It is possible to “Bi-wire” a speaker that has two sets of binding posts.
Please see your receiver’s manual for further instructions.
AMPLIFIER REQUIREMENTS — Klipsch speakers are highly efficient and will
operate easily on a wide variety of amplifiers. All Klipsch speakers are 8-ohm
compatible and can be driven to very high levels with low distortion. Due to the
high output levels Klipsch speaker are capable of reproducing, exercise caution
with the volume control. Excessive volume over long periods can permanently
damage your hearing. Overdriving your amplifier could also damage your speakers.
Check with your dealer to make sure your particular amplifier is best suited to
you application. We want you listening for a lifetime.
CARE AND CLEANING — The only thing you should ever need to do to your speakers
is dust them occasionally. Never apply any abrasive or solvent-based cleaner or any
harsh detergent. You can clean the grilles with the brush attachment of a vacuum
cleaner.
EU COMPLIANCE INFORMATION:
Eligible to bear the CE mark, Conforms to European
Union EMC Directive 2004/108/EC.
WEEE NOTICE —
Note: This mark applies only to countries within the European Union
(EU) and Norway.
This appliance is labeled in accordance with European Directive
2002/96/EC concerning waste electrical and electronic equipment (WEEE).
This label indicates that this product should not be disposed of with
household waste. It should be deposited at an appropriate facility to enable
recovery and recycling.
PRODUCT REGISTRATION —
Register product online at www.klipsch.com/register
• Klipsch will keep you up-to-date on new products and promotions.
• Your personal information will never be resold.
• This registration information is not used for warranty purposes. Please retain your
receipt for warranty claims.
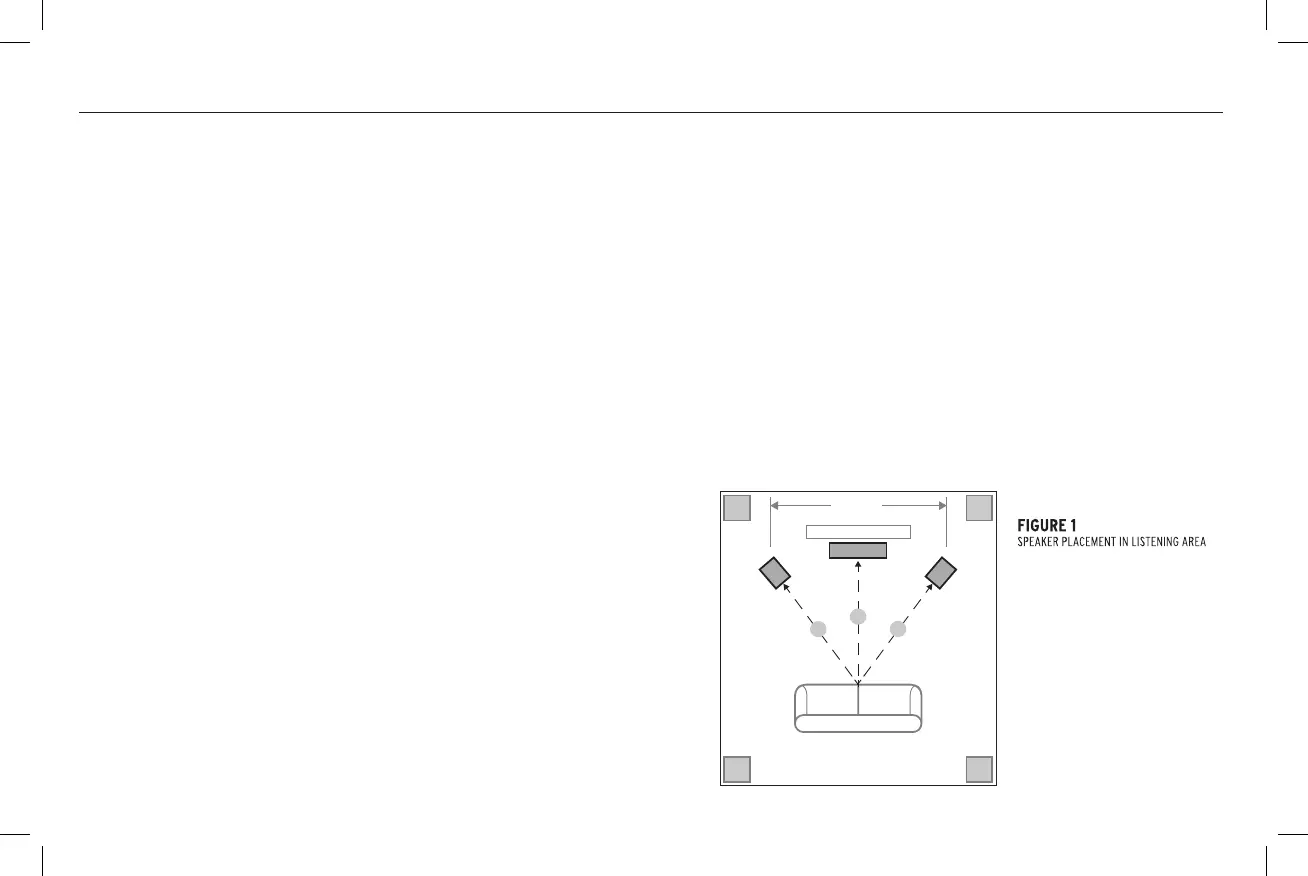
ROOM PLACEMENT
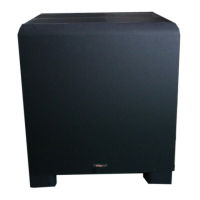
Subwoofers - Klipsch powered subwoofers are designed to
reproduce deep bass and deliver the impact that makes your
movies and music come alive. For optimum performance, place your
subwoofer in a corner of the room on the same wall as your front
channel speakers. (refer to Figure 1). Please note that room
placement can have a dramatic effect on the performance of your
powered subwoofer. Corner placement, as suggested above, will
increase the amount of bass output, while placing the subwoofer
along the middle of a wall, or out in the room will decrease the
amount of bass output. Experiment with a number of different
placement options and control settings to find the one that best
suits your particular room and taste. When choosing your subwoofer’s
location, keep in mind that you will need to connect the subwoofer’s
built-in amplifier to an AC power outlet.
SS
TV
C
L
R
X
Y
Z
X=Y=Z
S
S
6’ - 15’
Sub
+ Optional
Sub
lanoitpO +
Sub
lanoitpO +
Sub
ROOM PLACEMENT
Before You Start — Some Klipsch speakers have feet and other accessories
that may need to be installed prior to use. Please refer to Diagrams 1, 2 and 3
for installation.
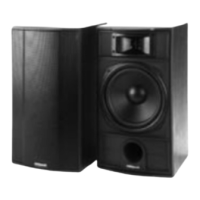
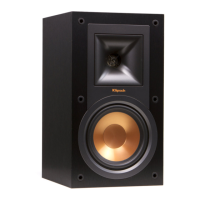
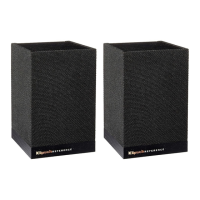
Left and Right Main Channel Speakers — For optimum performance, Klipsch
suggests placing your speakers 6 to 15 feet (2 to 4.5m) apart and at lease 24
inches (60.8cm) from the back and side walls. They may also be toed in slightly
for better stereo imaging. The listening position should be about 1 to 1.5 times
the distance separating the speakers. Refer to Figures 2 and 4 for connection
and placement.
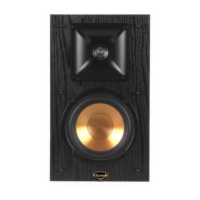
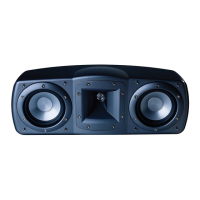
Center Channel Speakers — Center channel speakers are designed to place
dialogue and primary sounds so that they appear to come from the video screen.
The speakers should therefore be placed as close to the sceen as possible,
preferably directly on top of or below the screen. Refer to Figures 2, 3 and 4
for connection and placement.
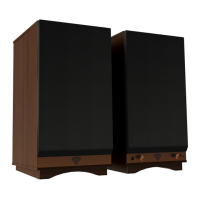
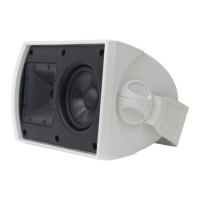
Rear Surround Channel Speakers — Klipsch WDST
TM
surround speakers should
be placed approximately 2 feet above the listening position. Typically this will
be about 5-7 feet above the floor. The surrounds should be placed on the walls
directly adjacent to the listening position. Another option would be on the wall
behind the listening position. The final surround speaker placement depends
on your room’s characteristics. They are designed to recreate the sense of
space and ambience that many of today’s surround sound technologies
provided. Refer to Diagram 4 and Figures 2 and 4 for connection and placement.

 Loading...