31
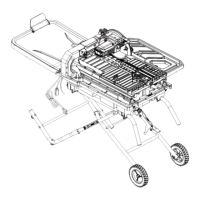
INSTALLING THE RIP/ANGLE GUIDE (FIG. 29)
The Rip/Angle guide can be used from either the
left or right side of the tile saw wheel.
● Place the slot underside of the Rip/Angle
guide (H) on sliding T-fence extension (AA).
Lock the Rip/Angle guide (H) securely to
table by turning the lock knob (1) clockwise.
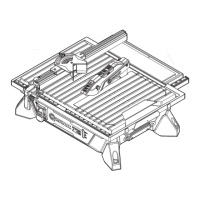
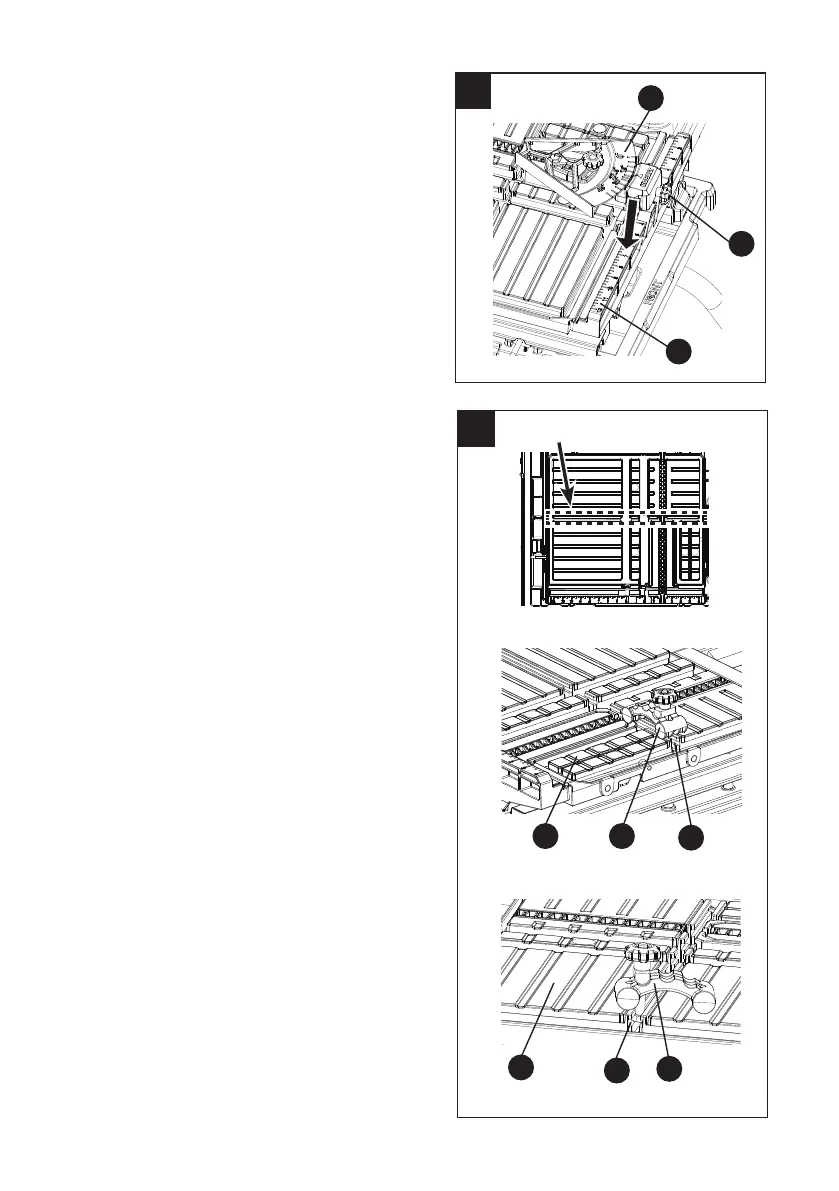
INSTALLING THE TILE CLAMP (FIG. 30)
NOTE: The tile clamp is designed to be used for
small or narrow pieces of tile. Use this clamp for
all cuts that cannot be held rmly by the miter/
angle guide and would require your hands to be
closer than 3” from the cutting wheel. The sliding
table has a channel for the tile clamp to be
located into position and tighten.
● For tile 3” and less in width: Insert the tile
clamp (I) into the T-shaped slot (1) from the
right side of the sliding table (TT).
NOTE: Make sure the clamp will not contact
the cutting wheel before starting the cut.
● For tile larger than 3” in width: Insert the tile
clamp (I) into the T-shaped slot (1) from the
left side of the sliding table (TT).
NOTE: Make sure the openings on the sliding
table for the 22.5 and 45 bevel angles do not
interfere with the tightening of the clamp.
29
1
AA
H
30
1
TT
I
Left Side of Table
Right Side of Table
1
TT I
Left
Side of
Saw
Right
Side of
Saw
Front of Saw
Slot for Tile Clamp
 Loading...