6
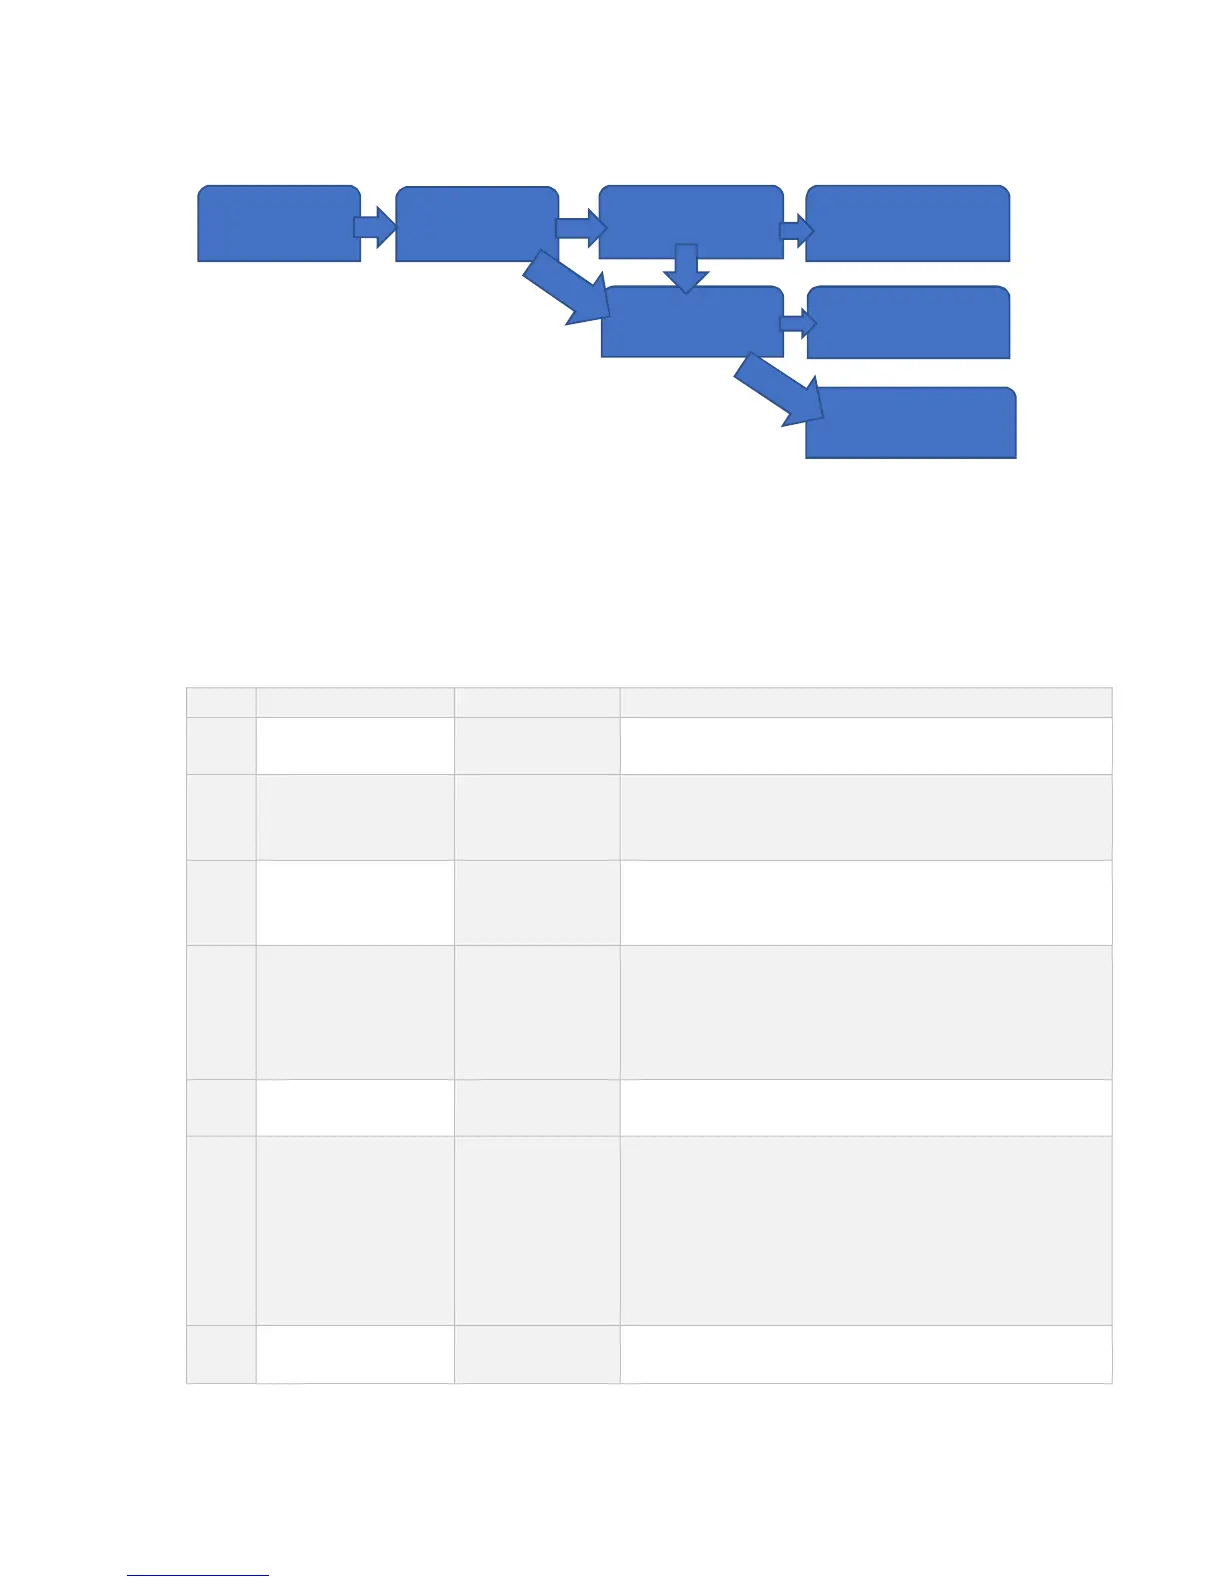
OPERATION DIAGRAM
4.0 CALIBRATION
After self checking of turn on, it will enter normal weighing display, warm up for 15-30
minutes, open the calibration cover in the back side of the indicator; touch the calibration switch to
enter calibration status, the detailed steps as below:
Steps Operation Display Specification
【 CAL 】 Means enter calibration status, press “” button to
next step;
1 “”to select
division
“”to confirm
【E 01】 Set division:1、2、5、10、20、50
2 “”to select
decimal point
“”to confirm
【dC 0】 Set decimal point position: press up and down arrow
to switch decimal point0、0.0、0.00、0.000。
3 Set full capacity 【F030.00】 Set Full Capacity:
Press ”” the flash digit will move towards right
Press ”” to increase the number of flash digit
Press “” to confirm and enter next step.
For example: 3000
4 After stable, press to
confirm
【noLoAd】
Zero calibration:
Make su r e indicator under no-load
status, press “
”
after date stable to confirm Zero
5 Input the weight of
loading weights
【AdLoAd】
After display
for 2 seconds,
auto switch to
load input
【003.000】
Linearity Calibration:
Add the weights to the scale, input the value of the
weights in indicator, it is better to close to the full
capacity.
Operation is same as full capacity setting.
5 seconds after the stable indicator light on
Press “” to confirm and finish the calibration
6 Return back to
weighing status
【 End 】
【 3.000】
After calibration, 2 second after display “End”, the
current weight will be displayed immediately.
★ “ Fn” tuşu ile kalibrasyonu tamamlamadan çıkabilirsiniz.
Keep Pressing
“Total”
Display Total
Value
Press ”” to see


 To Next Page