MAINTENANCE & CLEANING
CLEANING MINERAL DEPOSITS
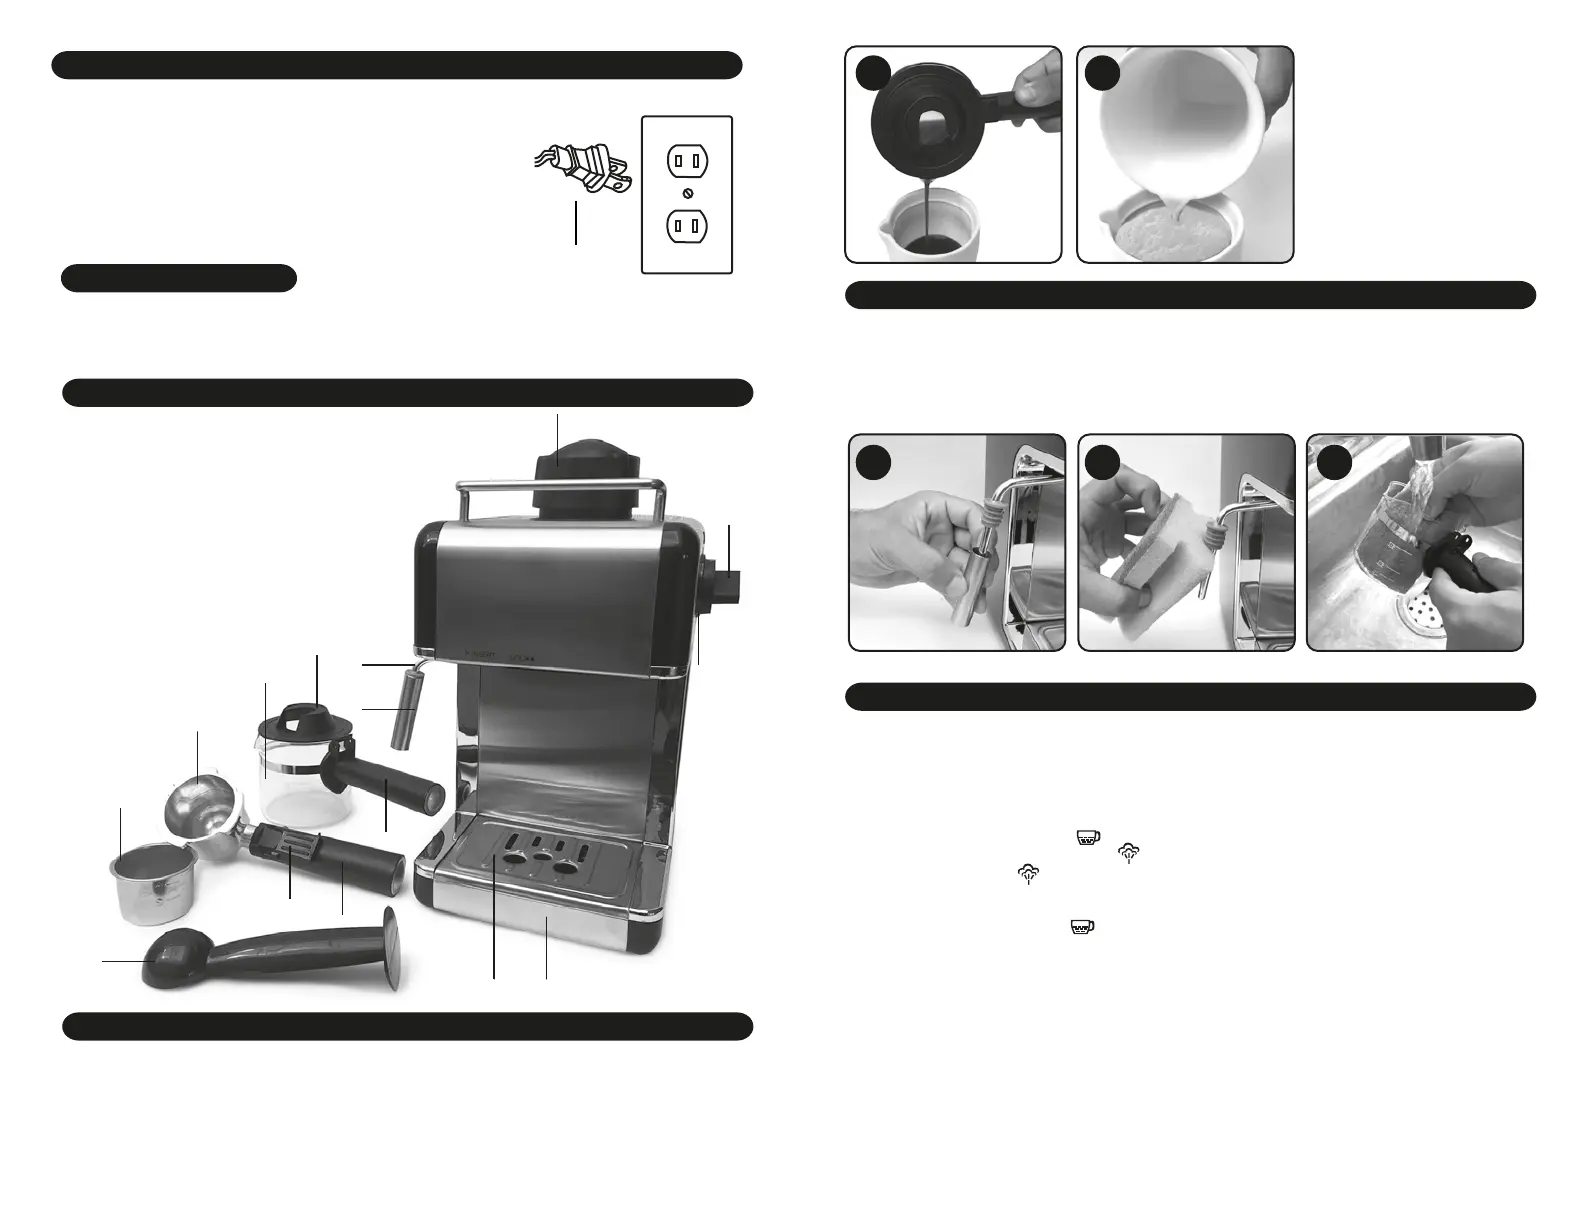
1. Cut off power source and let the coffee maker cool down completely before cleaning.
2. Clean housing of coffee maker with moisture-proof sponge often.
Note: Do not clean with alcohol or solvent cleanser. Never immerse the housing in water for cleaning.
3. Detach the metal funnel through turn it clockwise, get rid of coffee residue inside, then you can clean it
with cleanser, but at last you must rinse with clear water.
4. Clean all the detachable attachments in the water and dry thoroughly.
To make sure your coffee maker operates efficiently, the internal piping must be cleaned
To remove the mineral deposits after every 2-3 months of use.
1. Fill the tank with water and vinegar to the MAX level ( the ratio of water and vinegar is 4:1)
2. Run the espresso maker, please make sure to put the coffee strainer (without coffee) and
jar (jug) in place.
3. Please follow the “MAKE ESPRESSO COFFEE” procedure
3. Turn the steam knob to position, the indicator will be illuminated, and then make two cups coffee
(about 2Oz). Then turn the steam knob to position and wait for 5s.
4. Turn the steam knob to position and make steam for 2min, then turn the steam knob to OFF position
to stop the unit immediately, let sit the vinegar solution for 15 minutes
5. Restart the unit and repeat the steps of 4-5 at least 3 times.
6. Then turning the steam knob to position to brew until no solution is left.
7. Then rinse the coffee maker(no coffee powder) with tap water in the MAX level, repeat the steps of 4-5
for 3 times (it is not necessary to wait for 15 minutes in step of 5), until no water is left in the tank.
8. Repeat the step of 8 at least 3 times to make sure the piping is clean.
9. Any other service should be performed by an authorized service representative.
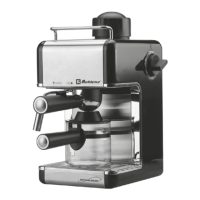
6. Pour the frothed milk into the
espresso prepared, now the
cappuccino is ready. Sweeten to
taste and if desired, sprinkle the
froth with a little cocoa powder.
Note: We recommend you allow the
appliance to cool down before
making coffee again. Otherwise
burnt odor may occur in your
espresso coffee.
7
10
MODELO CON CONEXIÓN POLARIZADA
ADVERTENCIA
Un adaptador puede utilizarse temporalmente para
conectar la clavija a un contacto no polarizado.
El adaptador temporal solo podrá utilizarse mientras un electricista
calificado instala un contacto polarizado como
el que se ilustra en la Figura A.
FIGURA. A
Clavija
Polarizada
Esta máquina está diseñada para utilizarse en un
circuito nominal de 120 V~ y tiene una clavija
polarizada como se ilustra en la Figura A.
Cuide su máquina de altos y bajos voltajes
COMPONENTES DE LA CAFETERA
Una conexión inapropiada puede provocar riesgo de choque eléctrico, revise por medio de un
electricista capacitado que el contacto que se utilizará esté debidamente polarizado. No modifique
la clavija de la máquina, si la clavija no ajusta en el contacto, instale uno llamando a un electricista
capacitado.
1. Tapa del tanque de agua
2. Filtro
3. Cuchara medidora
4. Perilla de control
5. Base de filtro
6. Indicador
7. Portafiltro
8. Conducto de vapor
9. Manija del embudo
10. Barra espumadora
11. Tapa de jarra
12. Mango de jarra
13. Jarra
14. Rejilla
15. Bandeja de goteo
2
4
1
5
11
13
14 15
8
10
6
3
7
9
12
OPERACIÓN
USAR POR PRIMERA VEZ
1. Saque la cafetera del paquete y compruebe los accesorios según la lista anterior.
2. Limpie todos los componentes desmontables de acuerdo con la siguiente sección de "LIMPIEZA Y
MANTENIMIENTO" página 13. Luego ensamble completamente.
3. Asegúrese de que el filtro se encuentre en su posición. Coloque la jarra.
4. Opere el aparato de acuerdo con la sección de la página 11 y 12 (no debe de haber café molido en el
filtro). Repita 2-3 veces.
1817
20 2119
 Loading...