9
VIEWFINDER
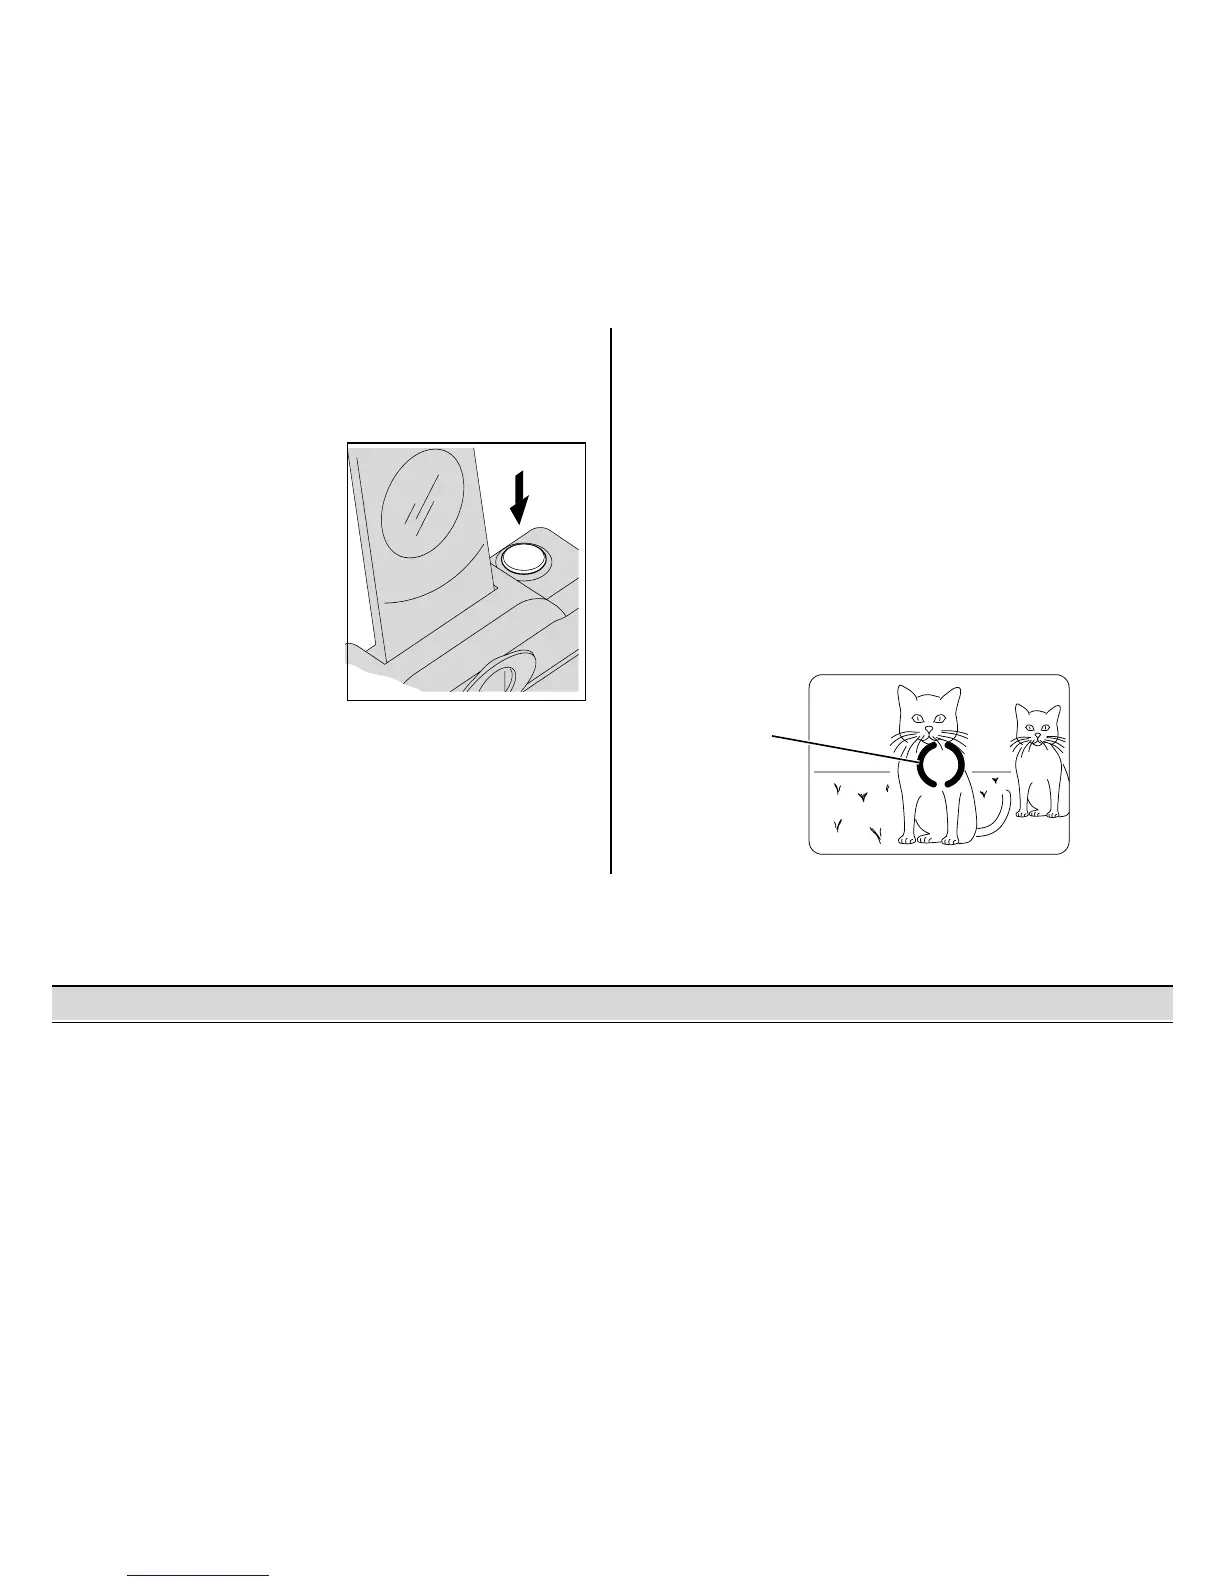
AF Circle
3. Frame your subject within the VIEWFINDER
EYEPIECE (9). For a sharp picture, stand at
least 1.3 ft (0.4 m) from your subject.
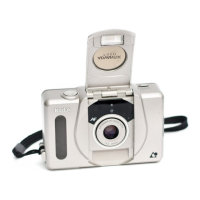
4. Partially depress the
SHUTTER BUTTON (1).
When the FLASH/
CAMERA-
READYLAMP (8) glows
green, fully depress
the shutter button to
take the picture (see
table for Flash/
warning-lamp signals).
Typical print sizes (formats)
CHP
Classic Group (HDTV Panoramic
3.5 x 5 in. or 4 x 6 in. 3.5 x 6 or 4 x 7 in. 3.5 x 8.5 in. to 4 x 11.5 in.
(88.9 x 127 mm or (88.9 x 152 mm or (88.9 x 216 mm to
102 x 152 mm) 102 x 178 mm) 102 x 292.7 mm)
NOTE: Your photofinisher will generally provide 4 x 6, 4 x 7, and 4 x 11.5 in. (102 x 152, 102 x 178,
and 102 x 292.7 mm) sizes. Some local printers may offer 3.5 x 5, 3.5 x 6, and 3.5 x 8.5 in.
(88.9 x 127, 88.9 x 152, and 88.9 x 216 mm) sizes.
Using the focus lock
This camera automatically focuses on
whatever is within the auto-focus (AF) circle
of the viewfinder eyepiece. To get a sharp
picture, make sure the AF circle is on your
main subject. If you want to take a picture
with the subject positioned outside of the AF
circle, use the focus lock as follows:
1. Place the AF circle on the subject that you
want focused in the picture.
 Loading...