6 www.kodak.com/go/support
Getting started
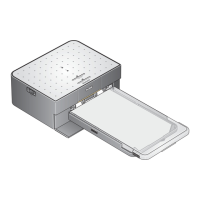
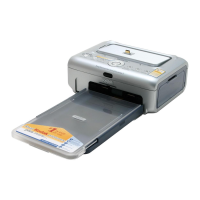
Installing and removing the paper tray
1 Open the paper tray door.
2 Slide the paper tray cover back until it "clicks" into
place, about 1.25 in. (3 cm).
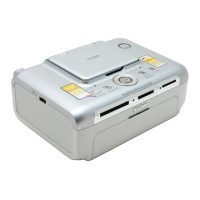
3 Slide the paper tray in the printer tray slot until the
tray locks into place.
IMPORTANT:
To ensure the paper tray fits squarely on the
photo printer, make sure to keep the paper
tray cover all the way open while installing.
Pull the paper tray out to remove it.
Close the paper tray cover and paper tray door to
keep out dust and debris.
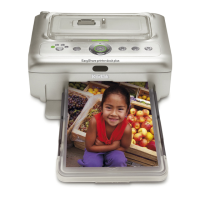
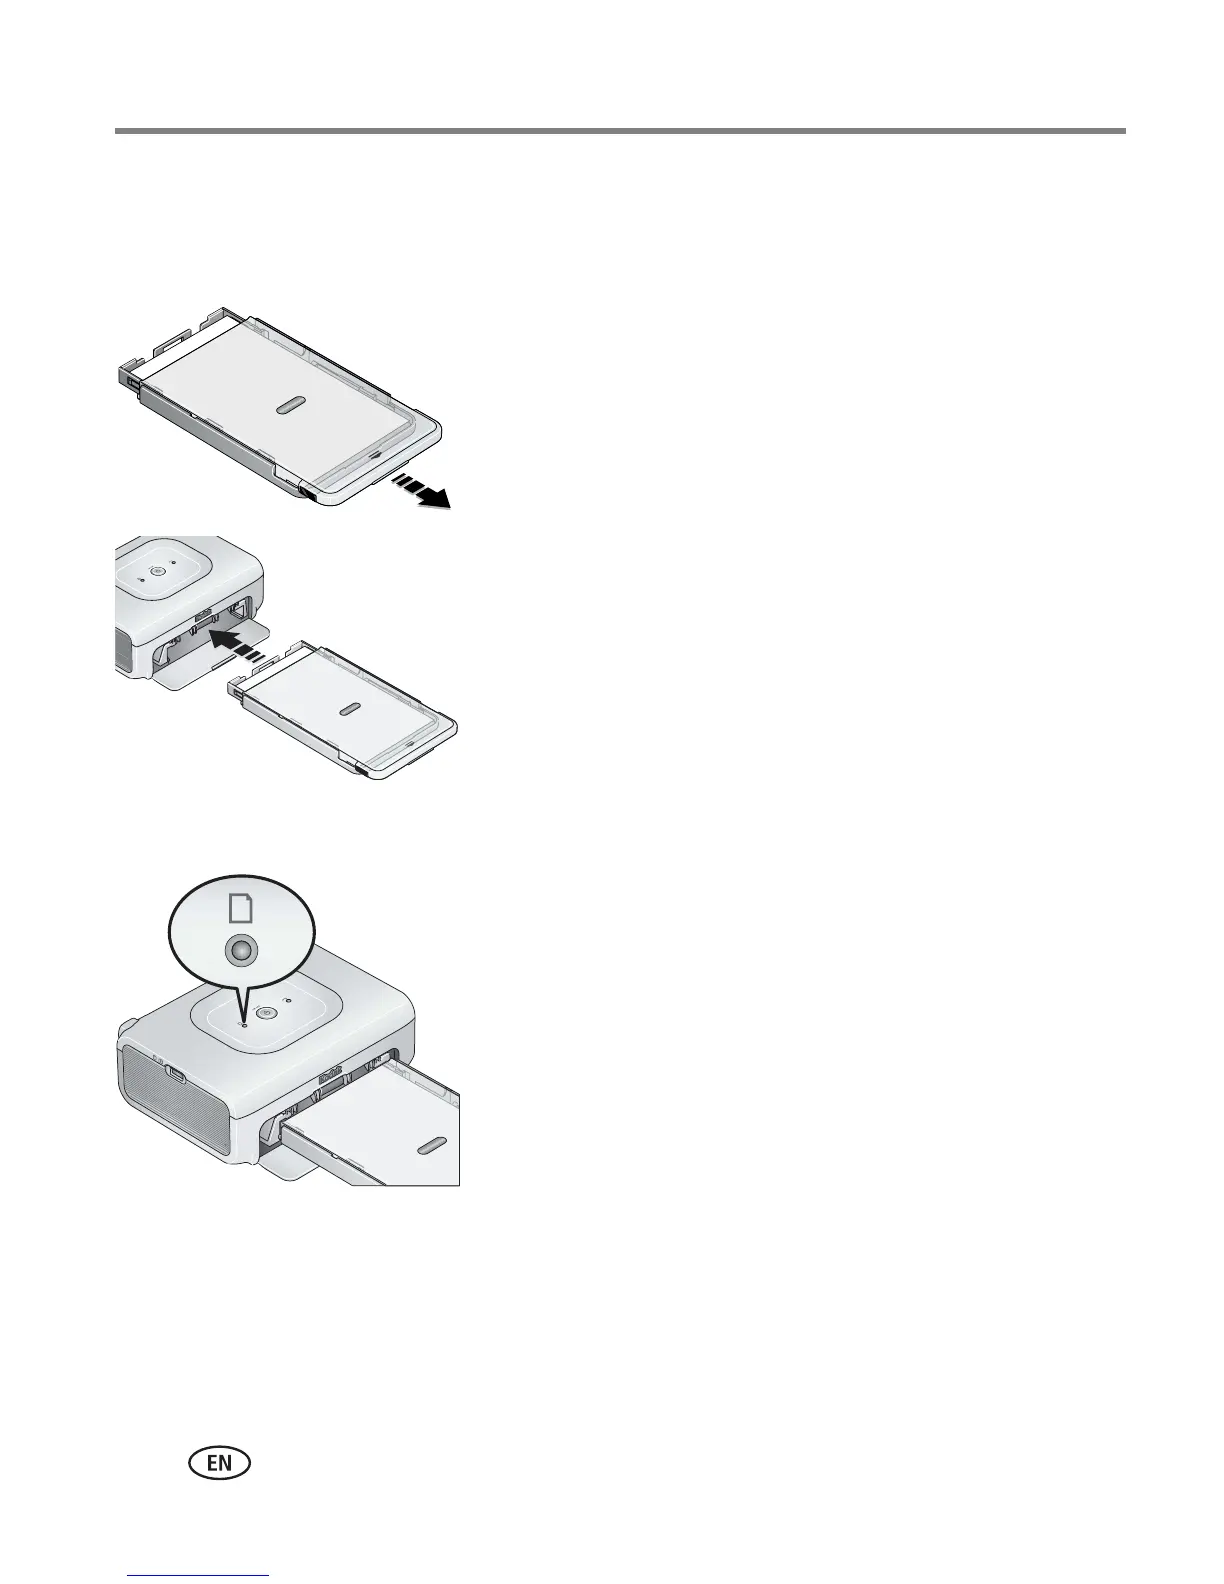
■ When the paper tray is empty, the Paper light glows
steady red.
After refilling and installing the paper tray, press the
On/Off button to clear the paper error and resume
printing.