TP-6953 7/19198 Section 11 Alternator Component Testing and Adjustment
11.6 Rotor Assembly Field Winding
Test
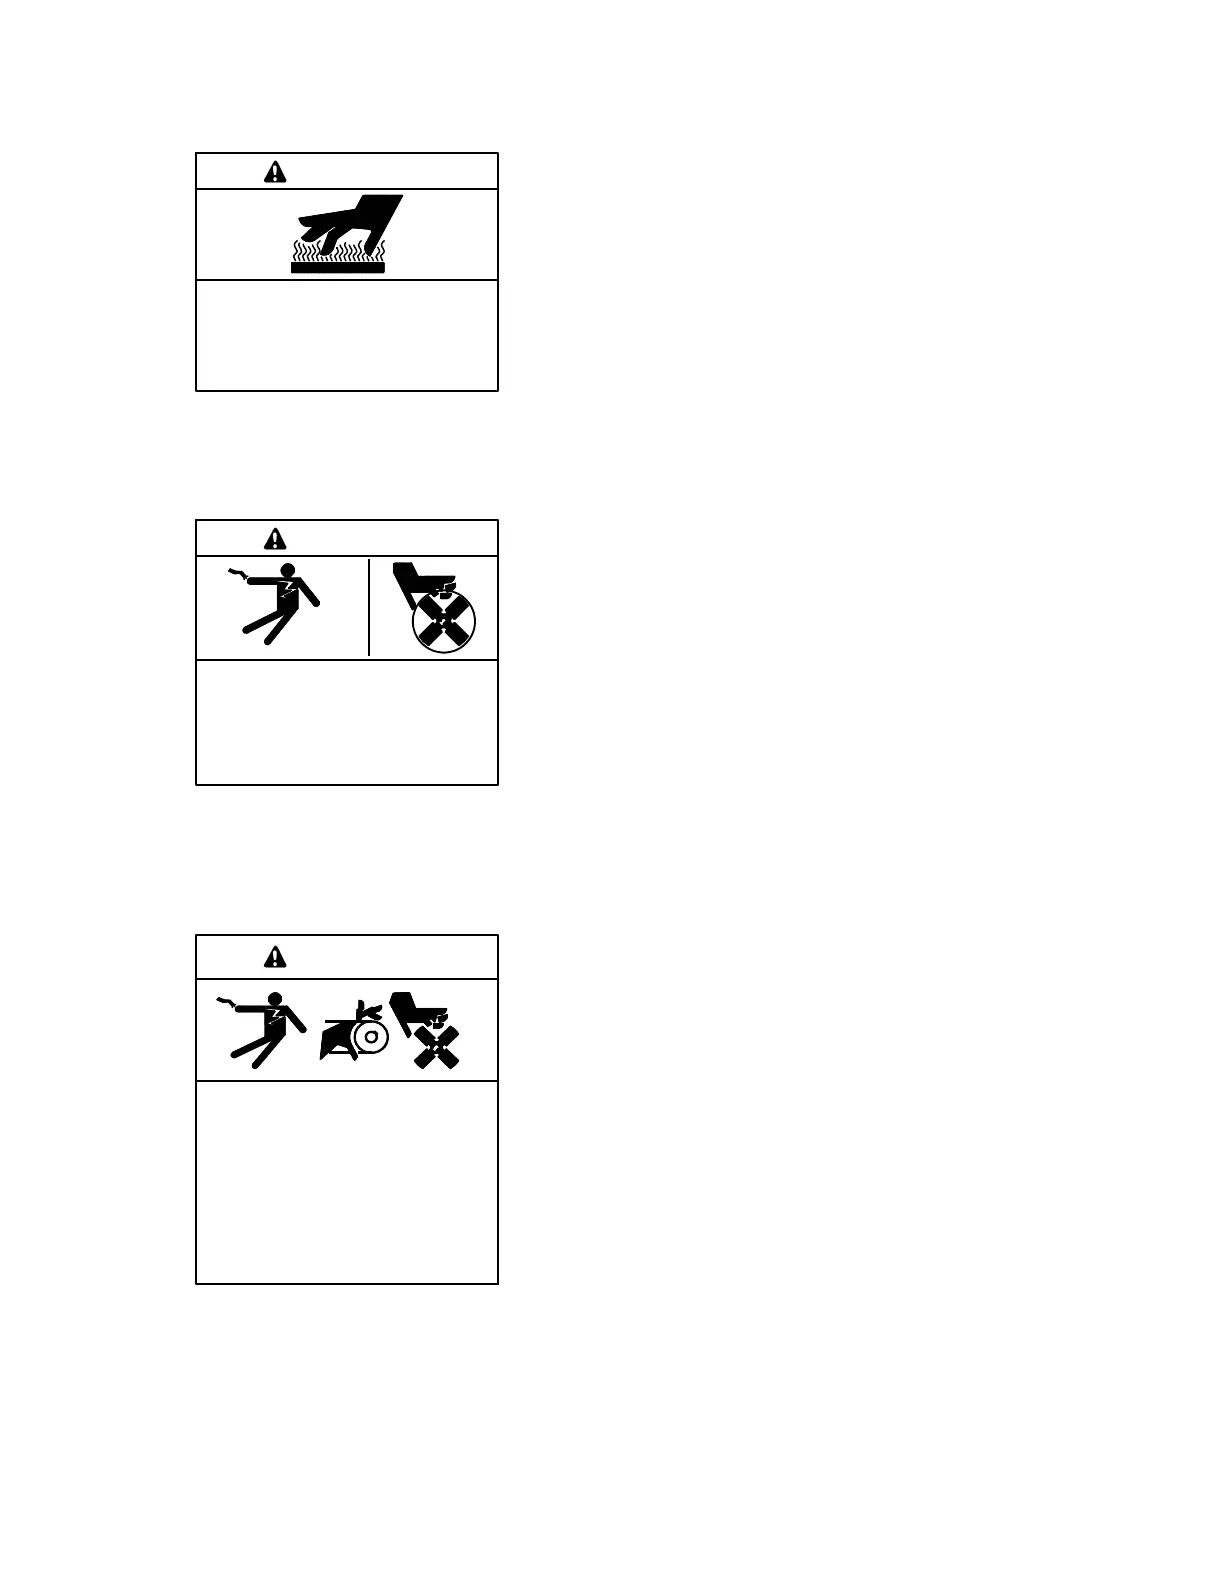
Hot engine and exhaust system.
Can cause severe injury or death.
Do not work on the generator set until
it cools.
WARNING
Servicing the alternator. Hot parts can cause severe
injury or death. Avoid touching the alternator field or exciter
armature. When shorted, the alternator field and exciter
armature become hot enough to cause severe burns.
Hazardous voltage.
Can cause severe injury or death.
Operate the generator set only when
all guards and electrical enclosures
areinplace.
Moving parts.
WARNING
High voltage test. Hazardous voltage can cause severe
injury or death. Follow the instructions of the test equipment
manufacturer when performing high-voltage tests on the rotor
or stator. An improper test procedure can damage equipment
or lead to generator set failure.
Accidental starting.
Can cause severe injury or death.
Disconnect the battery cables before
working on the generator set.
Remove the negative (- ) lead first
when disconnecting the battery.
Reconnect the negative (- ) lead last
when reconnecting the battery.
WARNING
Disabling the generator set. Accidental starting can
cause severe injury or death. Before working on the
generator set or equipment connected to the set, disable the
generator set as follows: (1) Press the generator set off/reset
button to shut down the generator set. (2) Disconnect the
power to the battery charger, if equipped. (3) Remove the
battery cables, negative (- ) lead first. Reconnect the negative
(- ) lead last when reconnecting the battery. Follow these
precautions to prevent the starting of the generator set by the
remote start/stop switch.
1. Disconnect the battery (negative lead first).
2. Disconnect leads FP and FN from the FRX
activator board or remove the activator board from
the spacer.
3. Visually check the rotor assembly field for shorted
or open winding(s)
4. With an ohmmeter, check for continuity across the
FN/FP leads. Check for continuity across FN/rotor
shaft and FP/rotor shaft. See Figure 11-11. See
Section 1.8, Specifications, Electrical Values for rotor
assembly field resistance values.
Out-of-specification readings indicate a
non-functional rotor assembly requiring
replacement. Low resistance readings indicate a
shorted winding. High resistance readings indicate
an open winding. No continuity should exist
between any lead and rotor shaft (ground).
5. Repair the leads if damaged or open. Solder and
insulate the splices. Use new sleeving as needed
when tying leads to the core.
6. Using a megohmmeter, apply 500 volts DC to the
two leads and then the rotor shaft and each lead.
See Figure 11-12. Place the rotor assembly on a
non-conductive surface when performing the test.
Follow the instructions of the megohmmeter
manufacturer when performing this test.
A reading of approximately 500 kOhms
(1/2 megohm) and higher indicates the winding is
good.
A reading of less than 500 kOhms (approximately)
indicates deterioration of winding insulation and
possible current flow to ground.
7. Repair or replace the rotor assembly if the test
shows a winding is shorted to ground. Repair the
leads if damaged or open. Solder and insulate the
splices. Use new sleeving as needed when tying
leads to the core.
 Loading...