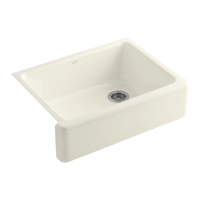
15. Complete the tap and drain connections.
16. Run water into the sink and check all connections for leaks.
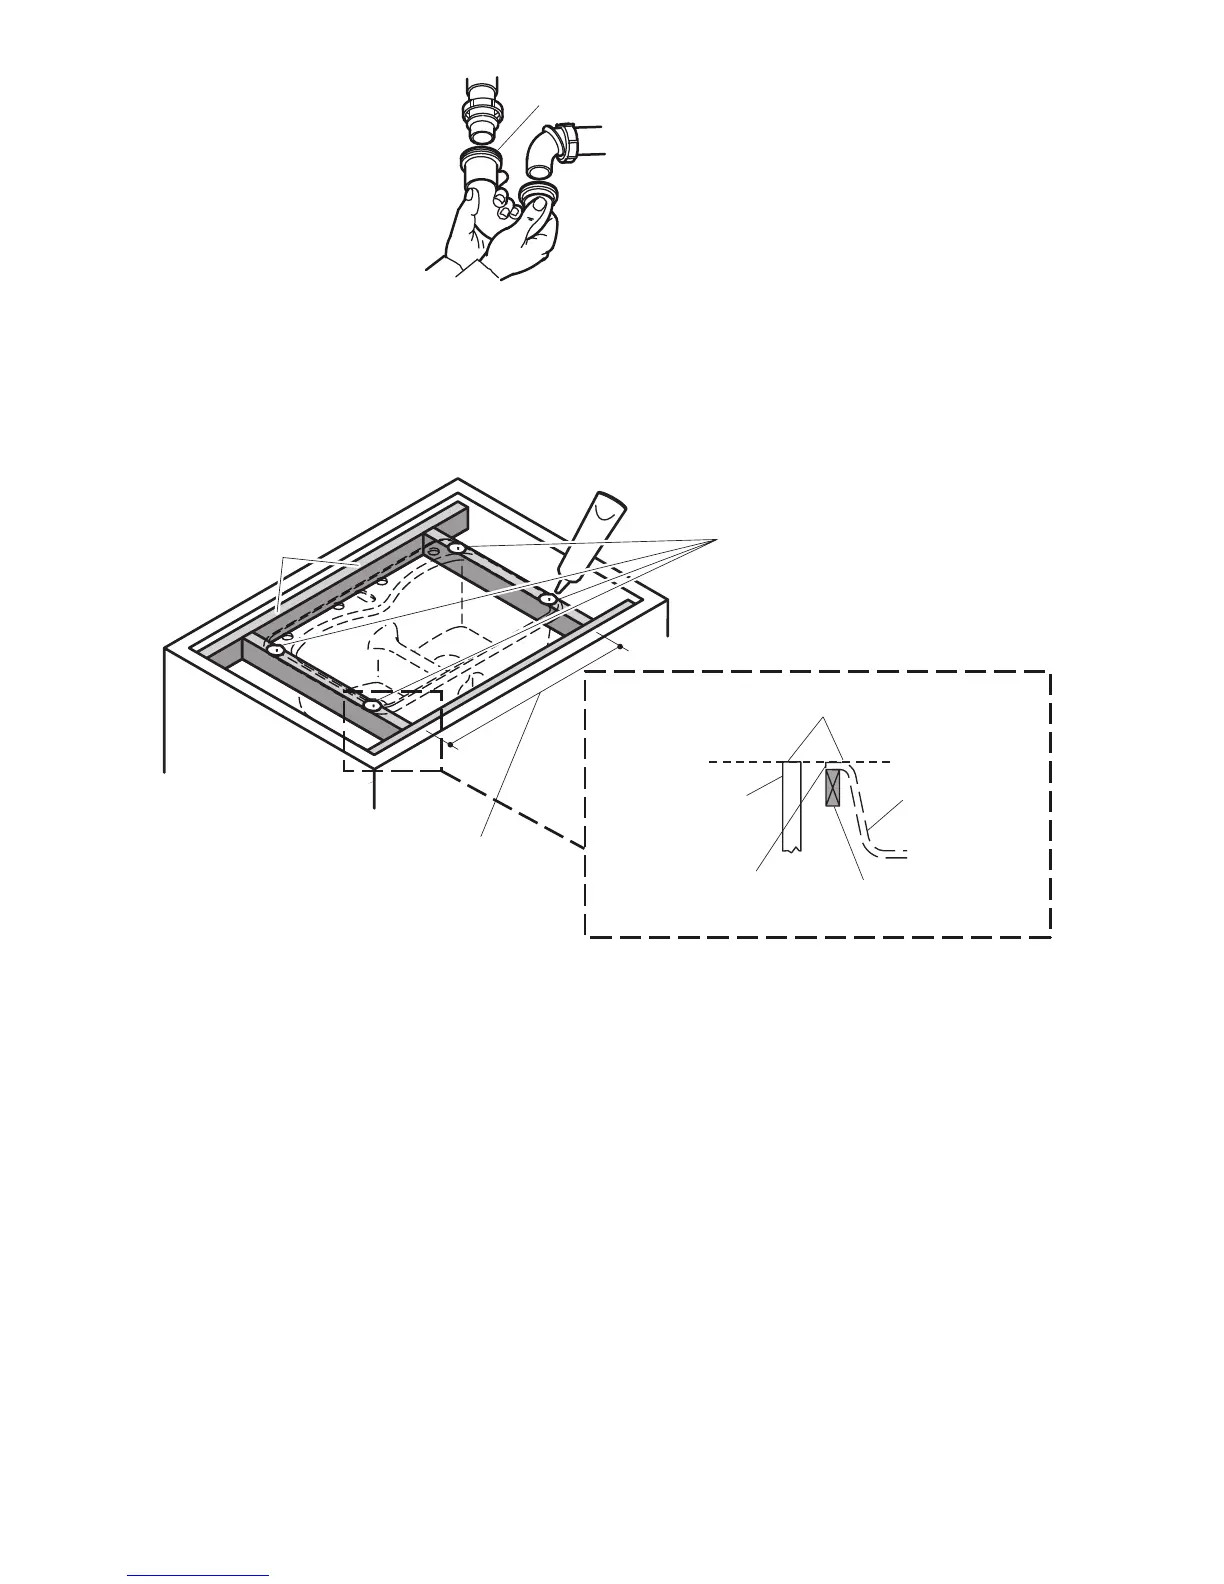
1. Measure the cabinet opening where the sink will be installed. Plan for adequate
clearance between the tap handles and the backsplash or nished wall.
2. Construct a wood frame for the inside of the cabinet. Allow adequate clearance
for the tap plumbing and the sink basin. Make sure that the frame will support
the entire sink rim.
Important! The frame should be located so that once the sink is installed, the
top of the sink rim will be ush with the top of the cabinet walls.
Note! If needed, shims can be used to bring the sink rim ush with the cabinet
walls.
3. Position the wood frame within the cabinet and secure. Locate the fasteners
for easy access in case the sink needs to be removed.
4. Apply a 25 mm (1″) bead of sealant at each corner of the wood frame where it
will contact the sink.
 Loading...