EasyManua.ls Logo

Kohler CLW Series - User Manual

Kohler CLW Series
4 pages
Print Icon
To Next Page IconTo Next Page
Loading...
1070225-2-A
1
CLW CABINET INSTRUCTIONS
CABINET MODELS: K-CB-CLW1526SS, K-CB-CLW2026SS, K-CB-CLW2030DAW
GENERAL NOTES
1. If you are surface mounting the cabinet on the wall
see instructiosn on page 2.
2. A surface mounted cabinet requires the optional
Mirror kit supplied with your cabinet.
3. If you are recessing the cabinet in the wall,
see instructions below.
4. Call our customer service - 1.800.4.KOHLER
between 8 a.m. and 5 p.m. C.S.T. If you have any
questions or require parts. Have the serial number
from inside the cabinet before you call.
444 Highland Drive. Kohler, WI 53044
Mounting location for
#8 x 1 1/2" philips
head screws
25 1/4" high
14 1/4"W for CLW15 Models
19 1/4"W for CLW20 Models
ROUGH OPENING DIMENSIONS
1. RECESSING THE CABINET INTO THE WALL.
One Year Limited Warranty
Top View
Stud and wall
surface
Install dome caps
over screws.
Cabinet flange fits
flush against wall.
Fig. 2
Install screws through
holes in cabinet as
shown in Fig. 1
DO NOT OVER-
TIGHTEN!
Fig. 1
For the U.S.A. and Canada Only
KOHLER plumbing products are warranted to be free of defects in material and workmanship
for one year from date of installation.
Kohler Co. will, at its election, repair, replace or make appropriate adjustment where Kohler
Co. inspection discloses any such defects occurring in normal usage within one (1) year after
installation. Kohler Co. is not responsible for removal or installation costs. Use of in-tank toilet
cleaners will void the warranty.
To obtain warranty service contact Kohler Co. either through your Dealer, Plumbing
Contractor, Home Center or E-tailer, or by writing Kohler Co., Attn.: Customer Service
Department, 444 Highland Drive, Kohler, WI 53044, USA, or by calling 1-800-4-KOHLER
from within the USA, 1-800-964-5590 from within Canada and 001-877-680-1310 from within
Mexico.
Implied warranties including that of merchantability and fitness for a particular purpose are
expressly limited in duration to the duration of this warranty. Kohler Co. and/or seller disclaims
any liability for
special, incidental or consequential damages.
Some states/provinces do not allow limitations on how long an implied warranty lasts, or the
exclusion or limitation of special, incidental or consequential damages so these limitations
and exclusions
may not apply to you. This warranty gives you specific legal rights. You may also have other
rights which vary from state/province to state/province.
This is Kohler Co.s exclusive written warranty.
Question and Answer IconNeed help?

Do you have a question about the Kohler CLW Series and is the answer not in the manual?

Kohler CLW Series Specifications

General IconGeneral
BrandKohler
ModelCLW Series
CategoryIndoor Furnishing
LanguageEnglish

Summary

General Cabinet Installation Notes

Surface Mounting Cabinet Instructions

Refer to page 2 for instructions on surface mounting the cabinet and required mirror kit.

Recessing Cabinet Installation Guide

Detailed instructions for recessing the cabinet into the wall, including mounting figures and flange fit.

Customer Service Contact Details

Contact information for customer service, including phone number, hours, and required serial number.

One Year Limited Warranty

Surface Mounting the Cabinet on a Wall

Install Mounting Bar

Instructions for drilling holes and attaching the mounting bar to the wall using anchors or studs.

Install Top Clips

Steps for fitting, marking, drilling, and securing top clips for cabinet mounting.

Attaching Side Kits to a Surface Mounted Cabinet

Apply Foam Tape to Side Kit Bracket

Instructions for applying foam tape to side kit brackets, advising to keep the liner on until test fitting.

Attach Side Kit Brackets

Guide for attaching side kit brackets to the cabinet, followed by test fitting and final application.

Door Adjustments

Adjusting Door Up and Down

Explanation of the screw used to release the door for up and down adjustment.

Plumbing the Door

Description of screws used to plumb the door for proper alignment.

Installing Shelves and Accessories

Install Toothbrush Covers & Door Bumpers

Instructions for installing clear door bumpers in the designated indent areas.

Installing the Shelves

Steps for pushing, twisting, and snapping shelves into place using pins and clips.

Parts List and Care Maintenance

Cabinet Parts Supplied

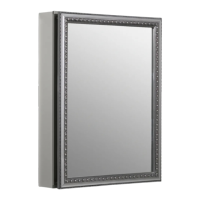
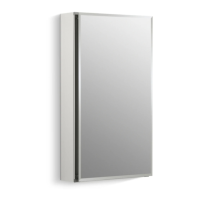
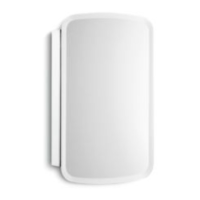
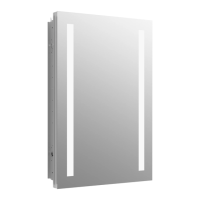
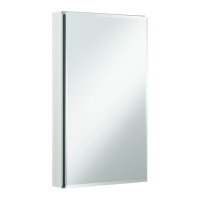
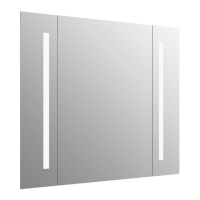
List of supplied parts including side mirrors, shelves, mounting bar, and hinge kits.

Cleaning Instructions

Guidelines for cleaning the cabinet and mirrors using a damp cloth, avoiding harsh chemicals.

Related product manuals