10.18
Section 10
Reassembly
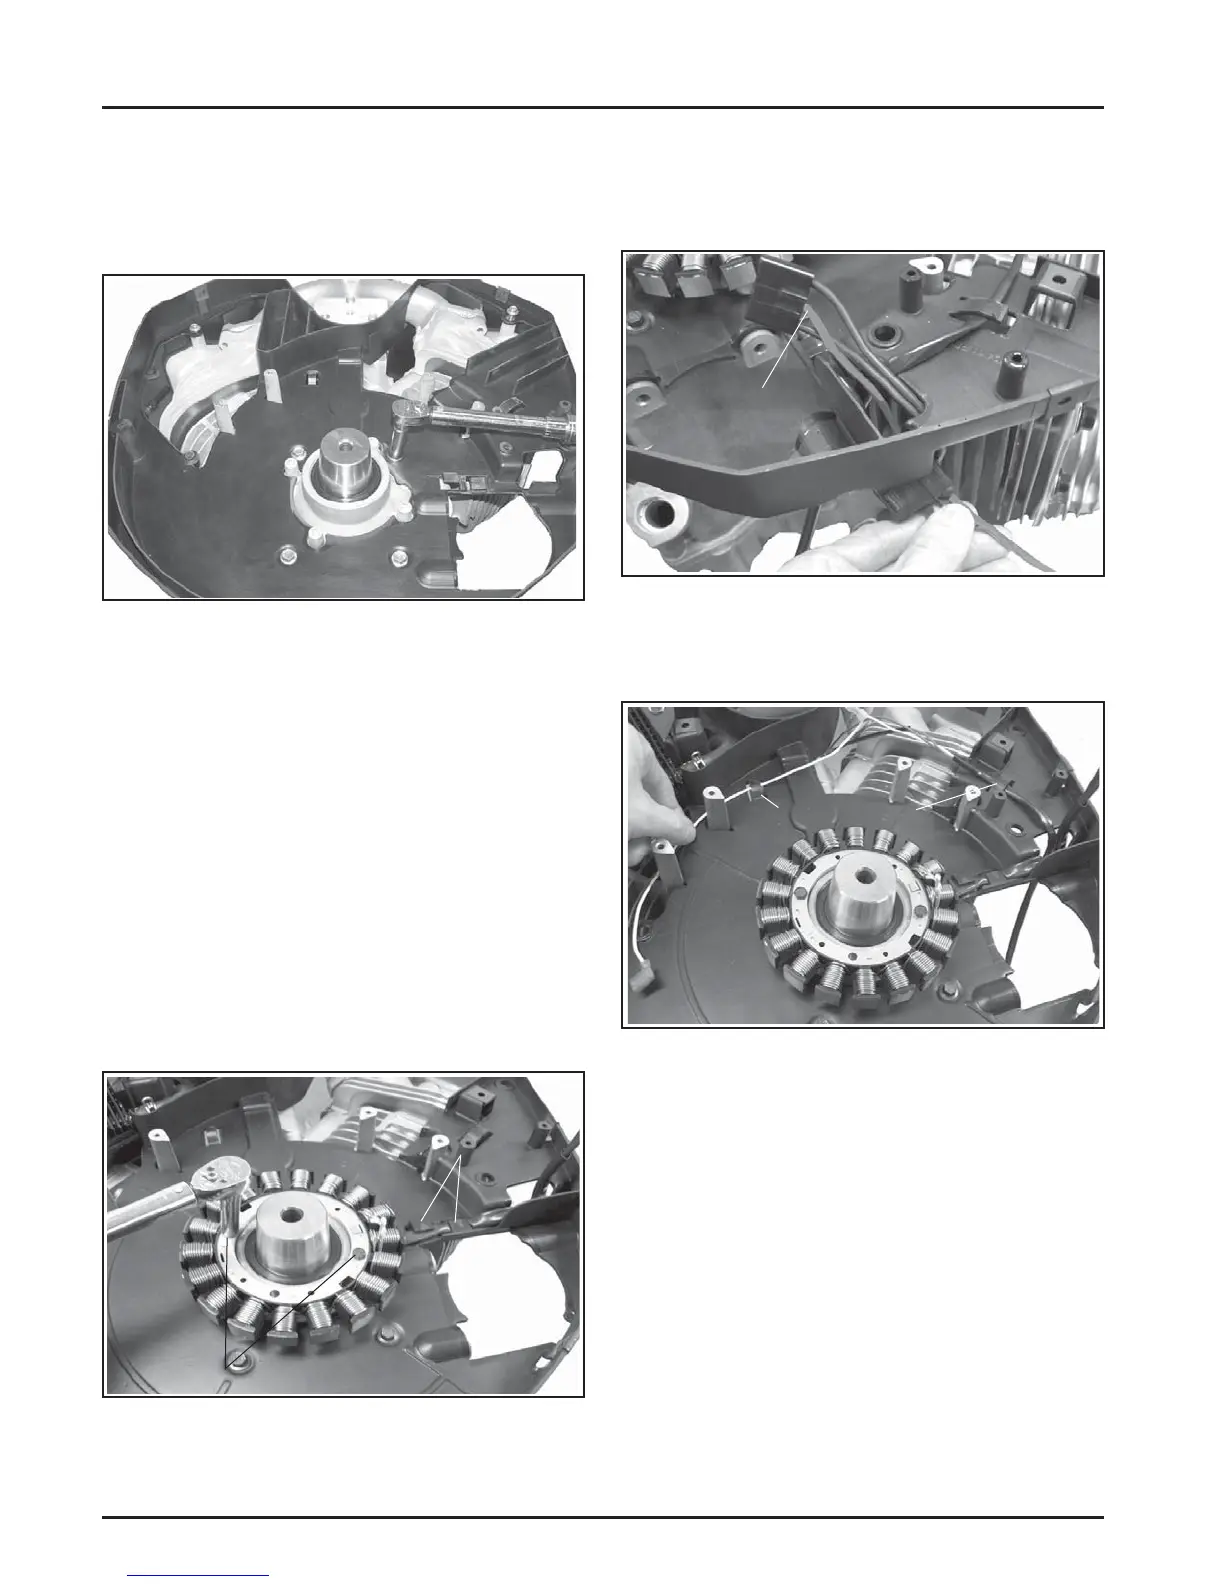
2. Install the backing shroud assembly and secure
to the crankcase with the four M6 screws. Torque
the screws to 10.7 N·m (95 in. lb.) into new holes,
or 7.3 N·m (65 in. lb.) into used holes. See Figure
10-72.
Figure 10-72. Installing Backing Shroud Assembly.
Install Stator, Wiring Harness, and
Rectifi er-Regulator
1. Apply pipe sealant with Tefl on
®
(Loctite
®
592™
PST
®
Thread Sealant or equivalent) to the stator
mounting holes.
2. Position the stator, aligning the mounting holes
so the leads are at the bo om and toward the
rectifi er-regulator mount on the No. 1 side.
3. Install and torque the two hex fl ange screws to
6.2 N·m (55 in. lb.). See Figure 10-73.
4. Route the stator wires under the two molded
clips in the backing shroud assembly. See Figure
10-73.
Mounting Screws
Molded
Clips
Figure 10-73. Installing Stator.
5. Check the terminal on the end of the B+ charging
lead to be sure the locking tang is angled upward.
Insert the terminal into the center location of the
connector until it locks into place.
B+ Lead
Figure 10-74. B+ Charging Lead Details.
6. Install the wiring harness under the molded clips
in the backing shroud assembly. See Figure 10-75.
Molded Clips
Figure 10-75. Installing Wiring Harness.
7. Position the rectifi er-regulator onto the mounting
posts with the cooling fi ns up. A ach the ground
lead to the outer screw and washer, then torque
the mounting screws to 2.0 N·m (18 in. lb.).
Connect the plug to the rectifi er-regulator. See
Figure 10-76.
 Loading...