11.3
Section 11
Reassembly
11
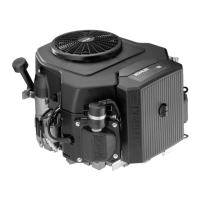
On CV460-495 models the offset of the connecting
rod and cap must be oriented to the left, with the part
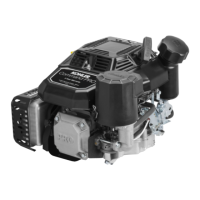
number up. The arrow on the piston must point away
from the part number. See Figure 11-6 and 11-7.
Figure 11-6. Connecting Rod Confi guration to
Piston with the Part Number "up".
Figure 11-7. Arrow on Piston.
Install Piston and Connecting Rod
NOTE: Proper orientation of the piston/connecting
rod inside the engine is extremely important.
Improper orientation can cause extensive
wear or damage.
1. Stagger the piston rings in the grooves until the
end gaps are 120° apart.
2. Lubricate the cylinder bore, piston, and rings with
engine oil. Compress the piston rings using a
piston ring compressor. See Figure 11-8. Push
the piston through the compressor so the oil
control (bottom) ring is just above the lower edge
of the compressor.
Figure 11-8. Installing Piston and Connecting Rod.
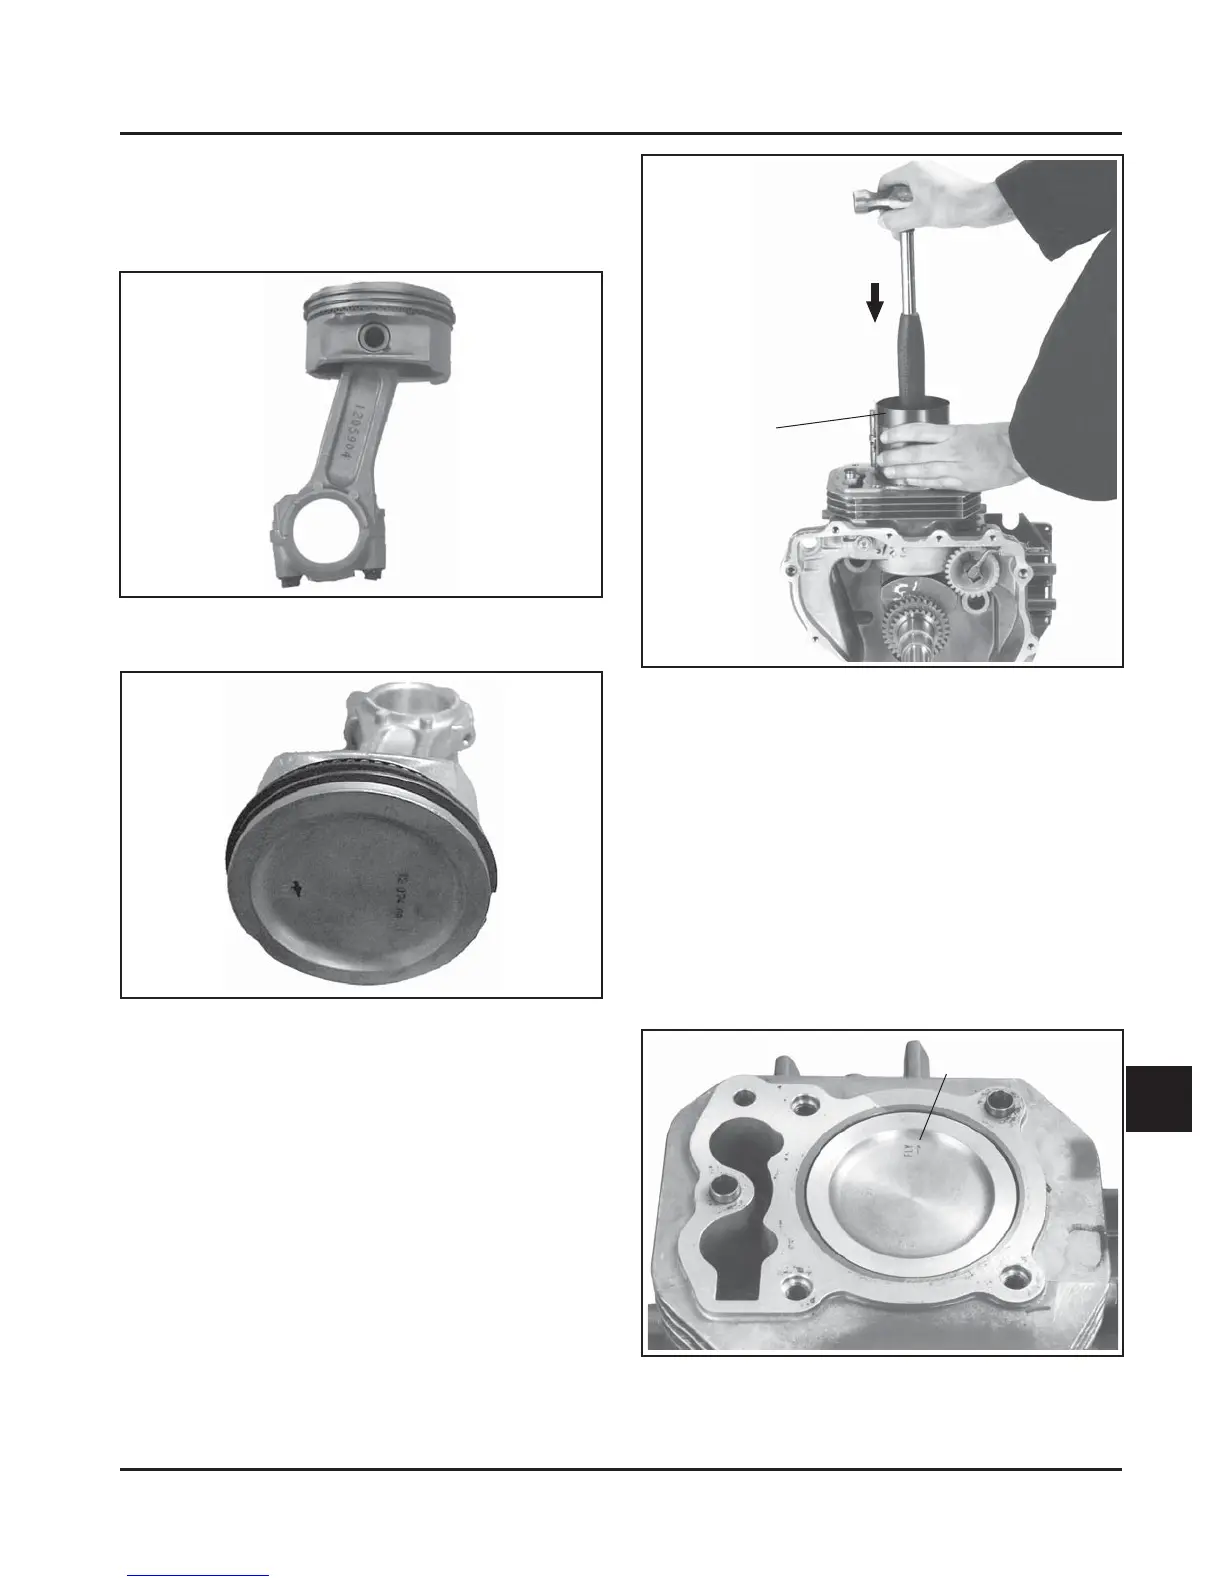
3. Place the ring compressor on the top surface
of the crankcase and make certain it is seated
down around the entire circumference. The “FLY”
arrow on the piston should point toward the
fl ywheel side of the crankcase. See Figure 11-9.
Use a soft, rubber grip hammer handle and tap
the piston/connecting rod into the bore. The fi rst
tap should be rather fi rm, so the oil ring moves
from the compressor into the bore in one smooth,
quick motion. Otherwise the oil ring rails may
spring out and jam between the ring compressor
and the top of the bore.
Figure 11-9. Piston Installation Identifi er.
Piston Ring
Compressor
Installed
around Piston
Arrow Must Point
Towards Flywheel