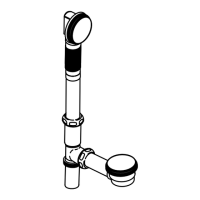
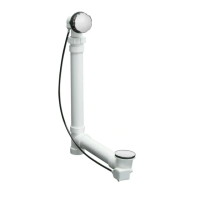
Fije las conexiones (cont.)
Retire los tubos de PVC, la T, el codo del rebosadero y el codo del desagüe.
Si es necesario, corte los tubos de PVC en los lugares marcados, luego elimine las
rebabas.
Aplique cemento para PVC o imprimador en los extremos de cada tubo de PVC.
Inserte los tubos de PVC aproximadamente 1″ (2,5cm)dentrodelaT,elcododel
rebosadero y el codo del desagüe.
Apriete con una llave todas las conexiones un cuarto de vuelta.
Aplique sellador de silicona al tubo final.
Inserte el tubo final aproximadamente entre 1″ (2,5 cm) y 2 (5,1 cm) dentro de la
entrada de la trampa (no se ilustra).
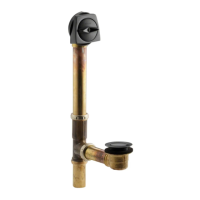
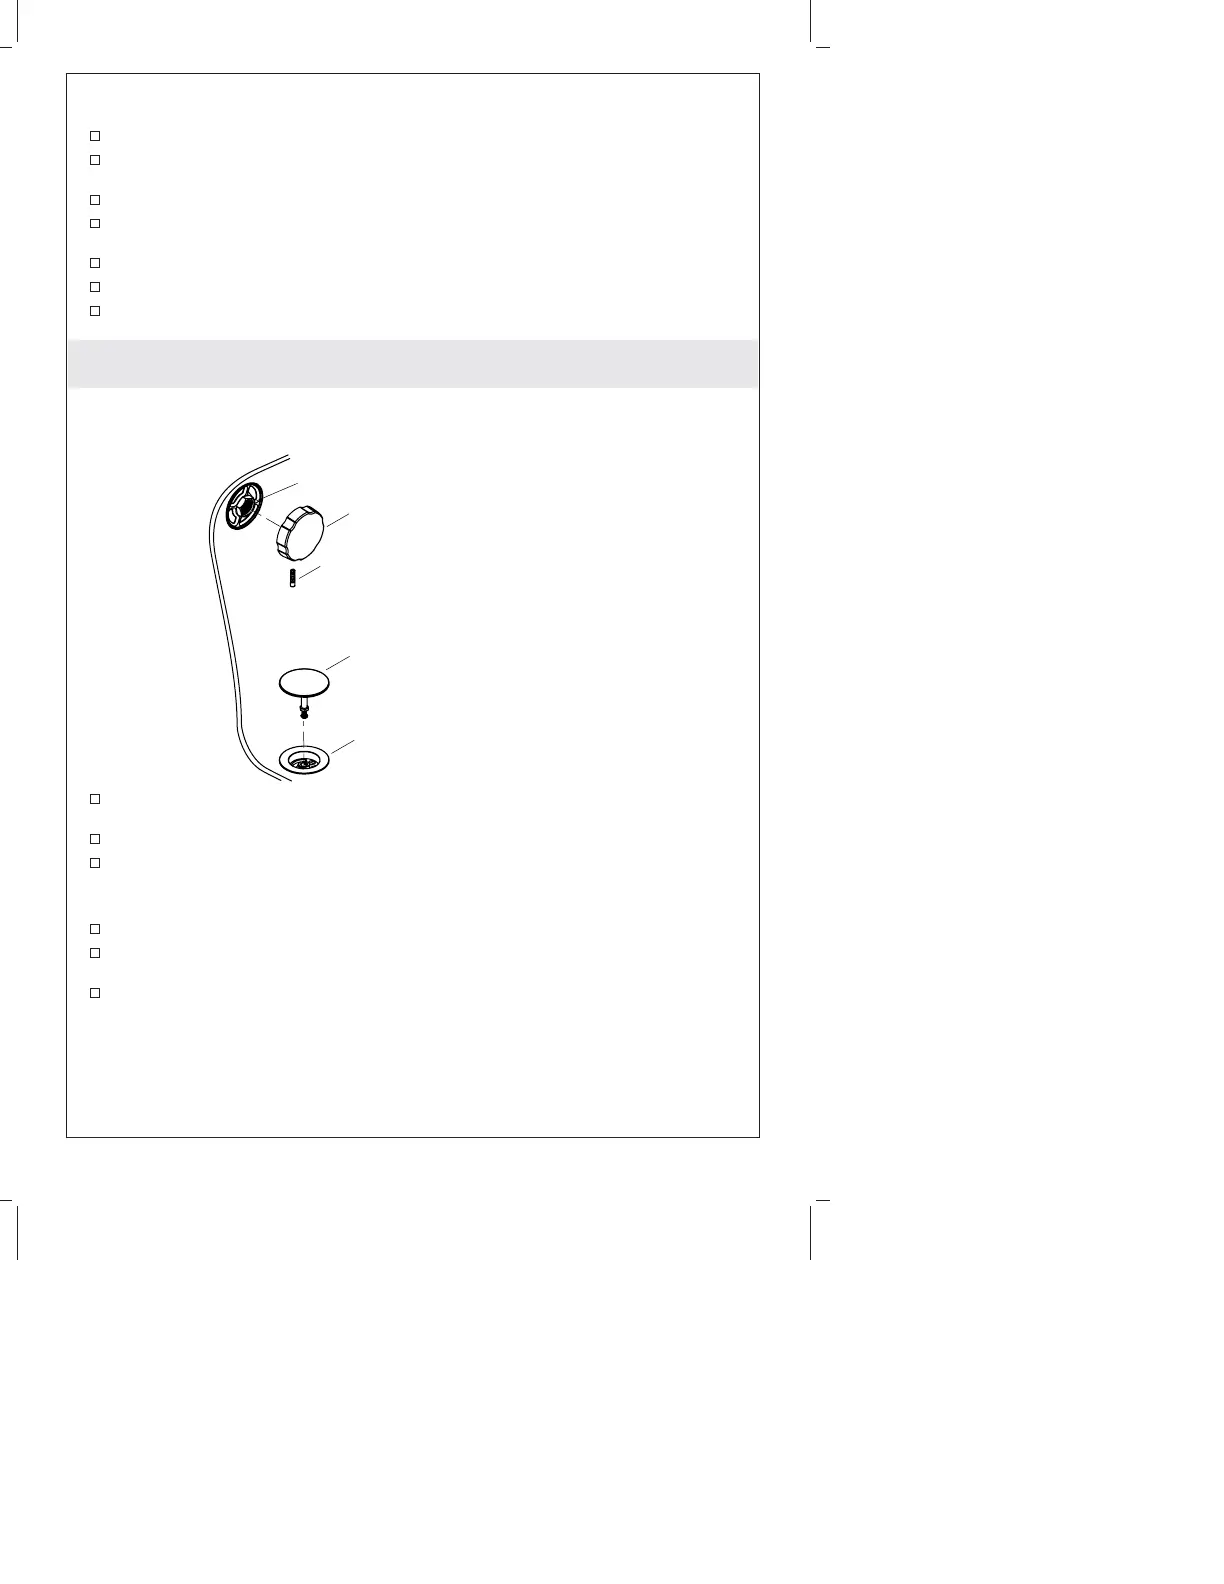
4. Complete
Using a hex wrench (provided), secure the handle to the overflow retainer with
the setscrew.
Insert the stopper into the drain retainer.
If necessary, adjust the height of the stopper.
Adjustment
Remove the stopper from the drain retainer.
Turn the nut on the stopper. To raise the stopper, turn the nut counterclockwise.
To lower the stopper, turn the nut clockwise.
Reinsert the stopper into the drain retainer.
Stopper/Arrêt/Obturador
Setscrew/Vis de retenue/Tornillo de fijación
Handle/Poignée/Manija
Overflow Retainer
Rétention du trop-plein
Retén del rebosadero
Drain Retainer
Rétention du drain
Retén del desagüe
1108247-2-A 10 Kohler Co.