Do you have a question about the Kohler MASTERSHOWER Series and is the answer not in the manual?
Guidance on familiarizing yourself with tools, materials, and sequences for proper installation.
List of necessary tools and materials for installation, including wrenches, sealants, and caulk.
Diagrams and measurements for correctly positioning shower arm and head connections within the wall.
Procedure for inspecting, cleaning, and maintaining the inlet screen and flow control in the ball joint.
Steps for disassembling, cleaning, and reassembling the aerator housing and its components.
| Brand | Kohler |
|---|---|
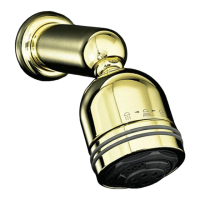
| Model | MASTERSHOWER Series |
| Category | Bathroom Fixtures |
| Language | English |