3 Getting started with the generating set
3.1 Key to illustrations
The cover illustrations can be used to identify the various components of the unit. The procedures in the manual refer to these
illustrations using letters and numbers as identifiers: "A1" refers to the number 1 on figure A.
Starter-recoil reel handle
Spark arrester mounting bolt
Fuel filter retaining clips
230V fuse on working hours counter
"Low temperatures" position
GSC101-Generator Smart Care
Air filter cover fasteners
* Source transfer switch, battery charger…
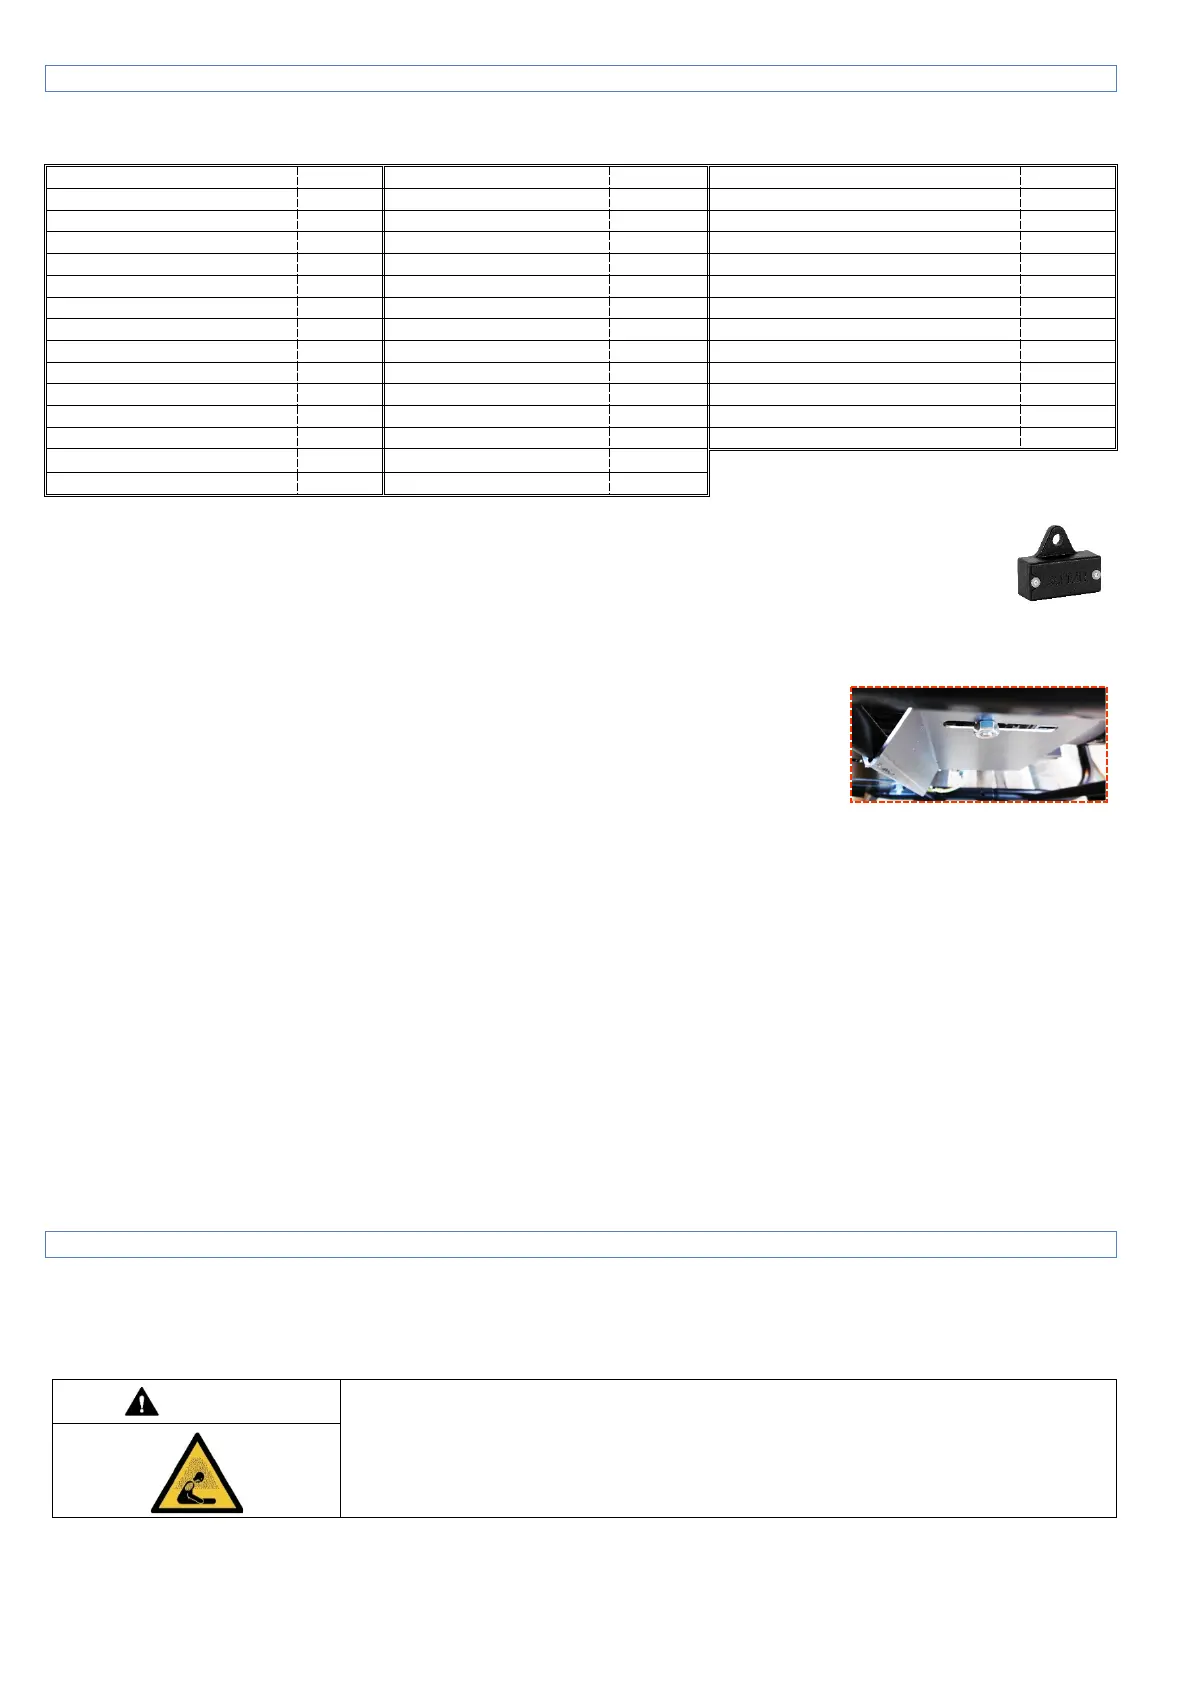
The unit may be equipped with the "GS101-Generator Smart Care" option (A26): the Bluetooth GSC101 box
transmits all the information needed to monitor the unit to an application to be installed on your mobile phone; this
includes maintenance dates, a maintenance aid, and the map of approved resellers for any spare parts required.
3.2 Initial commissioning
On taking delivery and commissioning the unit:
1. Check that it is complete and not damaged in any way.
2. If the unit is fitted with a transport bracket, remove it.
The transport bracket is a metal plate located underneath the engine, close to the
earth terminal. Although useful for transportation, it will prevent optimum operation
of the unit (noise, vibration).
To remove it: lift the unit slightly and place it on a block then remove the nut (1) and
the clamp (2).
3. Check the oil and fuel levels and top them up if necessary.
4. If necessary, connect the battery, starting with the positive terminal.
Observe the polarity of the battery terminals when connecting it: as this could cause serious damage to the electrical equipment.
Some units require a running-in period. Contact your nearest agent for more information.
3.3 Installing the battery
1. Connect the red wire to the positive battery terminal (+) (A2).
2. Connect the black wire to the negative battery terminal (-).
3.4 Connecting Generator Smart Care
The unit may be equipped with the "GS101-Generator Smart Care" option (A26):
1. Secure the Bluetooth GSC101 box to the unit,
2. Download and install the free Generator Smart Care* application onto a mobile phone or tablet,
3. Create an account,
4. Activate Bluetooth on the phone or tablet,
5. Follow the instructions on the application to pair the phone or the tablet with the Bluetooth GSC101 box.
Generator Smart Care displays all the information needed to monitor the unit in the application; this includes maintenance date
alerts and reminders, a maintenance aid, and the map of approved resellers for any spare parts required.
*Available free from the App Store and Google Play (excluding any connection fees charged by the phone system operator).
4 Using the generator set
Before using the unit, always:
1. Check that the unit is correctly installed and that it is ready to start.
2. Make sure you have understood all of the operating procedures.
To stop the unit in an emergency: turn the key to the "OFF" position and close the fuel tap(s), if fitted.
4.1 Positioning the generating set for operation
RISK OF POISONING - CARBON MONOXIDE
DANGER OF DEATH (if appropriate)
Carbon monoxide is invisible, odorless and non-irritating and can cause death in less than an
hour. Always use the unit in a well ventilated area where the gases cannot accumulate.
In the event of headache, nausea or vomiting: stop the unit immediately, ventilate and
evacuate the area and call for help.
1. Choose a site that is clean, well ventilated and sheltered from bad weather.
2. Position the unit on a flat horizontal surface that has sufficient load-bearing capacity to prevent it from sinking.
The units are designed for stationary operation: they must not be installed on a vehicle or other mobile equipment unless a study taking
into account the different specific requirements for use of the unit has been carried out.
3. Check that the angle of the unit, in all directions, does not exceed 10°.
 Loading...