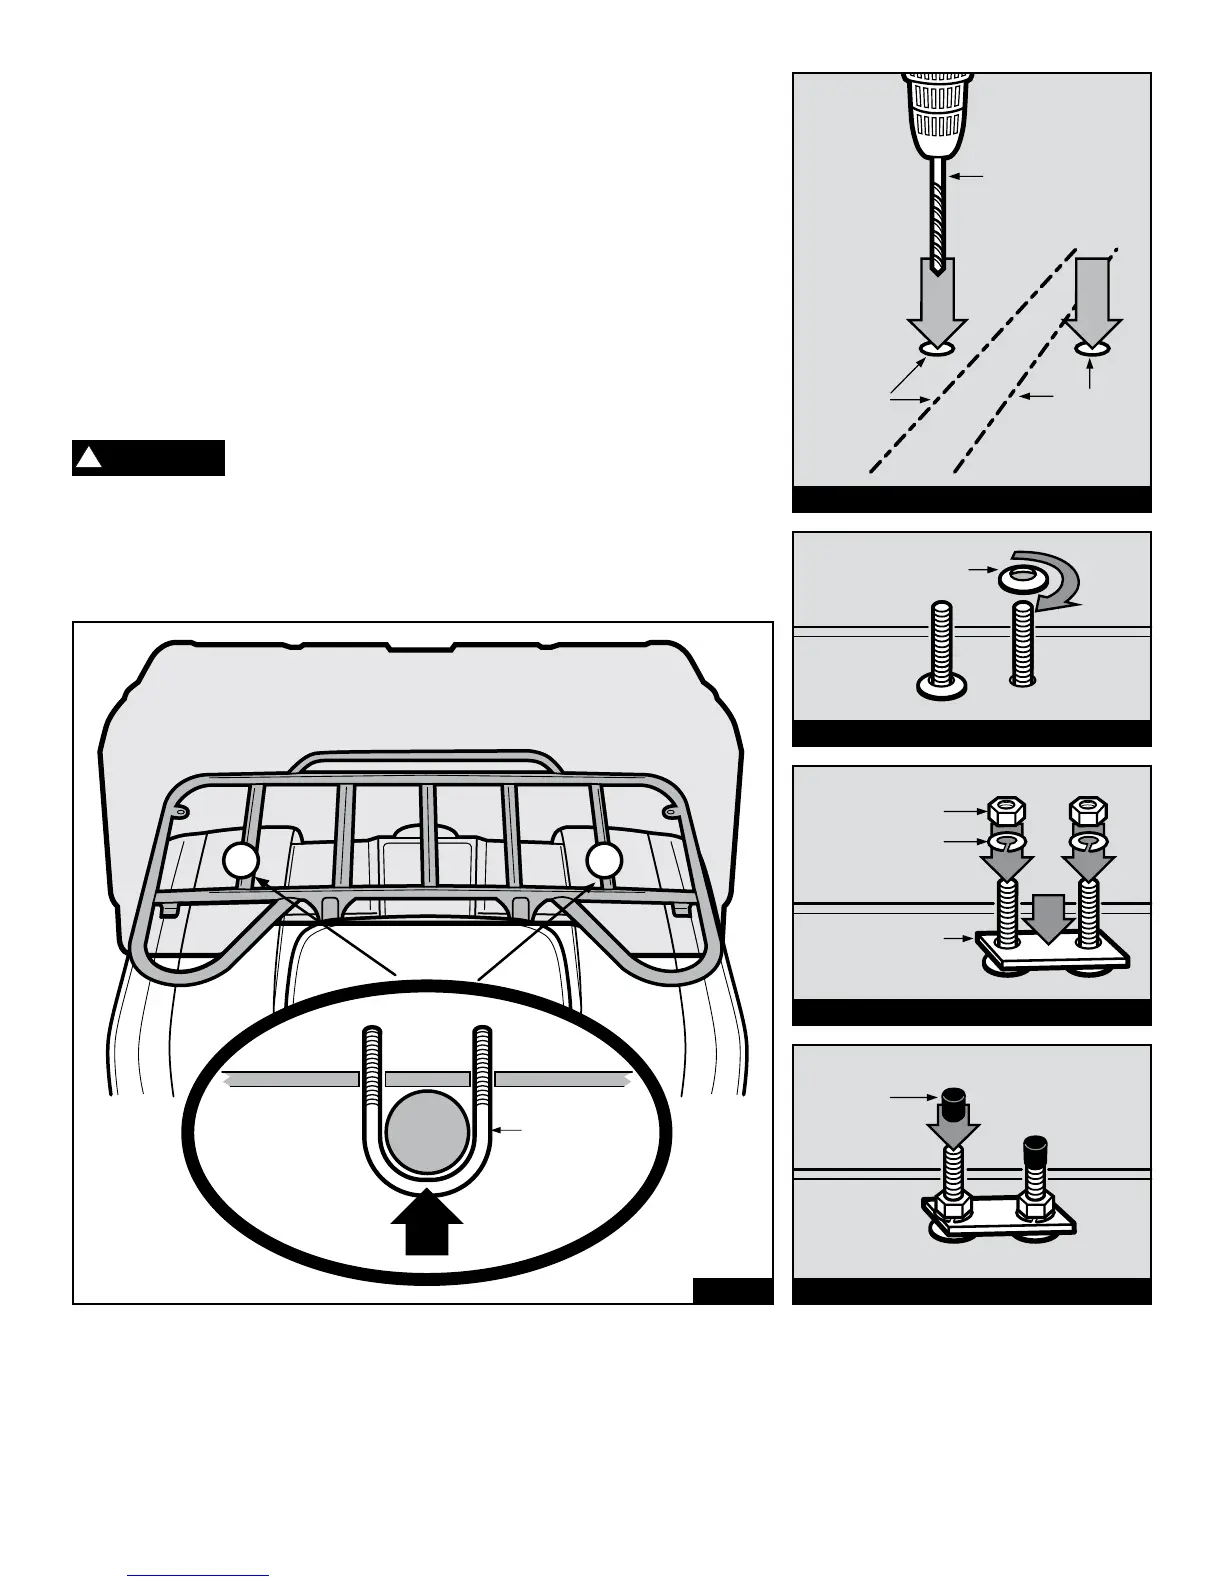
4) Once you have accurately marked both hole locations at both mounting points,
carefully use a 5/16” bit to drill all four holes as indicated in Image “D”.
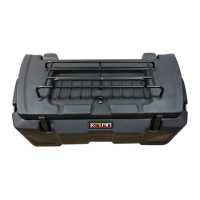
5) Place the Outfitter Box back onto your vehicle’s rack while feeding the supplied 1/4” x
1-1/8” x 2” U-bolts around the rack and through the holes you have just drilled in the
bottom of the box as indicated in Image “E”. Repeat this step.
6) Place the supplied 1/4” bonded sealing washers over the U-bolts by threading them
over both ends as indicated in Image “F”. Repeat this step.
7) Finish mounting the Outfitter Box by sliding the supplied 2” x 3/4” U-bolt plate over all
four U-bolts and fasten with the 1/4” lock washers and 1/4”-20 nuts as indicated in
Image “G”. Repeat this step in all four mounting locations. Do not overtighten.
8) Slide the thread caps over the U-bolts as indicated in Image “H”. Repeat this step.
9) Maintenance and Care: Tighten all hardware after first use and periodically thereafter.
Failure to follow these installation instructions completely may void
any warrantable components and result in property damage or
personal injury. NEVER operate or transport ATV with unsecured cargo.
For additional assistance, please contact our customer service department at:
Kolpin Outdoors, Inc. | 205 N. Depot Street | Fox Lake, WI 53933
1.877.956.5746 | customerservice@kolpin.com
WARNING
!
21
Your
Vehicle’s
Rack
Box Cross SectionBox Cross Section
1/4” x 1-1/8”
x 2” U-bolt
Image E
Drill
Drill
5/16” Drill Bit
Your MarksYo ur Marks
Image D – View from Underside of Box
1/4” Bonded
Sealing Washer
Image F – View from Inside of Box
1/4” Lock Washer
1/4”-20 Nut
2” x 3/4”
U-Bolt Plate
Image G – View from Inside of Box
Thread
Cap
Image H – View from Inside of Box