3
© 2018 Kolpin Outdoors Inc. REV 05
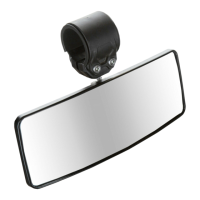
Mirror Mounting Instructions:
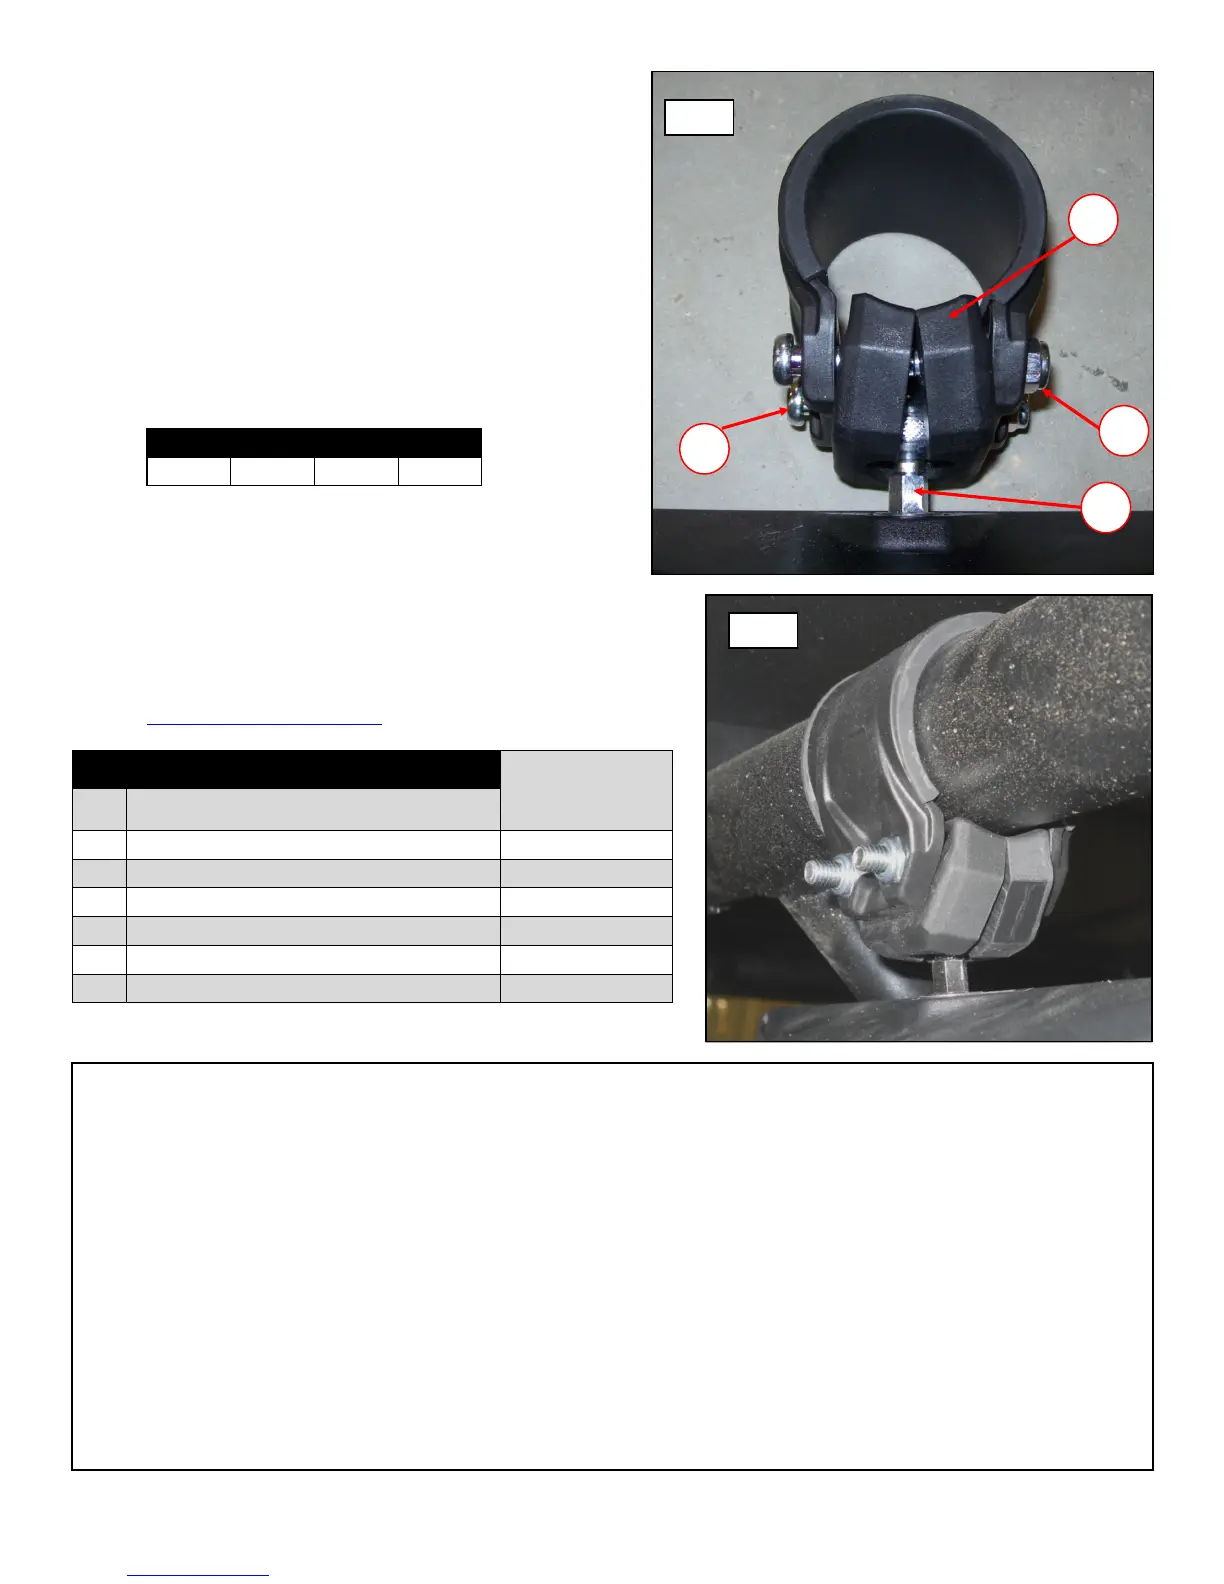
1. For your specific vehicle configuration listed on page 2, position -
clamp and fasten the assembled mirror onto the vehicle in desired
location. The clamp adapters (item #3) have a socket receptacle to
hold the ball stud (item #2). Insert the mirror assembly into the
clamp adapters as shown. Use the two screws (item #4) and two
locknuts (item #6) to secure the clamp and mirror assembly into
position. (See illustrations 2-1 and 2-2).
2. Tighten the screws to specified torque setting. WARNING: Do not
over tighten hardware or damage can occur.
Torque Charts: Tighten all screws to their specified torque values
listed in below table.
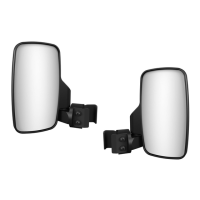
3. Pivot mirror to desired viewing angle by loosening (turn counter-
clockwise) the screws (item #4) and then tighten (turn clockwise)
to secure into position.
Note, if the screws (item #4) are
loosened too much, the clamp adapters (item #3) can allow
mirror (item #1) to become disconnected from the clamp
assembly - please support mirror while making adjustments.
For additional assistance, please contact Kolpin technical service
department at (877) 956-5746 or (763) 478-5800
or email customerservice@kolpin.com
One Year Limited Warranty
For the period of one (1) year from the purchase date, Kolpin will replace for the original purchaser, free of charge, any part or parts
found upon examination by Kolpin to be defective in material, workmanship, or both.
All transportation costs incurred submitting product to Kolpin for warranty consideration must be borne by the purchaser. If Kolpin
determines that the product must be returned to the factory for credit, please call 1-877-956-5746 for a Return Merchandise
Authorization (RMA) number and shipping instructions.
This warranty does not apply to parts that have been damaged by accident, alteration, abuse, improper maintenance, normal wear, or
other causes beyond the manufacturer’s control. In order to protect you and your ATV, certain parts of the accessory system and/or
hardware are designed to fail when the equipment is over-stressed. Parts that are lost due to loosening and improper maintenance
are not covered under warranty. This warranty does not cover removal or reinstallation labor fees of the plow system and related
components.
Peripheral products such as engines, electric motors, and actuators may carry an original manufacturer’s warranty. Most hardware is
general in nature and is easily obtained locally. Be sure to replace with minimum metric class 8.8 specification.
Ill. 2-1
3
SPARE KITS
Hardware &
clamp kit P/N:
98316 Item Description
4 Button Screw, Zinc Plated, M6-1.0 x 45mm 2x
5 2.0” OD Clamp 1x
6 Hex Locknut, Zinc Plated, M6-1.0 3x
7 1.75” OD Clamp 1x
8 U-Type Rubber Gripping Pad 1x
9 Flat Rubber Shim Pad 1x
Spare kit contains extra hardware that is used for other mirror kits. Extra hardware
can be discarded.
Item N*m kgf*m lbf*ft
4 5 0.5 4
2
6
4
Ill. 2-2
 Loading...