Do you have a question about the Konica Minolta AccurioPress C3080 and is the answer not in the manual?
Explains symbols like CAUTION, NOTICE, Tips, and Reference used throughout the manual.
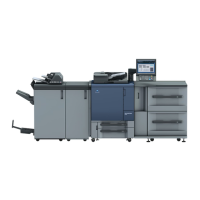
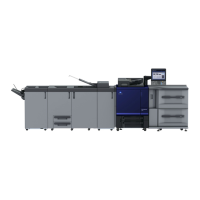
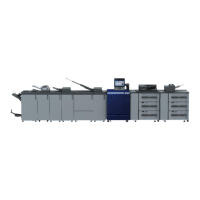
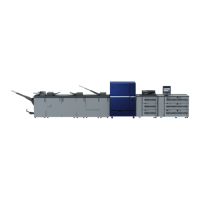
Describes how product names and system configurations are presented in the guide.
Explains the purpose and benefits of the automatic inspection function.
Explains how to configure basic and operation settings for automatic inspection.
Details specific settings like chart type, deviation check, and operation after detection.
Specifies reference values for stain size and density for detection.
Configures network settings like IP address for the Auto Inspection Unit.
Displays available memory space for the machine and the Auto Inspection Unit.
Sets security options for the Auto Inspection Unit, including passwords and encryption.
Configures automatic notifications via email when stains are detected.
Specifies whether to store log data and mask images when service calls occur.
Explains how to check inspection levels using test charts and provides chart examples.
Guides on how to create a reference image before executing an automatic inspection job.
Explains how to select an already created reference image for auto inspection.
Describes creating a reference image using the Wait setting for direct print jobs.
Explains how to select a reference image for a job in Wait setting.
Explains how to confirm the auto inspection results and take appropriate actions.
Provides steps to view the auto inspection report directly on the machine's screen.
Guides on accessing the auto inspection report through the machine's Web Utilities interface.
Explains how to change display items and colors in PDF reports using Adobe Acrobat.
Describes how to view inspection results and detected errors in real time via Web Utilities.
Explains how to confirm and manage previously created reference images.
Defines automatic inspection areas and lists four types, including Inspection Excluding Area and Barcode Area.
Guides on setting specific areas for inspection, like serial number or barcode areas.
Describes how to output printouts with errors to a purge tray and perform reprinting.
Explains how to output printouts with errors to the same tray as normal printouts.
Describes how to decode barcode or serial numbers in specified areas to check contents.
Describes how to check for consecutive numbers or barcodes in specified areas.
Inspects variable printing of numeric values or barcodes by collating CSV data with printouts.
Provides remedies for out-of-range image detection, including stain issues and report analysis.
| Print Speed | 81 ppm (A4) |
|---|---|
| Resolution | 1200 x 1200 dpi |
| Color Capability | Full Color |
| Print Resolution | 1200 x 1200 dpi |
| Duplex Printing | Yes |
| Memory | 8 GB |
| Supported Operating Systems | Windows, Mac OS, Linux |
| Connectivity | Ethernet, USB |
| Hard Drive | 1 TB |
| Media Sizes | A3, A4, A5, B4, B5, Legal, Letter, Executive, Custom sizes |