Preparation
Installing batteries
Turn o the power before replacing the baeries.
If the baeries have run down or you do not ex-
pect to use the unit for an extended period of time,
remove the baeries from the unit.
Don’t mix partially-used baeries with new bat-
teries, and don’t mix baeries of diering types.
If the baery capacity has decreased, sucient
volume may not be achieved or noise may occur.
Tip When the baeries begin to run down, the Tempo
LED will become dark.
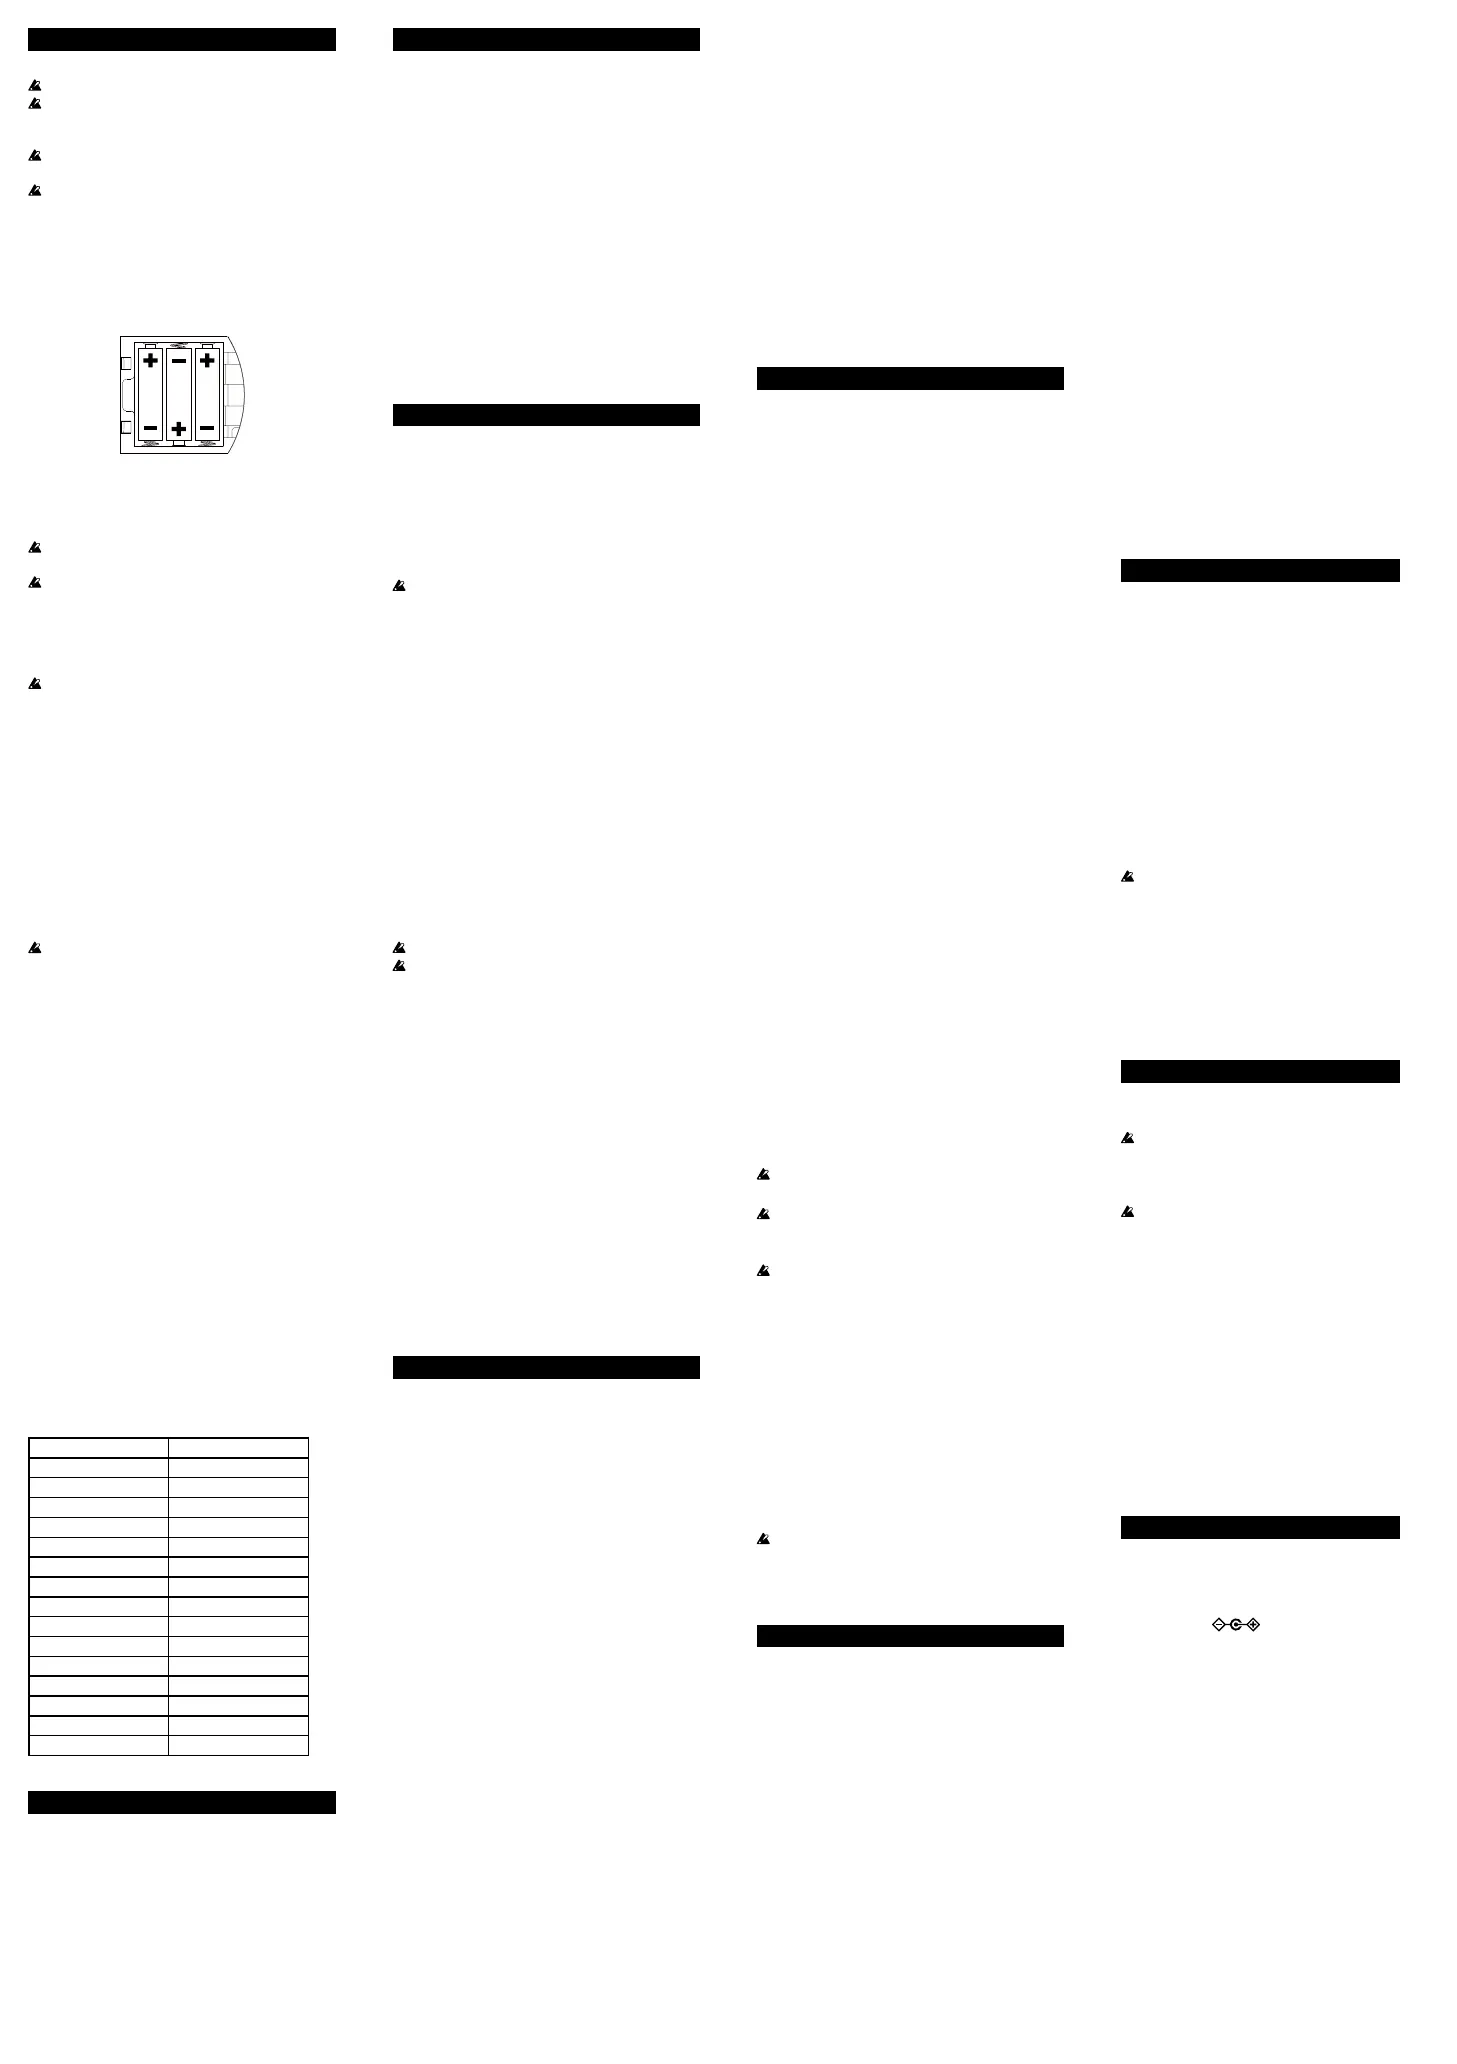
1. Detach the battery cover from the rear panel.
2. Insert three AA batteries, making sure that their
correct polarities (+ and –) are observed. Be sure to
use alkaline batteries.
3. Reattach the battery cover.
Using the AC adapter (optional)
Connect the AC adapter to the DC9V jack.
You must turn o the power before connecting the
AC adapter.
You must only use the specied AC adapter. Us-
ing any AC adapter other than the specied model
will cause malfunctions.
Making connections
Refer to the connection diagram in this manual.
Before connecting anything turn o all devices rst.
Turning on the power
Aer turning o all external output devices, such as
monitors and speakers, turn on this unit.
1. Fully turn the KR mini’s Level knob to the left.
2. Hold down the KR mini’s Power button to turn
it on.
3. Turn the KR mini’s Level knob to the right to an
appropriate position.
Turning off the power
1. After fully turning the KR mini’s Level knob to the
left, hold down the Power button until the lit LED
turns off.
Never turn o the KR mini while data is being
wrien.
Auto power-off function
The KR mini has an auto power-o function.
If no buons or knobs are used or nothing is played
back for approximately 1 hour, the KR mini automati-
cally turns o.
Tip The auto power-o function is enabled as the fac-
tory default.
Tip The seing to enable or disable the auto power-o
function is saved even when the power is turned
o.
Enabling the auto power off function
While holding down the Chain playback buon, turn
on the KR mini. The Chain playback buon will blink
several times.
Disabling the auto power off function
While holding down the Paern playback buon, turn
on the KR mini. The Paern playback buon will blink
several times.
Playing rhythms (Play mode)
About patterns
Six dierent rhythm paerns can be used with each
genre (except “Songs”).
Select a rhythm paern with the genre selector and
Paerns buons, and then play back or stop the pat-
tern with the Paern playback buon.
Two ll-in paerns, which are selected with the Fill1/2
buons, can be used with each rhythm paern.
Simply turning the genre selector will not switch
the paern. When a Paern buon is pressed to
select a paern, the genre and paern can be se-
lected.
About chains
Chain is a function for recording one paern with
each Chain buon, then sequentially connecting them
to play them back.
Press a Chain buon to select a playback location, and
then play back or stop the chain with the Chain play-
back buon.
Tip For details on recording a paern to a Chain but-
ton, refer to “Editing chains.”
About songs
With songs, a few bars of the drum part from a song
will be recorded.
Turn the genre selector to “Songs,” and then press a
Paern or Fill buon to select the song. Play back or
stop the song with the Paern playback buon.
The genre cannot be changed during playback.
Songs cannot be edited or recorded in a chain.
Switching the rhythm during playback
If a Paern buon or a Chain buon is pressed dur-
ing playback of a paern or chain, the paern being
played back switches to the newly selected paern or
chain. Until playback switches, the buon for the next
paern or chain to be played back will blink.
Pressing a Paern buon or Chain buon while it is
blinking cancels it.
Fill-in patterns
Press a Fill buon during playback to play the ll-in
paern once, then return to playing the original paern.
Tip The ll-in paern is played to end at the same
time that the original paern would have ended.
If the Fill buon is pressed with less than half a
beat remaining on the original paern, the ll-in
paern will be played aer the next paern (or
chain).
Editing chains (Chain Edit mode)
While playback is stopped in Play mode, hold down
a Chain buon to enter Chain Edit mode. The pressed
Chain buon will blink, and the other Chain buons
will light up.
Recording a pattern
1. Press the Chain button for the chain number
where a pattern is to be recorded.
The pressed Chain buon will blink and if the
genre is already set for the currently recorded pat-
tern, the corresponding Paern buon will light
up.
2. Using the genre selector and Pattern buttons,
select the pattern to be recorded.
Tip A ll-in paern can be played during play-
back of a recorded chain. To switch to a ll-in
paern, press the Fill buon. The pressed Fill
buon will light up.
Pressing the Paern playback buon repeatedly plays
back the paern recorded to the selected Chain buon.
Pressing the Chain playback buon begins playback
of the chain starting with the selected chain number.
Setting the endpoint of the chain
The endpoint for the playback of the loop can be speci-
ed.
Turn the genre selector to “Songs/Chain End.” The
buon for the currently set endpoint will blink rapidly.
For example, to play back a loop of paerns saved to
Chain buons 1 through 4, press Chain buon [4].
Turn the genre selector to any seing other than
“Songs.”
Chain 4 is set as the endpoint, and a loop of the pat-
terns saved to Chain buons 1 through 4 will be
played back.
Tip If Chain buons 5 to 8 are selected for play-
back in the above example, the paerns will
be played back sequentially up to Chain
buon 8, and then a loop of the paerns
saved to Chain buons 1 through 4 will be
played back.
Setting the number of times the chain is
looped
The number of times the chain is looped can be
set between 1 and 8 or to an unlimited number.
While playback is stopped, hold down the Chain
playback buon. The buon for the set number of
times the chain is looped will light up (all buons
are turned o if an unlimited number of times is
set).
While holding down the Chain playback buon,
press an unlit Chain buon to set the number
of times the chain will be looped. If a lit Chain
buon is pressed, all buons will turn o and an
unlimited number of times will be set.
Playback will stop aer a loop of the chain is
played back the set number of times.
Saving chain patterns
Holding down any Chain buon saves all chang-
es to the chains.
To return to Play mode without saving the
changes, simultaneously press the Paern play-
back buon and the Chain playback buon.
Playing the pads (Pad mode)
Aer entering Pad mode, the Paerns and Chain
buons become pads, allowing you to play what-
ever you wish. The sound of a percussion instru-
ment, such as drums, will be recorded with each
of the 16 pads.
While playback is stopped in Play mode, simul-
taneously hold down the Paern playback buon
and the Chain playback buon for approximately
one second to enter Pad mode. The two buons
will light up in yellow.
The pad will light up briey when it is tapped.
If the Paern playback buon or the Chain play-
back buon is pressed, the Tempo LED starts
to blink at a tempo set by the Tempo knob. The
Tempo LED stops blinking when either buon is
pressed again.
In Pad mode, paerns and chains cannot be
played back.
To exit Pad mode, simultaneously press the Pat-
tern playback buon and the Chain playback
buon.
Changing the pad sound
1. Turn the genre selector to “Songs.”
2. Hold down the pad that you want to edit.
The pressed pad will blink, and a pad will light up
to indicate the sound that is assigned to it.
Tip If the pad you want to edit is the same as the
pad indicating the assigned sound, the pad
will blink slowly.
3. Tap the pad for the sound to be assigned.
In addition to assigning the sound, the maximum
volume for each pad is set according to how hard
it is tapped. To set the minimum volume, hold
down the Chain playback buon and tap the pad.
Tip If the velocity function is disabled, the sound
is produced at the maximum volume set as a
default.
4. Simultaneously press the Pattern playback button
and the Chain playback button. The settings are
saved, and the KR mini returns to Pad mode.
Pad sounds that can be assigned
Pattern [1] button
High Tom
Pattern [2] button
Low Tom
Pattern [3] button
Floor Tom
Pattern [4] button
Crash Cymbal
Pattern [5] button
Ride Cymbal
Pattern [6] button
High Conga
Fill1 button Low Conga
Fill2 button Agogo
Chain [1] button Bass Drum
Chain [2] button Snare Drum
Chain [3] button Side Stick
Chain [4] button Closed Hi-Hat
Chain [5] button Open Hi-Hat
Chain [6] button Hand Clap
Chain [7] button Tambourine
Chain [8] button Cowbell
Using foot switches
Buon functions can be assigned to a foot switch (sold
separately) that’s connected to the FOOT SW 1 or 2
jack.
1. Enter Pad mode.
2. Turn the genre selector to “Songs.”
3. To set the foot switch that’s connected to the
FOOT SW 1 jack, hold down the Pattern playback
button until it blinks. To set the foot switch that’s
connected to the FOOT SW 2 jack, hold down the
Chain playback button until it blinks.
4. Press the button for the function to be assigned
to the foot switch. The function is assigned to the
foot switch, and the button will light up.
Tip If the function of the Paern playback but-
ton is assigned to the FOOT SW 1 jack (or the
function of the Chain playback buon to the
FOOT SW 2 jack), the buon will blink slowly.
Tip If a Paerns or Chain buon is assigned to a
foot switch, the strength used to tap the buon
when it was assigned will be saved. If the foot
switch will function as a pad, the sound will
be played at that volume.
5. Simultaneously press the Pattern playback button
and the Chain playback button to save the settings
and return to Pad mode.
Creating user patterns (Pattern Edit mode)
Paern Edit mode is the mode for creating and editing
user paerns.
As in Pad mode, the Paern buons and Chain but-
tons function like pads.
User paerns are created by recording the rhythm
played by using the pads.
The created paerns are saved to Paern buons 1
through 6 with the genre selector set to “USER.”
Entering Pattern Edit mode
In Play mode, select the paern to be used as the base.
If the paern will be recorded with no base paern,
any paern can be selected.
To edit a paern, while playback is stopped, hold
down the buon for the paern you want to edit.
To edit a ll-in that is assigned to a paern, while
playback is stopped, hold down the buon for the se-
lected paern and the buon for the ll-in that you
want to edit.
Aer entering Paern Edit mode, the paern play but-
ton will light-up in red.
Setting the beat count and clearing the pat-
tern
To record with no base paern or to change the beat
count, hold down the Paern playback buon. The
Paern and Fill1/2 buons will light up to indicate
the beat count (1 to 6 beats: Paern buons 1 to 6; 7
and 8 beats: Fill1/2 buons). While holding down the
Paern playback buon, press a Paern buon or Fill
buon to set a beat count between 1 and 8 and erase
the rhythm paern.
Recording
Press the Paern playback buon to begin recording
aer a count of the paern beats.
Approximately 64 sounds can be recorded for a pat-
tern, and approximately 16 sounds for a ll-in.
Aer the beat count has reached the set number, it
starts over with the rst beat while recording continues.
You can play while listening to the sounds that have
already been recorded.
To stop recording, press the Paern playback buon.
During the count, sound is not produced, even if a
pad is tapped.
Aer the recording capacity has been reached,
sound is no longer produced, even if a pad is
tapped. Erase unnecessary sounds to continue.
If there are too many simultaneous sounds or if
the tempo is too fast, some sounds may not be pro-
duced.
Partial erasing
Hold down the Chain playback buon while a pad
is pressed to erase the sound played when the pad is
pressed.
Saving
To save the changes, turn the genre selector to
“USER”, and then hold down the Paern buon
where it will be saved.
To return to Play mode without saving the changes,
simultaneously press the Paern playback buon and
the Chain playback buon.
Each paern is treated as a set with Fill 1 and 2.
When a paern is saved, the corresponding ll-in
is saved together with it (in the same way as when
a ll-in is edited).
Velocity function
The KR mini is equipped with a velocity function that
changes the volume according to how hard the pad is
tapped in Pad mode and Paern Edit mode.
As the factory default seing, the velocity function is
disabled.
Enabling the velocity function
While holding down Chain buon [1], turn on the KR
mini. Chain buon [1] will blink several times.
Disabling the velocity function
While holding down Paerns buon [1], turn on the
KR mini. Paern buon [1] will blink several times.
Tip The seing for enabling or disabling the veloc-
ity function is saved, even when the KR mini is
turned o.
Returning to the factory defaults
All seings, such as those for chains and user pat-
terns, can be returned to the factory defaults.
When this operation is done, all data, such as
user paerns, saved in the KR mini will be
erased, and the seings will be reset to the
factory defaults.
Never turn o the KR mini during the reset
process.
1. While holding down the Pattern playback
button and the Chain playback button, turn
on the KR mini.
2. When the Pattern playback button and the
Chain playback button blink, release the
pressed buttons.
To stop reseing the machine, press the Pat-
tern playback buon.
3. Press the Chain playback button to reset the
machine.
When the reset process is complete, the Pat-
tern playback buon and the Chain playback
buon will blink rapidly, and the KR mini
will automatically restart.
Specifications
Connectors: Output/headphones jack, FOOT
SW 1/2 jack
Power supply: AA alkaline baeries × 3, or sepa-
rately sold AC adapter (DC 9V:
)
Baery life: approximately 7.5 hours (Battery
life will vary depending on
the batteries used and on the
conditions of use.)
Dimensions (W x D x H):
165 x 117 x 59 mm/6.50 x 6.83 x
2.32 inches
Weight: 372 g/13.12 oz. (excluding baer-
ies)
Included items:
Owner’s manual, AA alkaline
baeries × 3
Options (sold separately):
AC adapter
PS-1, PS-3 (Pedal switches)
* Specications and appearance are subject to
change without notice for improvement.
 Loading...