EasyManua.ls Logo

Korg OASYS 76 User Manual

Korg OASYS 76
24 pages
To Next Page IconTo Next Page
Page #1 background imageLoading...
Page #1 background image
S
S
S
e
e
e
r
r
r
v
v
i
i
i
c
c
c
e
e
e
M
M
M
a
a
n
n
u
u
u
a
a
a
l
l
l
v an
OASYS 76 / OASYS 88
Part2 Appendix
CONTENTS
(APPENDIX)
PARTS DIAGRAMS
LCD : Page 2 - 4
PAD : Page 5
Joystick : Page 6
Vector Joystick : Page 7
How to change OASYS 76 CD-RW unit : Page 8 - 9
How to change OASYS 88 CD-RW unit : Page 10 - 11
CAUTION : OASYS FRONTPANEL SHIELD FORM: 12
Using the OASYS Internal Calibration Application: 13
How to reach HDD: Page14-24
5th Edition
Issued date : Oct.12, 2006
Issued by : KORG INC.
Question and Answer IconNeed help?

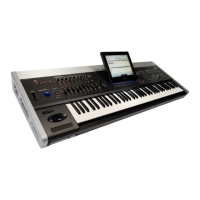
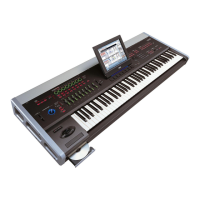
Do you have a question about the Korg OASYS 76 and is the answer not in the manual?

Korg OASYS 76 Specifications

General IconGeneral
BrandKorg
ModelOASYS 76
CategorySynthesizer
LanguageEnglish

Summary

Parts Diagrams

LCD Unit 1 Diagram

Diagram of LCD Unit 1 components.

LCD Unit 2 Diagram

Diagram of LCD Unit 2 components.

LCD Unit 3 Diagram

Diagram of LCD Unit 3 components.

Pad Related Parts

Pad Frame Components

Illustration of the Pad Frame and its parts.

Pad Button and Cushion

Illustration of the Pad Button and Pad Cushion.

Joystick Assembly Details

X-2100 JSPanel Assembly

Diagram of the X-2100 Joystick Panel assembly.

X-2160 JSPanel Assembly

Diagram of the X-2160 Joystick Panel assembly.

X-2100 JS Lever and Components

Detailed breakdown of the X-2100 Joystick Lever and associated parts.

OASYS76: Change CD-RW Unit

Opening and Component Removal

Steps to open the front panel, remove covers and screws.

CD-RW Unit Replacement

Instructions for removing and replacing the CD-RW unit.

OASYS88: Change CD-RW Unit

Opening and Component Removal

Steps to open the front panel, remove covers and screws.

CD-RW Unit Replacement

Instructions for removing and replacing the CD-RW unit.

OASYS Frontpanel Shield Form Caution

Shield Form Installation and Handling

Guidelines for pasting and handling the front panel shield form.

OASYS Internal Calibration Application

Important Precautions and Warnings

Critical safety and operational notes before using the calibration application.

Error Handling and Calibration Necessity

Procedures for dismissing errors and when re-calibration is needed.

Physical Control Calibration Steps

Step-by-step guide for calibrating various physical controls.

Specific Calibration Procedures

Details on aftertouch calibration for 76-note models.

How to Reach HDD

Opening Procedure: Panel and Cover Removal

Steps to remove exterior panels and covers to access internal components.

Opening Procedure: HDD Location

Instructions to remove the PCB cover and identify the HDD.

Closing Procedure: Component Reassembly

Steps for re-installing internal covers and checking harness.

Closing Procedure: Exterior Reassembly

Procedures for re-installing exterior panels and covers.

Related product manuals