The right side of the meter display will strobe if the note is sharp, and the
left side of the meter display will strobe if the note is at. When the pitch is
correct, only the center LED will light up.
The pitch is sharp.
In tune.
The pitch is flat.
Calibration (reference pitch) settings (
*M
)
Each time you turn the right shule switch upward (or downward), the
calibration value (reference pitch) increases (or decreases) in 1 Hz steps. The
last digit of the seing appears in the note name indicator for a few seconds.
6 (436Hz)...
9 (439Hz) 0 (440Hz) 1 (441Hz) 2 (442Hz) ... 5 (445Hz)
The seing range is between 436 and 445 Hz.
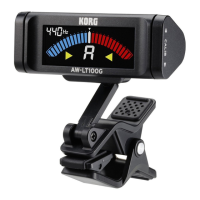
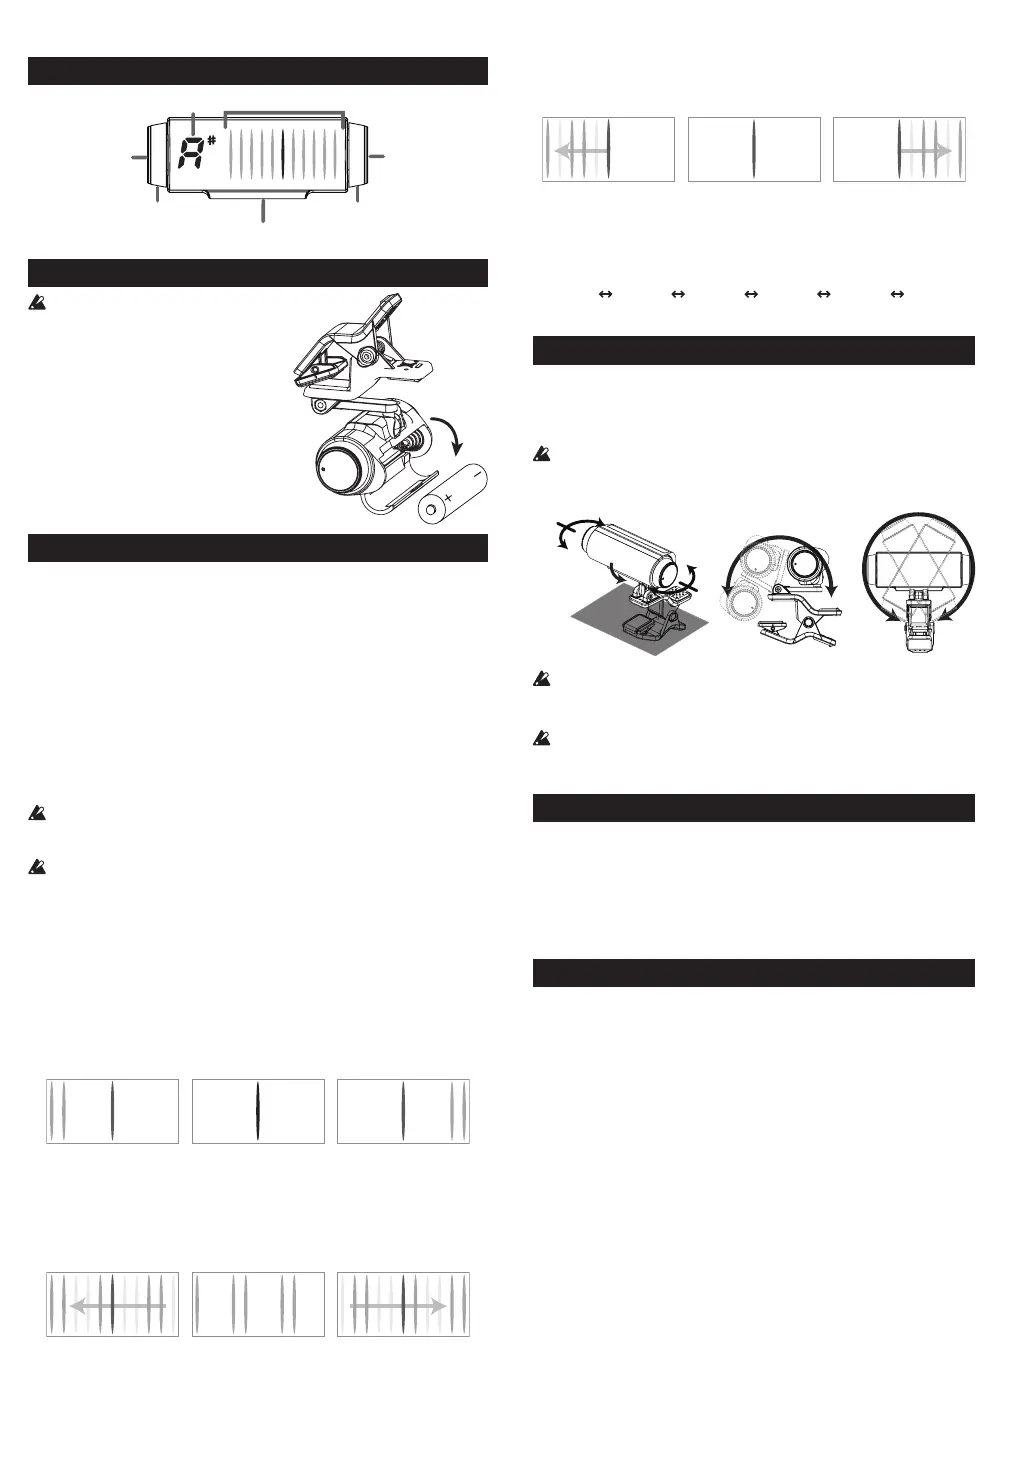
Attaching to the instrument and range of motion
The Sledgehammer Custom 100 tunes by picking up the vibrations of the
instrument. Therefore, be sure to aach the Sledgehammer Custom 100 to
the headstock of your instrument in order to tune it. In addition, the Sledge-
hammer Custom 100 can be freely moved so that the display is easy to read.
The Sledgehammer Custom 100 may be damaged if you apply excessive force
within its range of motion, or aempt to move it beyond its intended range of
motion.
90°
°
20°
20°
180°
360°
Please carefully aach the Sledgehammer Custom 100 to your instrument. Leaving
the Sledgehammer Custom 100 aached for a long time may damage or mark the
instrument's surface.
Depending on various factors such as age-related change or the surface nish,
there is a possibility that your instrument may be damaged by aaching this
product.
Shuttle lights (*M)
As a default, the shule lights are set to light up when no note is inpued for
tuning and to go o while tuning.
If you want the shule lights to remain o, hold the left shule switch turned
upward for three seconds when you turn on the tuner. After the shule lights
blink, they will go o.
Repeat the procedure to return the shule lights to the seing where they
light up when no note is inpued.
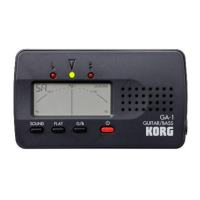
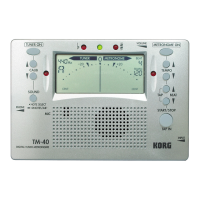
Specications
Scale: 12-note equal temperament
Range (sine wave): A0 (27.50 Hz)–C8 (4186 Hz)
Precision: +/-0.1 cent (Strobe meter)
Reference pitch: A4 = 436–445 Hz (1 Hz steps)
Dimensions: 64 mm (W) X 49 mm (D) X 66 mm (H)
2.52’’ (W) X 1.93’’ (D) X 2.60’’ (H)
Weight:
37 g/1.31 oz. (including baery)
Baery life: approximately 100 hours (tuner continuously operat-
ing, A4 input, when using alkaline baery)
Included items:
Owner’s manual, One AAA baery
*M
Seings are remembered even when the power is o.
• Specications and appearance are subject to change without notice for
improvement.
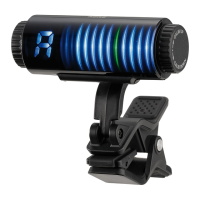
Parts of the Sledgehammer Custom 100
Left shuttle switch
Right shuttle switch
Meter display
Note name indicator
Left
Right
Installing the battery
Make sure to turn the power o before you
install or replace the baery.
When it is time to replace the baery, the
note name indicator will blink. Immediately
replace the baery with a new one.
1. Open the baery compartment cover on
the rear of the tuner in the direction of
the arrow.
2 . Insert the baer y, ma ki ng su re to obser ve
the correct polarity, and then close the
cover.
Tuning
Tuning procedure
1. Tur n the left shule sw itc h upward. Each t ime you turn t he shule sw itc h,
the Sledgehammer Custom 100 will be turned on or o.
If the power is left on for approximately 3 minutes without any user input,
it will turn o automatically.
2. If necessary, change the meter mode and calibration (reference pitch).
3. Play a single note on your instrument.
The note name closest to the detected pitch appears in the note name indicator.
Tune your instrument to the correct pitch so that the desired note name
appears on the display.
4.
Tune the instrument by playing a single note and checking the meter.
The tuning indications dier depending on the selected meter mode seing.
Even if the pitch is within the range of detection, it may not be possible to detect the
pitch of an instrumental sound that contains large numbers of overtones or a sound
that has a rapid decay.
The meter may respond to vibrations it picks up from the environment; however,
this will not aect tuning of the instrument.
Setting the meter mode (
*M
)
Each time you turn the left shule switch downward, the meter mode changes.
A number indicating the meter mode appears in the note name indicator for
a few seconds.
1 (Regular) → 2 (Strobe) → 3 (Half strobe) → 1 (Regular) ...
1: Regular meter
Tune your instrument so that the center LED of the meter display is lit up.
The LED illumination will move from the center toward the right if the note
is sharp, or from the center toward the left if the note is at.
The pitch is sharp.
In tune.
The pitch is flat.
2: Strobe meter
Tune your instrument so that the illumination stops owing in the meter display.
Since the strobe meter has higher precision, it allows you to tune with greater
accuracy. The illumination will ow from left to right if the note is sharp, or
from right to left if the note is at.
The pitch is sharp.
In tune.
The pitch is flat.
3: Half-strobe meter
Tune your instrument so that the stream stops and only the center LED is lit up.
 Loading...