Do you have a question about the Kozyard Alexander 10’x12’ and is the answer not in the manual?
Joins C and B beams using union bar F and screw 1#.
Joins E and D beams using union bar F and screw 1#.
Attaches E2 and D2 to beams E and D using screw 1#.
Repeats attachment of C2 and B2 to beams C and B with screw 1#.
Attaches E1 and D1 to beams E and D using screw 1#.
Attaches C1 and B1 to beams C and B using screw 1#.
Secures beams with corner covers G using screw 9#.
Attaches middle beams with joint cover H using screws 8# and 9#.
Installs 6 hooks per slot on C2 and B2 tracks.
Installs 7 hooks per slot on E2 and D2 tracks.
Secures corner roof bar M to the main frame using screw 1#.
Joins K to M and attaches P, Q, R to M using screw 1#.
Connects roof bar N to inside roof connector with screw 1#.
Fixes net frames P1, Q1, Q2 to finishing bars P, Q with screws 1# & 11#.
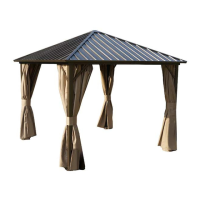
Places roof panels v1 through v6 onto the upper roof frame.
Secures finishing bars T1, T2 and end pieces R with screw 1#.
Attaches solidifying bars to roof corner bar using iron angle U5 and screw 1#.
Attaches solidifying bars U1-U4 to roof bar using iron angle U6 and screw 1#.
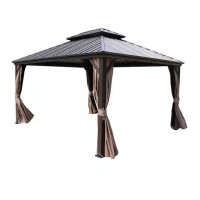
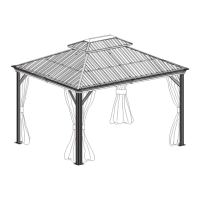
Installs mosquito and solid sidewalls onto the gazebo structure.
| Product Type | Gazebo |
|---|---|
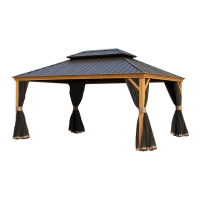
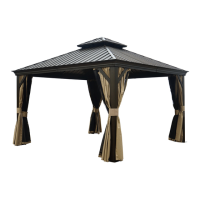
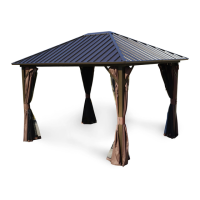
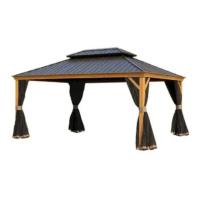
| Product Name | Kozyard Alexander 10’x12’ |
| Category | Outdoor Furnishing |
| Shape | Rectangular |
| Size | 10’x12’ |
| Frame Material | Aluminum |
| Roof Material | Galvanized Steel |
| Sidewall Material | Polyester |
| Assembly Required | Yes |
| Finish | Powder Coated |
| Warranty | 1 year limited warranty |