TP-121EDID, TP-123EDID, TP-125EDID, PT-110EDID
Quick Start
TP-121EDID, TP-123EDID, TP-125EDID,
PT-110EDID Quick Start Guide
This guide helps you install and use your TP-121EDID, TP-123EDID, TP-125EDID, PT-110EDID for the first
time.
Go to www.kramerav.com/downloads/TP-121EDID to download the latest user manual and check if
firmware upgrades are available.
Step 1: Check what’s in the box
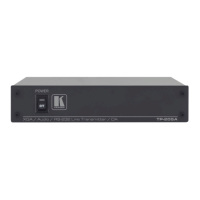
TP-121EDID, TP-123EDID, TP-125EDID, PT-110EDID XGA/TP Transmitter
Step 2: Get to know your TP-121EDID, TP-123EDID, TP-125EDID, PT-110EDID
Figure 1: TP-121EDID XGA/Audio Line Transmitter
Press to capture the EDID information from the display
Illuminates during normal operation; flashes when acquiring the EDID
Illuminates when receiving power
XGA IN 15-pin HD (F) connector
Connects to the XGA source
Connects to the LINE IN RJ-45 connector on a receiver
Using a CAT 5 cable with RJ-45 connectors at both ends
Connects to the audio source
+12V DC connector for powering the unit
Figure 2: TP-123EDID XGA/Audio/Data Line Transmitter
Press to acquire the EDID information from the display
Illuminates during normal operation; flashes when acquiring the EDID
Illuminates when receiving power
XGA IN 15-pin HD (F) connector
Connect to the XGA source
Connects to the LINE IN RJ-45 connector on the TP-124 XGA/Audio Line Receiver
Use a CAT 5 cable with RJ-45 connectors at both ends
RS-232 terminal block connector
Connects to the PC or the Remote Controller
Connects to the audio source
+12V DC connector for powering the unit