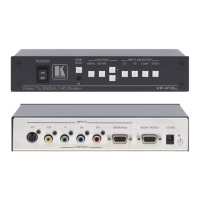
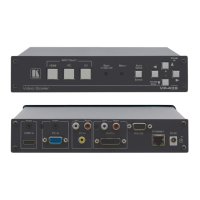
1. Connect a CV source (for example, a composite video player) to the CV IN
connector.
2. Connect a Y/C source (for example, an s-Video player) to the Y/C IN connector.
3. Connect the PC/HD OUT 15-pin HD connector to a PC/HD acceptor (for
example, a PC display or HDTV acceptor) as follows:
When connecting to a VGA acceptor (RGBHV), connect to the acceptor’s
VGA connector
When connecting to a component acceptor (YPbPr), connect as shown in
Table 3
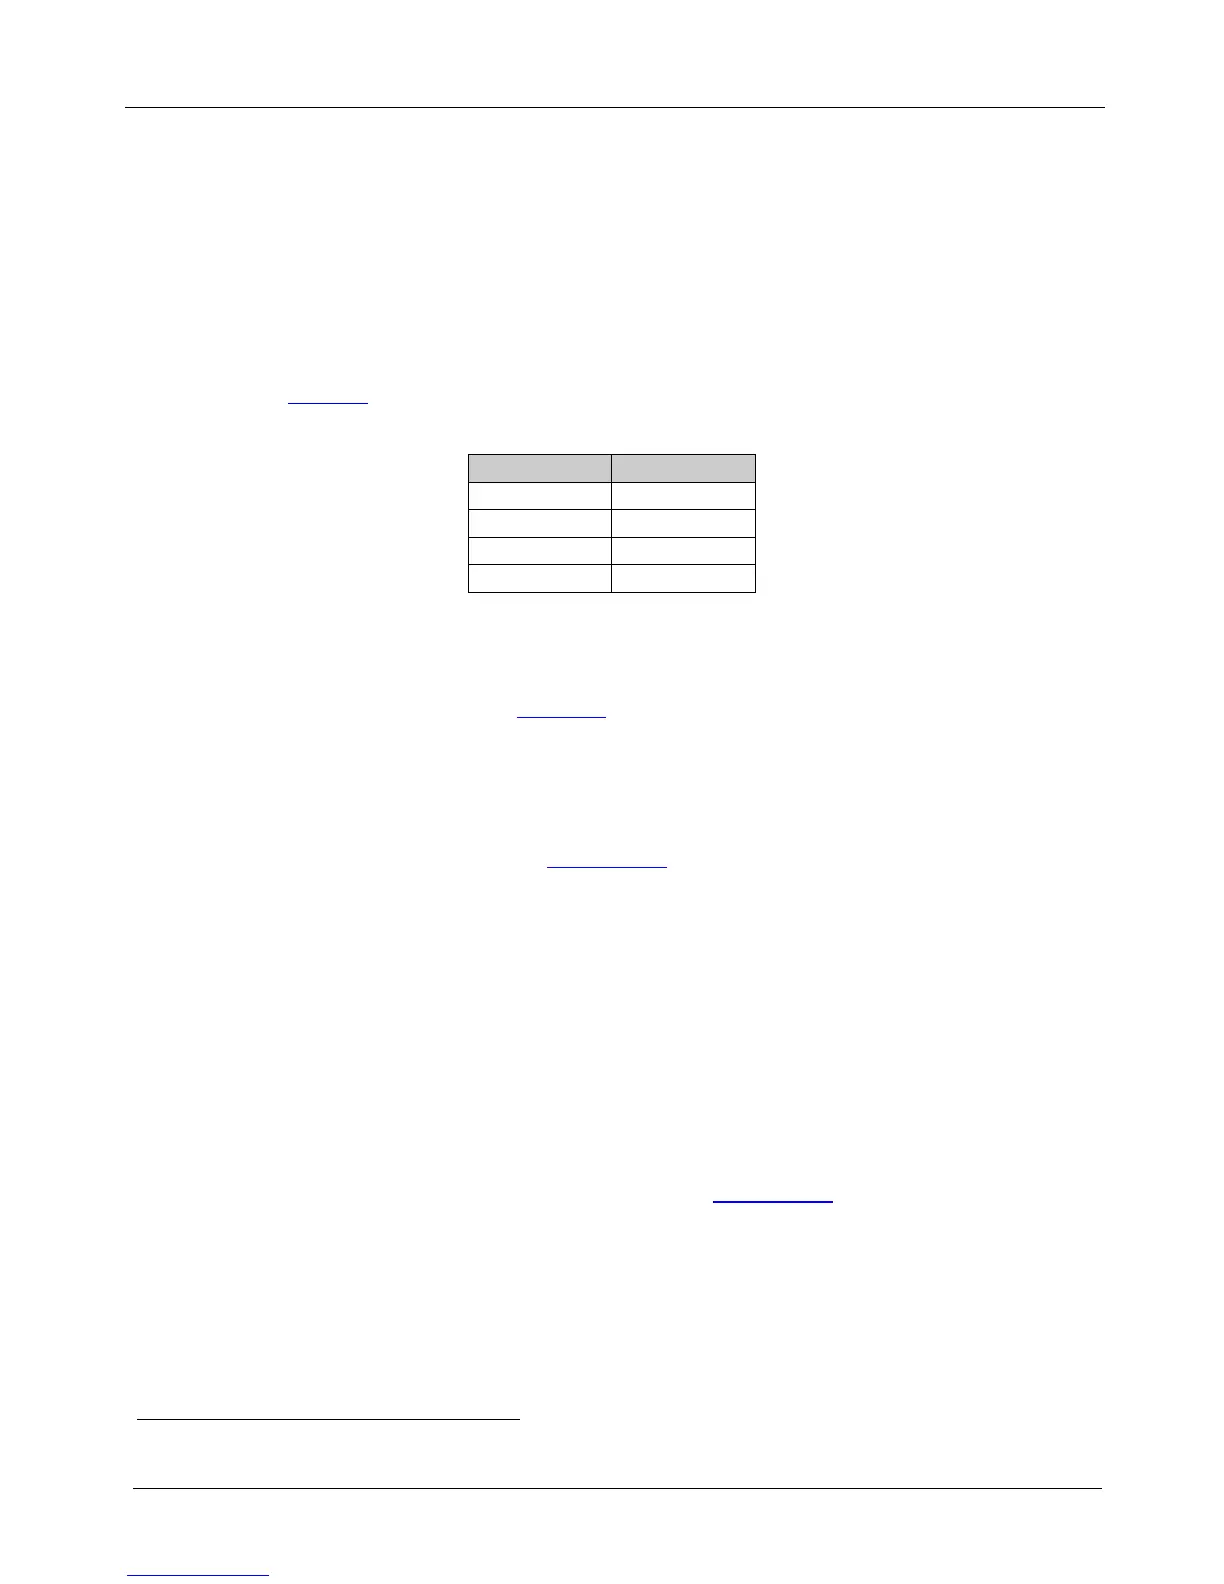
Table 3: 15-pin HD Pinout for HD
PIN # Signal
1 Pr
2 Y
3 Pb
6, 7, 8 Ground
4. Connect the DVI OUT connector to a DVI
1
5. Connect the 5V DC power adapter to the power socket and to the mains
electricity (not shown in
acceptor (for example, a DVI
projector).
Figure 3).
6 Operating the VP-417 Video to PC/HD/DVI Scaler
The VP-417 is operated directly via the front panel buttons and via the OSD
(On-screen Display) menu (see Section
6.2).
6.1 Using the Front Panel Buttons
During normal operation (without the OSD), the front panel buttons operate in the
following manner:
• INPUT SELECT: Toggles between the CV and Y/C inputs
• OUTPUT RESOLUTION : Cycles through the following output
resolutions after displaying the current output resolution;
HD LED off: XGA, WXGA, SXGA, UXGA and WUXGA
HD LED on: 480p, 576p, 720p, 1080i and 1080p
• MENU: Opens the OSD main menu (see Section
6.2). Press a second time
to close the OSD
• ENTER: Selects the highlighted menu item or parameter
1 Or HDMI