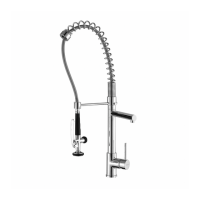
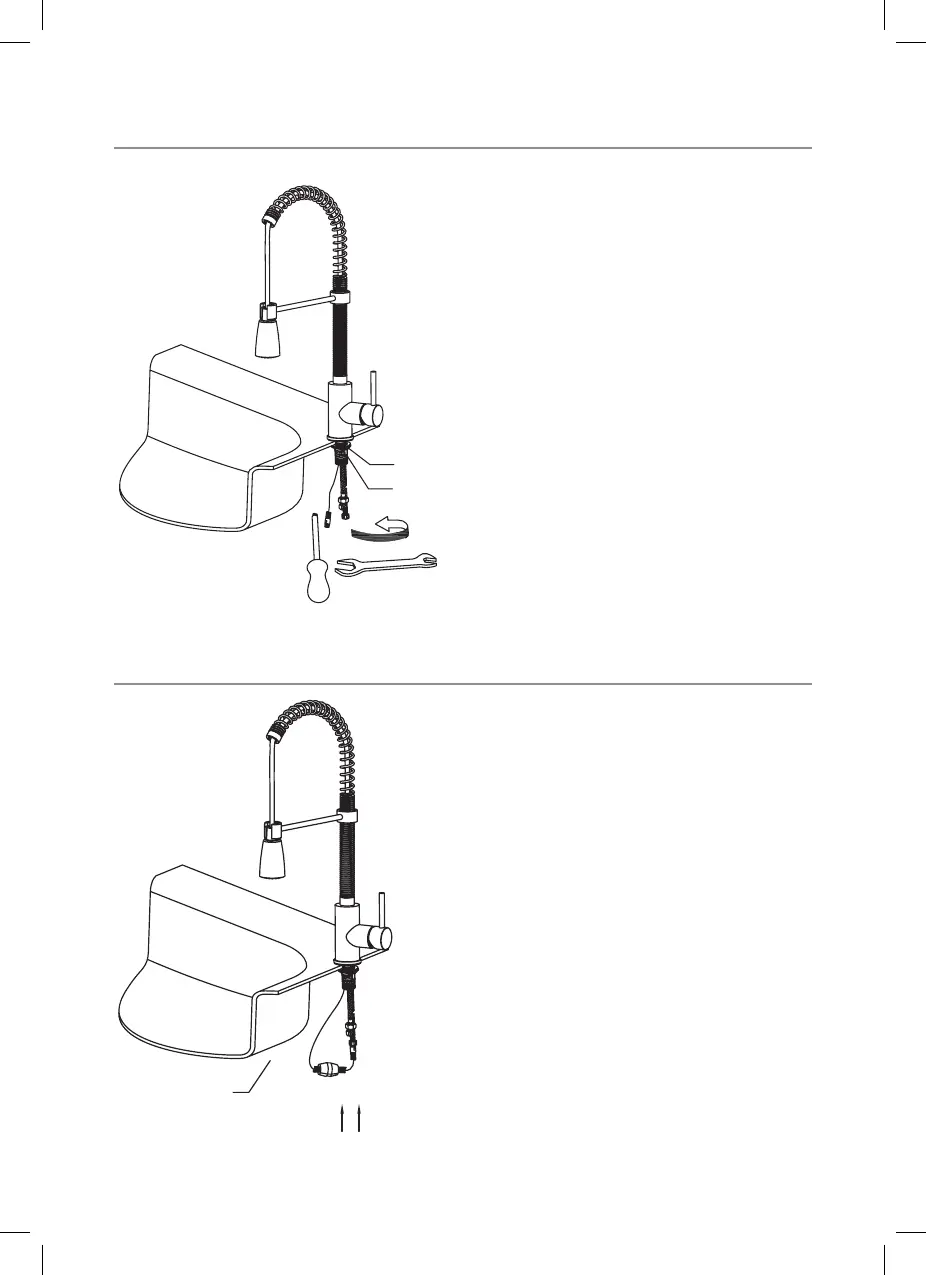
Step 3
Step 4
After adjusting the direction of
the faucet body (1), tighten the
mounting nut (5) until snug and
tighten the mounting screws (6)
to the nut with a Philips head
screwdriver
Connect the spray hose (9) to
the supply line and tighten with
a wrench until snug, then install
the weight (7) at the lowest point
(horizontally) on the spray hose
(12)
1
2
13
10
3
4
5
6
7
Max35
Max 1 3/8”
Hot
Water
Cold
Water
Hot
Water
Ø35~Ø38
Ø1 3/8~Ø1 1/2”
540
21 1/4”
8 15/32”
Minimum distance 3.5”
Less than 3.5”
30˚
Ø35~Ø38
1
2
3
4
5
6
1
2
3
4
5
6
5
6
7
Ø1 3/8~Ø1 1/2”
9
8
11
12
90˚
25˚
O
Left
Hot Water
Right
Cold Water
On
1
2
13
10
3
4
5
6
7
Max35
Max 1 3/8”
Hot
Water
Cold
Water
Hot
Water
Ø35~Ø38
Ø1 3/8~Ø1 1/2”
540
21 1/4”
8 15/32”
Minimum distance 3.5”
Less than 3.5”
30˚
Ø35~Ø38
1
2
3
4
5
6
1
2
3
4
5
6
5
6
7
Ø1 3/8~Ø1 1/2”
9
8
11
12
90˚
25˚
O
Left
Hot Water
Right
Cold Water
On
 Loading...