Do you have a question about the Kraus Nolen KPF-1673 and is the answer not in the manual?
Remove mounting screws, nut, and washer from the mounting pipe.
Install faucet with deck plate, base plate, and optional silicone sealant for three-hole.
Install faucet without deck plate or base plate for single-hole installations.
Insert faucet body into countertop hole and install mounting hardware underneath.
Tighten mounting nut and screws to secure the faucet body to the countertop.
Connect spray hose to quick connector and install weight on the hose.
Connect waterlines to hot/cold copper lines and angle stops, then check for leaks.
Remove spray head, hold hose, turn on water to flush debris for 60 seconds.
Inspect all connections for leaks and retighten as necessary.
Remove handle button, set screw, and unscrew cartridge cover.
Unscrew the locking nut with an adjustable wrench to remove the ceramic disc cartridge.
Place new cartridge, secure with locking nut, and reassemble the handle.
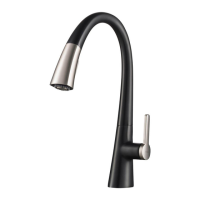
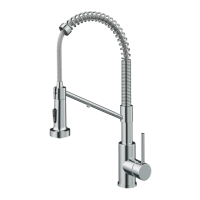
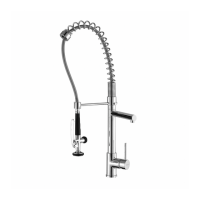
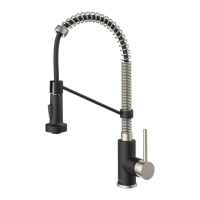
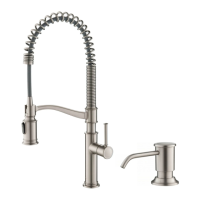
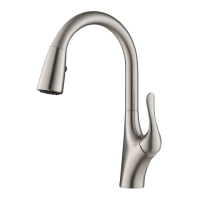
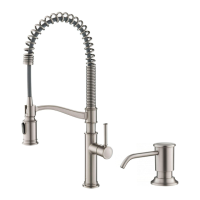
| Type | Kitchen Faucet |
|---|---|
| Material | Brass |
| Handle Style | Lever |
| Number of Handles | 1 |
| Finish | Chrome |
| Flow Rate | 1.8 GPM |
| Spray Function | Spray |
| Installation Type | Deck Mount |
| Mounting | Deck Mount |
| Number of Holes Required | 1 |