8
English PSE 75 EDITION 75 EDITION
Before any work on the machine itself, pull the
mains plug!
Operate the machine only with the auxiliary
handle
12
. Mount the handle onto the clamping collar
of the drill, turning it to the working position and tight-
ening it using the handle collar.
Connect the mains cable module to the handle. The
plug must latch.
Use the mains cable module provided only for
Kress Electro-Tools. Do not attempt to operate
other machines with the module.
Use only an original Kress mains cable module that is
at least of heavy rubber sheathed cable (Code desig-
nation H07 RN-F).
Check before putting into operation that the mains
voltage agrees with the voltage specified on the
nameplate of the machine.
SWITCHING ON/OFF
Press or release the on/off switch
6
.
The on/off switch can be locked on with the locking
button
5
. To release, briefly press and release the on/
off switch
6
.
ROTATION STOP
With the rotation stop switch
4
, two settings can be
selected.
1
= Drilling/hammer drilling, mixing work
= No rotation: Light chiselling work.
The switch-over can best be performed at a standstill.
Only after the on/off switch
6
is actuated and the
machine starts does the gear box shift to the selected
mode.
DRILLING - IMPACT DRILLING
For drilling, place the selector
10
in the position.
For impact drilling, set to .
The switch-over can best be performed at a standstill.
Only after the on/off switch
6
is actuated and the
machine starts does the gear box shift to the selected
mode.
Note:
Left rotation when impact drilling damages the
drill. Switch off the impact mechanism for diamond
crown drilling or for mixing work.
For chiselling work, set the selector
4
to the posi-
tion.
When hammer drilling, use exclusively drills with
hard metal inserts and SDS-Plus shafts.
The use of
commercially available masonry drills with cylindrical
shafts by means of the adapter
13
and the normal drill
chuck in conjunction with the pneumatic impact mech-
anism is not possible.
SPEED CONTROL
With the on/off switch
6
, the speed
can be continuously varied. With
light pressure on the on/off
switch
6
, the machine begins to
rotate slowly; with increased pres-
sure, the speed increases.
ROTATIONAL DIRECTION SWITCHING
Operate the rotational direction
switch
9
only when the machine is
at a standstill!
Take hold of the rotational direc-
tion switch
9
on both sides.
Right rotation:
Set the rotational direction switch
9
to “
R
”.
Left rotation:
Set the rotational direction switch
9
to “
L
”.
Important!
Press the rotational direction
switch
9
through to the stop on the
housing each time, i.e., until it can
be felt to latch.
If the rotational direction switch
9
is set between the
positions “
R
” and “
L
”, the machine cannot be switched
on.
The tool holder
1
clamps drilling and chiselling tools
without a tool key.
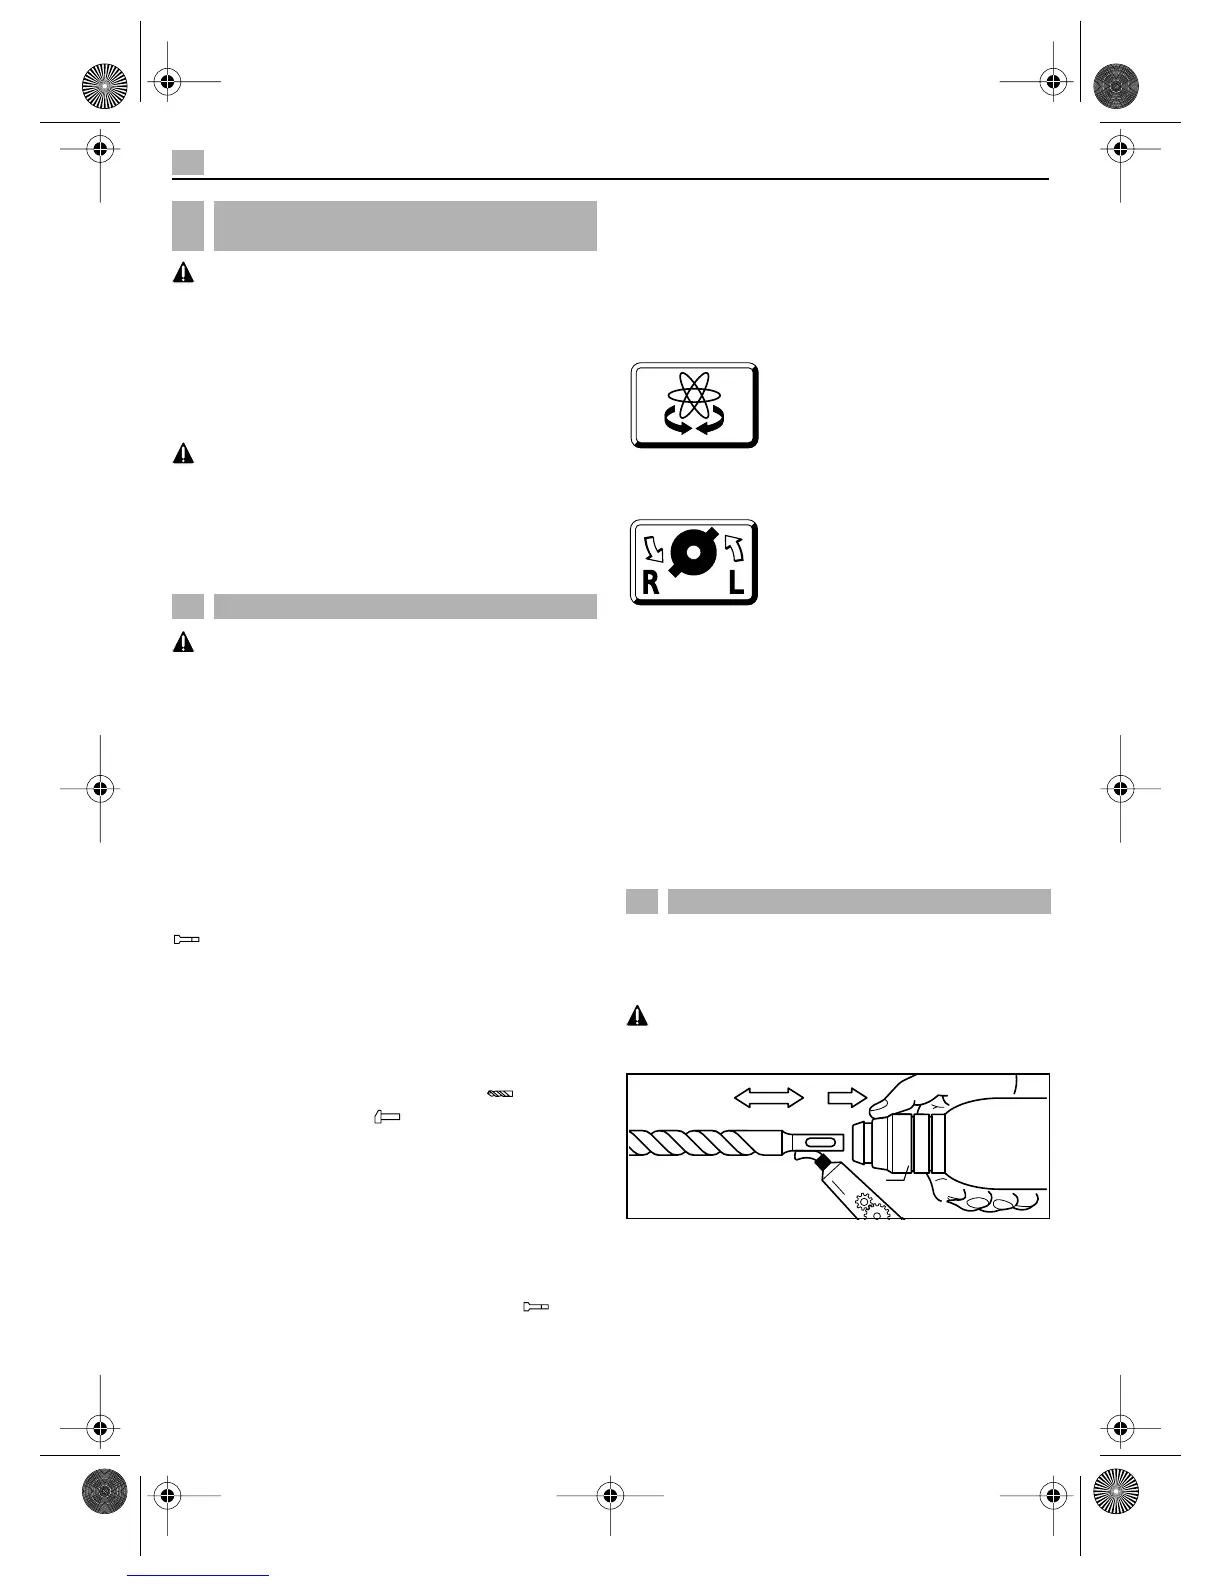
INSERTING TOOLS
Before any work on the machine itself, pull the
mains plug!
Clean and lightly grease the tool shaft.
Pull back the unlocking collar
3
. Insert the tool while
turning into the tool holder until it latches. Release the
unlocking collar. Check whether the tool is firmly
seated.
Take care that the dust protection cap
2
is not dam-
aged.
Replace damaged dust protection caps!
5
Mounting the Auxiliary Handle and
the Mains Cable Module
6 Putting into Operation
7 Inserting/Removing Tools
Fett
3
 Loading...