6
Next steps
1. Depending on your configuration:
– Connect the Ethernet cable to the main board. If you are using Power-over-Ethernet cable, the timeclock turns
on.
– Plug the transformer into the external AC outlet
– Plug the transformer into the AC outlet over which the base is mounted.
– Plug in the remaining cables.
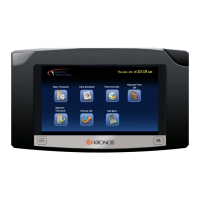
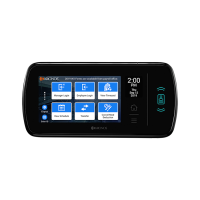
2. Close the cover of the timeclock enough so that you can view the screen as the timeclock boots up and performs
internal diagnostics. When this process is completed, the timeclock displays the time and date (you may have to
reset them later).
Note: If the screen does not display the time and date, or the timeclock does not appear to be on, check all of
your connections. For more information, see the “Troubleshooting and Preventive Maintenance” section of the
InTouch 9100 Installation Guide.
3. Adjust the slack in the cables and then tighten the strain relief clip.
4. Close the front cover, and use the security wrench to tighten the top screw and the two screws on the sides.
5. Access maintenance mode on the timeclock. Reconfigure the IP address and device ID, and then initialize the
timeclock. For more information, see the host application system administrator guide and the InTouch 9100 User
Guide (the section about initial setup).
 Loading...