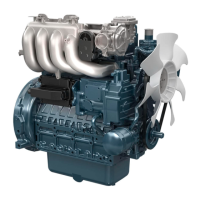
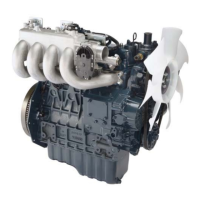
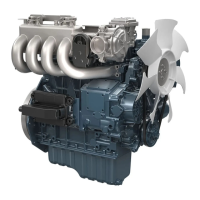
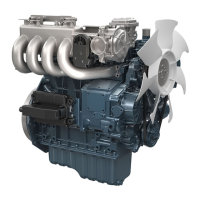
ENGINE
WG1903-E3, WG2503-E3, WSM
1-S36
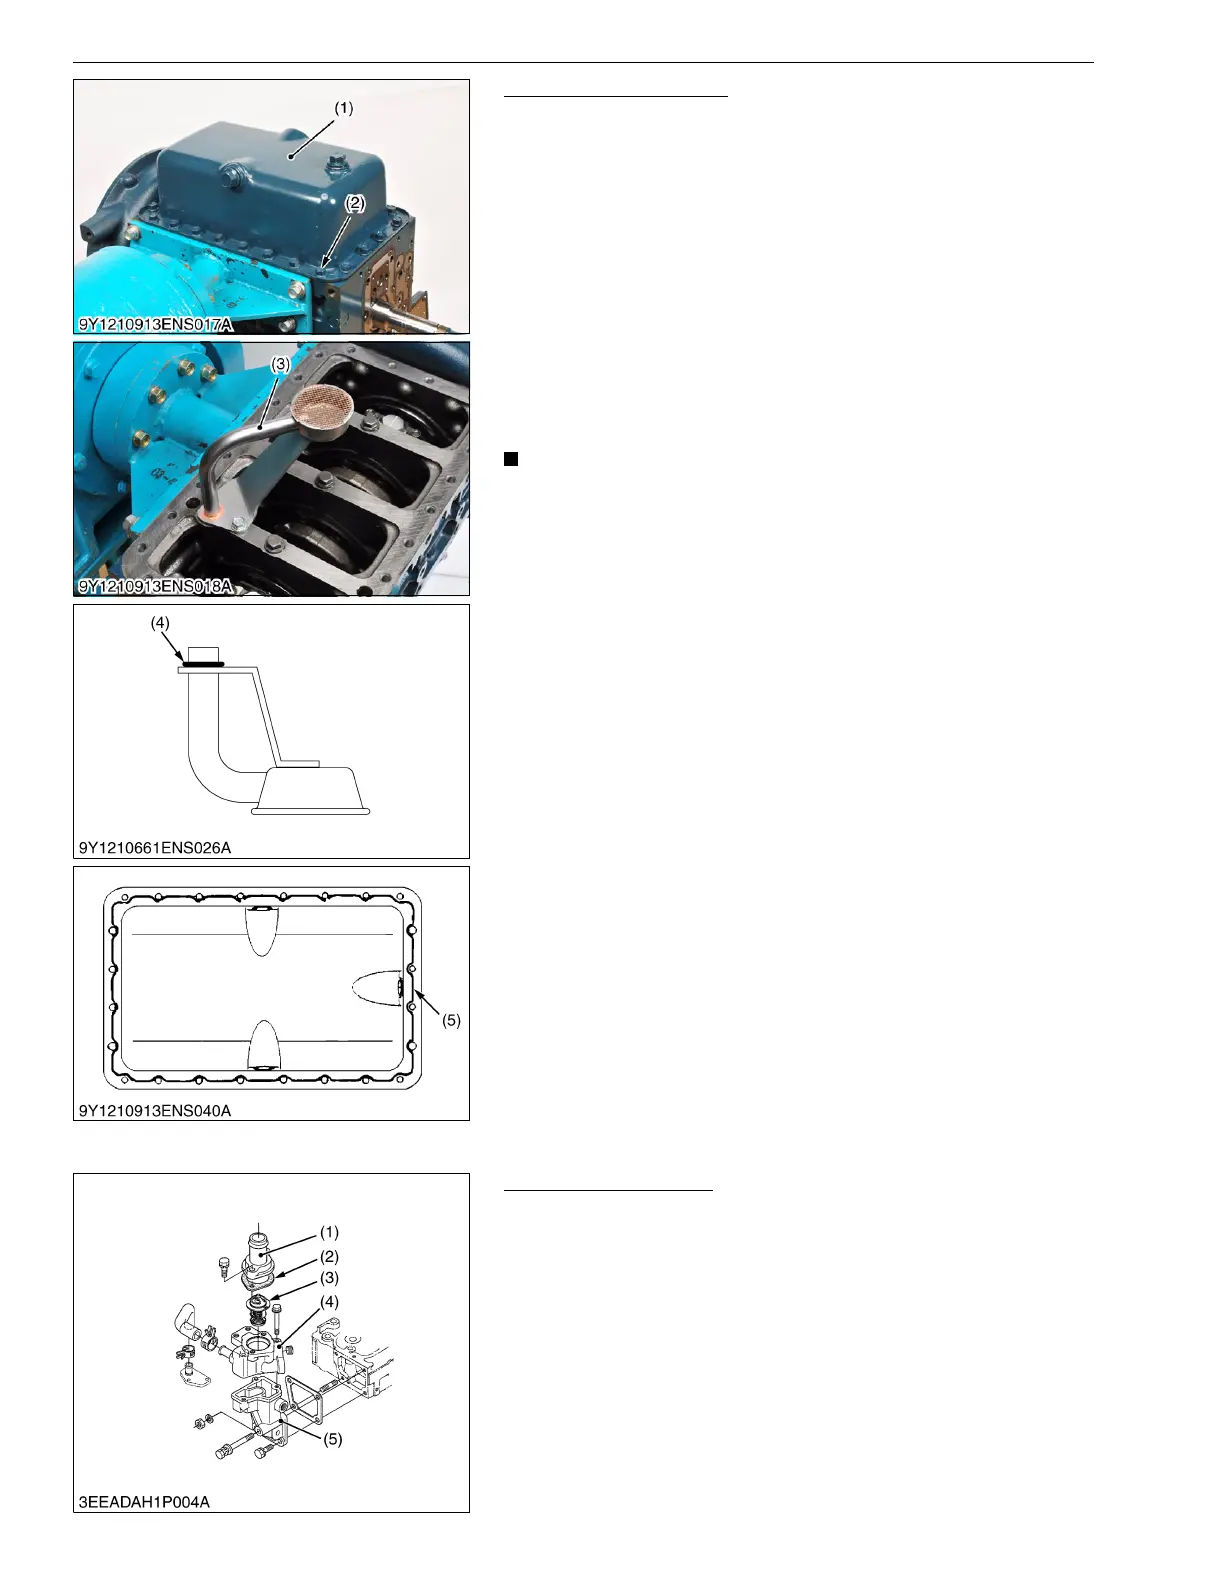
Oil Pan and Oil Strainer
1. Remove the oil pan mounting screws (2) and oil pan (1).
2. Remove the oil strainer (3) and O-ring (4).
(When reassembling)
• After you clean the oil strainer (3), make sure that the filter mesh
is clean and install it.
• Visually examine the O-ring (4), apply engine oil and install it.
• Install the O-ring (4) to the oil strainer (3) certainly.
• Apply liquid gasket (5) (Three Bond 1217H) to the oil pan as
shown in the figure.
• Confirm that the liquid gasket coating surface is free of water,
dust and oil in order to maintain sealing effect.
• Carefully apply the adhesive evenly.
• Tighten the mounting screws of the oil pan in diagonal
sequence from the center to tighten equally.
• Make sure the surfaces align when mounting parts with a
liquid gasket applied to them.
• Mount parts with a liquid gasket within 10 minutes of
application.
9Y1210914ENS0043US0
(4) Thermostat
Thermostat Assembly
1. Remove the thermostat cover mounting screws, and remove
the thermostat cover (1).
2. Remove the thermostat assembly (3).
(When reassembling)
• Replace the thermostat cover gasket (2) with a new one.
• Apply a liquid gasket (Three Bond 1215 or equivalent) to the
water flange 1 (4) and flange 2 (5).
9Y1210914ENS0044US0
(1) Oil Pan
(2) Oil Pan Mounting Screw
(3) Oil Strainer
(4) O-ring
(5) Liquid Gasket
(1) Thermostat Cover
(2) Thermostat Cover Gasket
(3) Thermostat Assembly
(4) Water Flange 1
(5) Water Flange 2