INSTALLATION
SteP 2 Remove the black cover located inside the rear fender by pulling at the bottom and releasing the
top of the cover from the clip.
SteP 3 Remove the license plate backing plate and hardware from the taillight housing and
support arm.
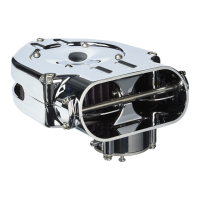
SteP 4 Remove the taillight housing by removing the 3 screws (PIC 1) located on the front of the
taillight.
SteP 5 Remove the hardware securing the stock support arm. It will be necessary to reach the
hardware inside the fender.
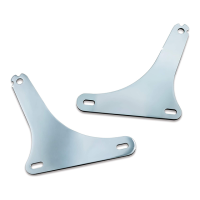
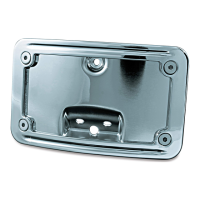
SteP 6 Install the new Z-Bracket (PIC 2) in place re-using the stock hardware.
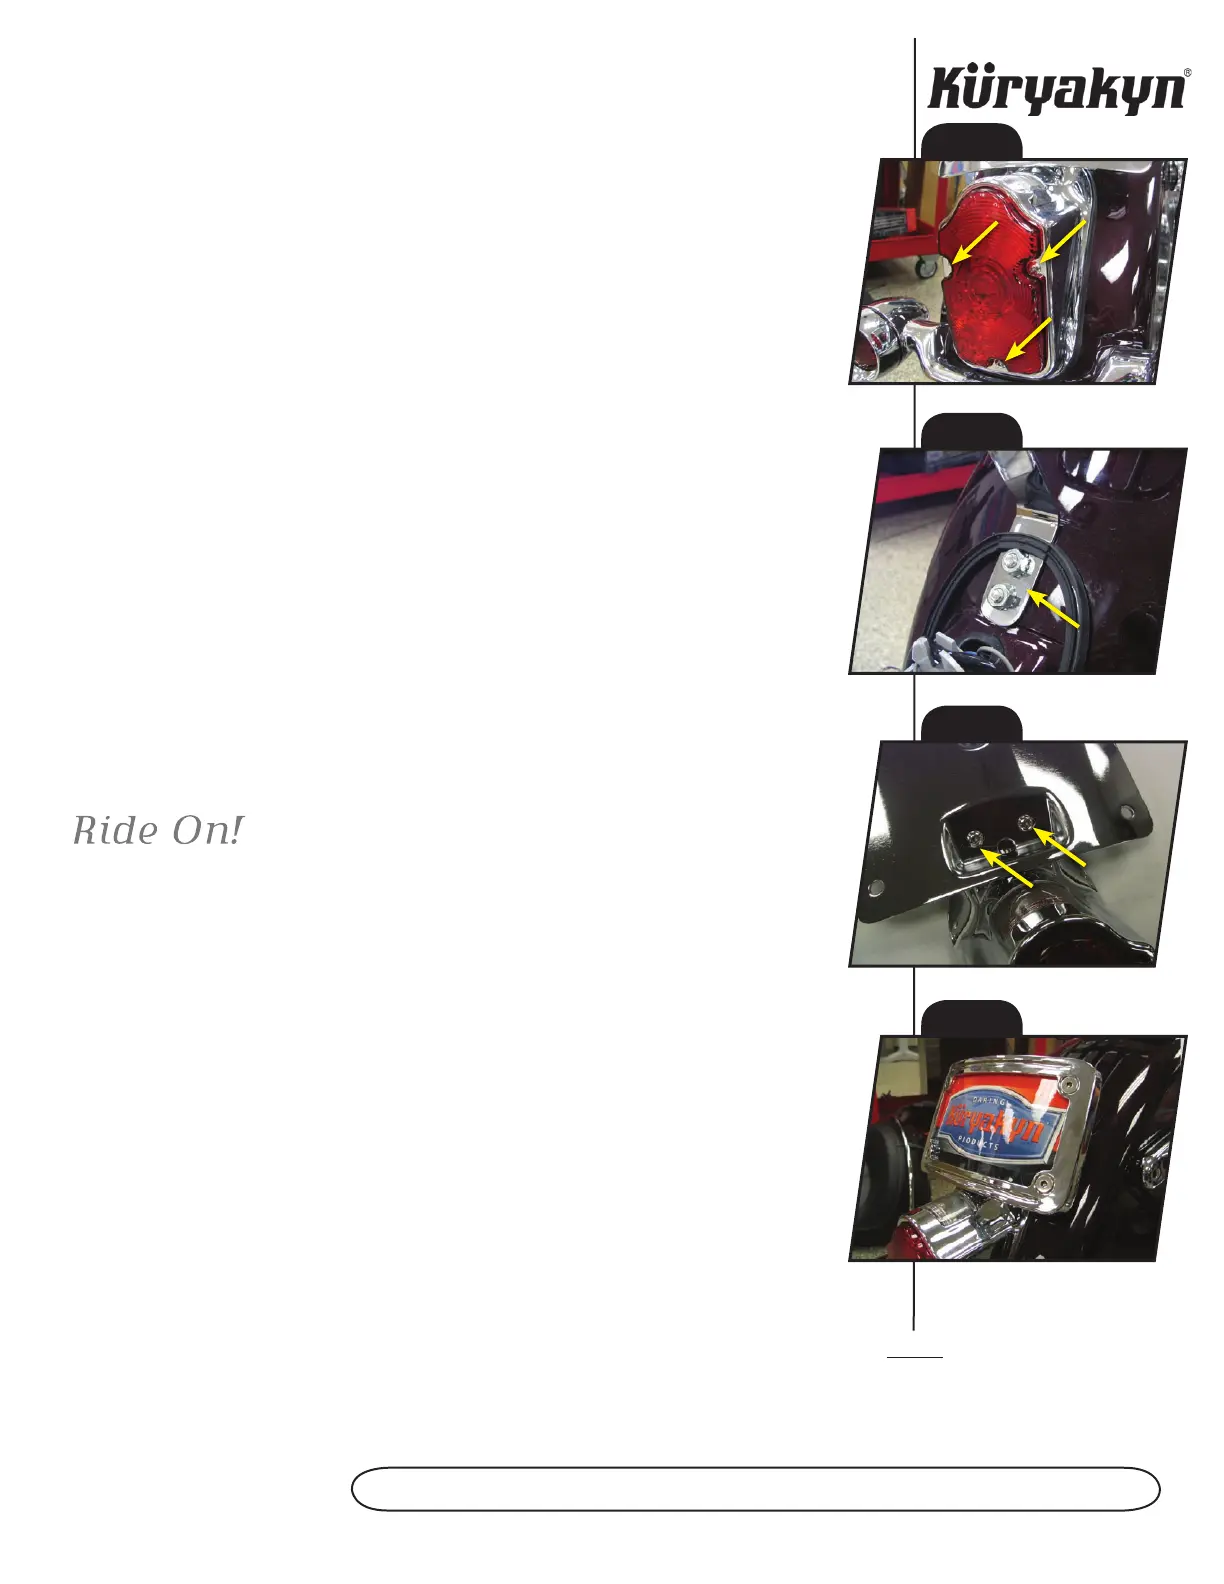
SteP 7 Secure the new License Plate Backplate (PIC 3) to the taillight housing using the 10-24
BSCS, 10-24 Acorn Nuts and #10 Split Lock Washers.
SteP 8 Install the taillight/backplate assembly to the bike. Secure with the 3 screws removed in
Step 4.
SteP 9 Install the ¼-20 x ½” SHCS through the top hole in the back plate and into the Z-
Bracket. Secure with a ¼” Split Lock Washer and Acorn Nut.
SteP 10 Install your license plate to the backplate and place the license plate frame over the
assembly and secure with the ¼-20 Flat Screws, Flat Washer and Acron Nuts.
SteP 11 Tighten all fasteners
ATTENTION! It is the installer’s responsibility to ensure that all of the fasteners (including pre-
assembled) are tightened before operation of the motorcycle. Küryakyn will not issue a warranty on
components lost due to improper installation. Periodic maintenance may be required.
Page
2
lIcenSe Plate mount
PIC. 1
PIC. 2
PIC. 3
PIC. 4
 Loading...