PAGE
2
ATTENTION!
The floorboard may be rotated on the mount for a comfortable foot position, however,
some angles may cause the board to contact other components on the bike before the
board is folded up completely. Before installing, be aware of components on the bike
that may interfere with the placement of the floorboards.
NOTE: The floorboards can be used in either the driver or passenger footpeg positions; be sure there is
adequate clearance for the floorboards to fold up and that they do not interfere with the proper
operation of any other components.
STEP 2 Remove the stock footpegs; save the stock fasteners.
STEP 3
Install the splined adapters (sold separately) onto the footpeg
mounts using the stock hardware. Refer to the specific
instructions included with the splined adapters.
STEP 4
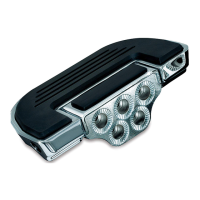
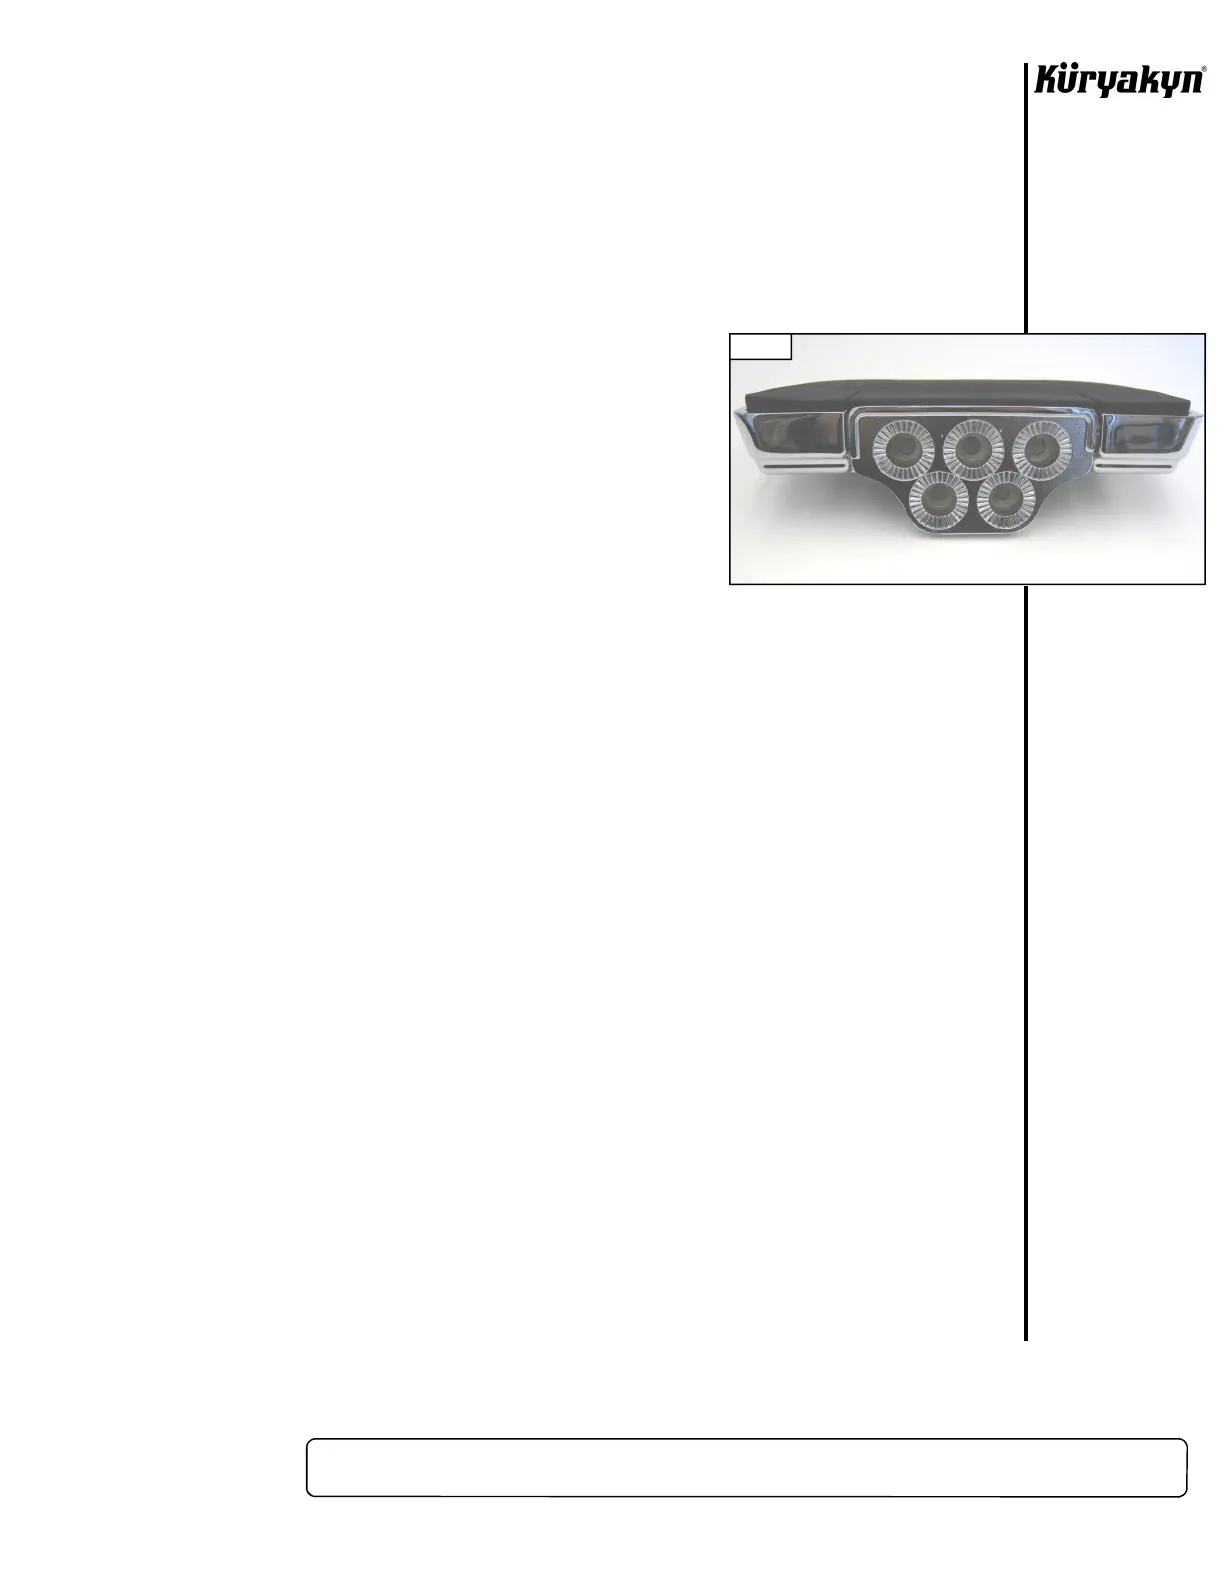
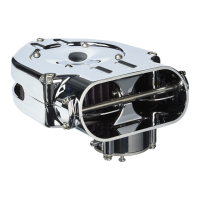
As shown in PIC 1, the Floorboards have 5 different mounting
positions. Test fit the Floorboard to the installed splined adapter
in each of the 5 positions, decide which position is the most
comfortable and provides necessary clearance for surrounding components.
NOTE:
Make sure to test that the floorboard can be folded up and out of the way when installed.
STEP 5
Install the 5/16”-18 x 1" Socket Head Cap Screw, with a Flat Washer behind the head, and finger
tighten the Floorboard in place. The Floorboard can rotate to fine-tune the angle of the board for
best fit.
STEP 6
Once you are finished adjusting the Floorboard, tighten the fastener from Step 5 securely.
ATTENTION!
It is the installer’s responsibility to ensure that all of the fasteners (including
pre-assembled) are tightened before operation of the motorcycle. Küryakyn will not
warranty components lost due to improper installation. Periodic maintenance may be
required.
Ride On!
PREMIUM FLOORBOARDS INSTALLATION
PIC 1