INSTALLATION
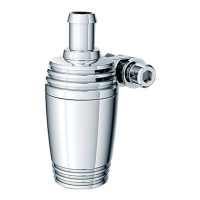
STEP 3 Loosen the jam nuts on the adjusters on both cables; turn the jam nuts and adjusters until the
throttle control is at its loosest point. See PIC. 1.
STEP 4 Separate the switch housings by removing the two torx or hex screws (depending on the
year of your motorcycle); set the screws aside, they will be re-used.
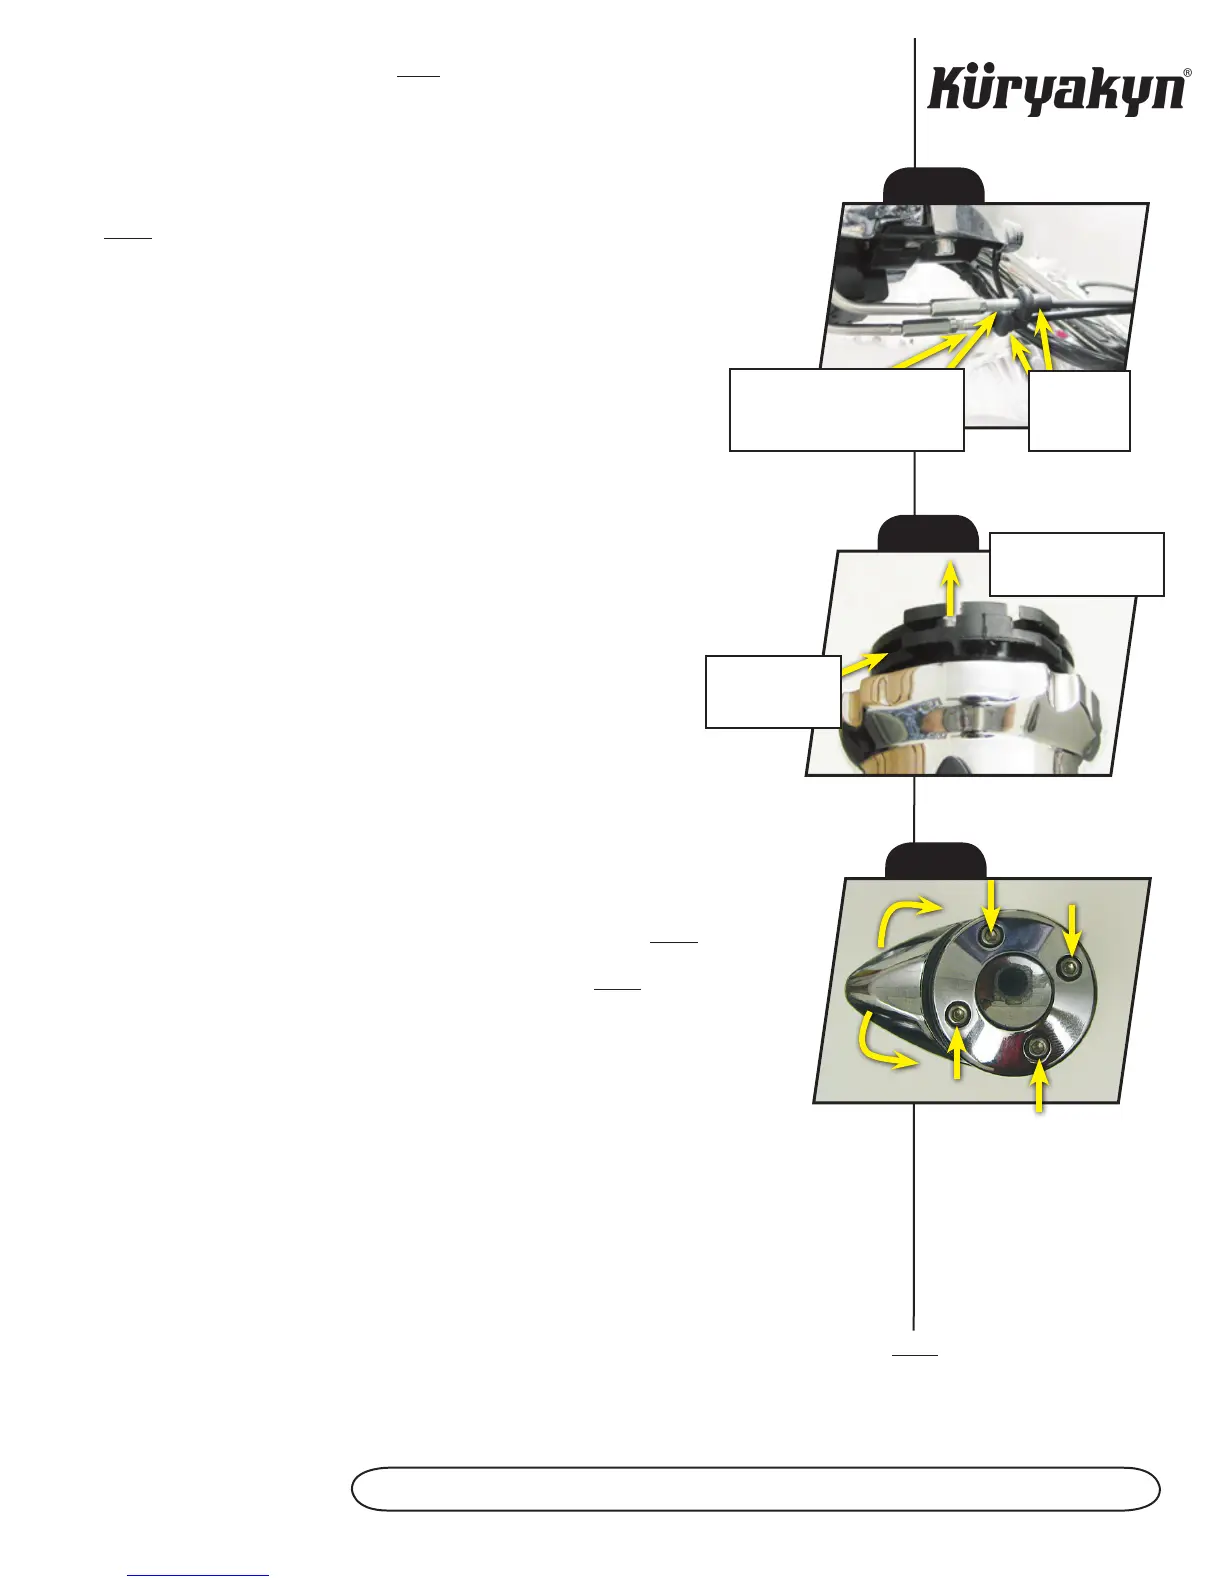
STEP 5 Lift up on the rear cable where it fits into the throttle sleeve; this will provide
enough slack in the cable to remove the cable end and brass ferrule from the throttle sleeve.
See PIC. 2.
NOTE:
Do not lose the brass ferrules, they are not permanently attached to the cables.
STEP 6 Repeat STEP 5 for the other cable.
CAUTION! Ensure that the throttle cables have been properly lubricated and do
not show signs of wear before reassembly.
STEP 7 Slide the stock grip/throttle sleeve assembly off the handlebar. Set it
aside, it will not be re-used.
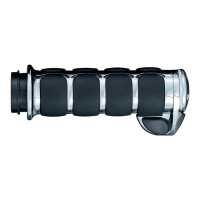
STEP 8 Slide the new ISO-Grip onto the handlebar.
STEP 9 Install the throttle cables in the reverse order they were removed in STEP 5 and
STEP 6.
STEP 10 Reassemble the switch housing and secure it with the stock fasteners.
STEP 11 Adjust the throttle cables and tighten the jam nuts. Ensure proper
throttle adjustment and operation before riding the motorcycle. Refer to your
model owner’s manual or service manual for more information.
WARNING! FAILURE TO PROPERLY ADJUST THE THROTTLE CABLES COULD RESULT
IN LOSS OF CONTROL CAUSING SEVERE INJURY OR DEATH.
STEP 12 Ensure proper clearance and operation before riding the motorcycle.
THROTTLE BOSS ADjUSTMENT PROCEDURE
STEP 1 Loosen the socket head cap screws in the end of the grip. See PIC. 3.
STEP 2 Adjust the position of the throttle boss as desired (See PIC. 3) and retighten the
screws; do not over tighten the screws.
ATTENTION!
It is the installer’s responsibility to ensure all fasteners (including pre-assembled)
are tightened before operation of the motorcycle. Küryakyn will not warranty
components lost due to improper installation. Periodic maintenance may be
required.
CLUTCH SIDE PROCEDURE
CAUTION! Avoid damage to the motorcycle. Protect painted surfaces with a soft cloth or blanket.
STEP 1 Remove the two screws securing the switch housing halves together; set them aside for
now, they will be re-used. It may be necessary to loosen the clutch control clamp to separate the switch
housing halves.
STEP 2 Remove the clutch side grip. Begin by twisting the grip back and forth to remove it
from the handlebar. If twisting the grip off does not work, a sharp knife may be used to cut the grip
lengthwise allowing you to “peel” the stock grip from the handlebar.
-cont.-
PAge
2
PremIum ISO -grIPS
PIC. 1
T u r N T H e j A m N uT A N D
ADjuSTer NuT uNTIL THe
THrOTTLe CONTrOL IS AT
ITS LOOSeST POINT
r u b b e r
THrOTTLe
C A b L e
COverS
PIC. 2
r e m O v e C A b L e e N D
AND brASS ferruLe
L I f T u P ON T H e
CAbLe TO
PrOvIDe SLACk
PIC. 3
 Loading...