Startup
Basic Startup Checklist:
2-1
Chapter 2
Startup
If hooking up new gear is familiar to you, and you just want to get going, here’s a quick
description of all the basic things you need to cover to get started with your K2500. The
procedure is pretty much the same whether you have a rack or a keyboard model. If you need
more information, thorough descriptions of each step follow. In either case, check out “Playing
the Presets,” later in this chapter.
Basic Startup Checklist:
•
Install the supplied batteries (if they are packaged separately). See "Battery Installation"
on page 2-2.
•
Mount your K2500R securely in a standard 19-inch MIDI rack, or set it on a hard flat
surface. Keyboard models should either be placed on a sturdy keyboard stand or table. In
either case, make sure to leave plenty of room for ventilation.
•
Connect the power cable.
•
Make sure your sound system is at a safe volume level.
•
Plug in a pair of stereo headphones or run standard (1/4-inch) audio cables from your
amplifier or mixer to the MIX audio outputs on the K2500 (Use the MIX L out for mono).
It’s good practice to make the cable connection to the K2500 (or any instrument) last, since
this will reduce the chance of creating static electricity that can cause an audible "pop"
(and, in extreme cases, cause equipment damage).
K2500R Only
•
IMPORTANT:
If you will be transporting the rack containing the K2500R, you must
support the back of the unit. It’s fairly heavy, and you don’t want your K2500R to get
damaged when you move the rack around.
•
Most likely, you will connect a MIDI controller to your K2500R. Connect a MIDI cable
from the MIDI Out port of your MIDI controller to the MIDI In port of the K2500R.
•
If your MIDI controller can transmit on more than one MIDI channel, check out Setup
mode by pressing the Setup mode button. Then use the Alpha Wheel to select tri-zone
setups with independent programs, MIDI channels and controller assignments in each
zone.
Start Jamming!
•
Power up your K2500 and begin making some music.
•
If you hear distortion, reduce the gain on your mixing board, or use the pad if it has one.
•
Scroll through the Program list with the Alpha Wheel (the large knob to the right of the
display).
•
Press the Quick Access mode button and use the numeric keys to select from
programmable banks of ten programs or setups.
•
If you don’t hear anything, review these steps, or check the Troubleshooting section in the
Reference Guide
.
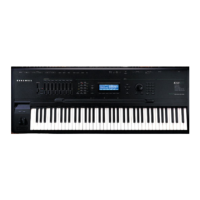
Zoom +
Mute 2
P
ower
P
rogram
Mute 1
Zoom -
dit
E
Layer/Zone
C
han/Bank
aster
Mark
Gain +
ffects
FX Bypass
Access
Samp/Sec
Mute 3
etup
QS E MIDI
Gain -
Previous Pg
M
E
Compare
ong
Link
Jump
S
isk
D
xit
MIDI
2500RS
K
olume
ancel
UPPER/lower
V
C
+
/
-
7
STU
Tip=Left
eadphone
H
Ring=Right
iZ
nter
E
H
0-9
0
VWX
8
CLR
Space
9
YZ
Right
Left
4
JKL
ABC
1
oZ
ptical In
MNO
5
DEF
2
6
PQR
3
GHI
L
O
echnology
TSAV
ynthesisrchitectureariable
Sampler

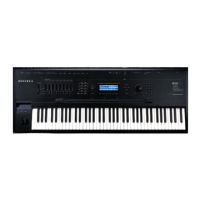
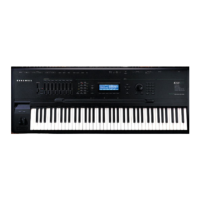
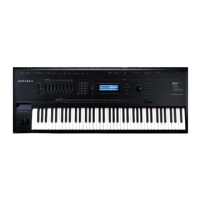
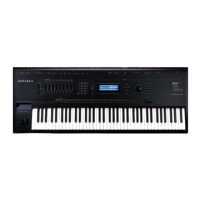

 Loading...