Startup
Startup—the Details
2-2
Startup—the Details
This section will walk you through the hookup of your K2500. We’ll take a look at the rear
panel, then describe the power, audio, and other cable connections.
Before You Start...
Don’t connect anything until you make sure your K2500 is properly and safely situated. Also, if
your K2500 has been out in the cold, give the unit a little time to warm up to room temperature
before starting it, since condensation may have formed inside the K2500.
You’ll probably be mounting a K2500R in a standard 19-inch MIDI rack (it takes up three rack
spaces). If you will be transporting the rack containing the K2500R, be sure to support the back
of the K2500R within the rack. If you’re not installing the K2500R in a rack, it should rest on a
hard flat surface. In this case, it
must
rest on its rubber feet (supplied in the packing carton), and
NOT
on the bottom panel.
NEVER
block the ventilation openings on the bottom or rear panels; doing so can cause
overheating and serious damage. To provide adequate ventilation, the rear panel should be at
least four inches from any vertical surface.
There are no user-serviceable parts in the K2500
.
Under no circumstances should you attempt to remove any panels (except for battery
installation or replacement). If you attempt to open your K2500, you’ll risk electric shock, and
you’ll void your product warranty.
Battery Installation
We’ve included three AA batteries for your K2500’s battery-backed RAM. Depending on when
your K2500 was shipped, we may not have installed the batteries at the factory because they
would drain during shipping. If you’ve found three batteries shipped in the box with your unit,
you should install the batteries before you start up your K2500. Otherwise, continue on to the
next section.
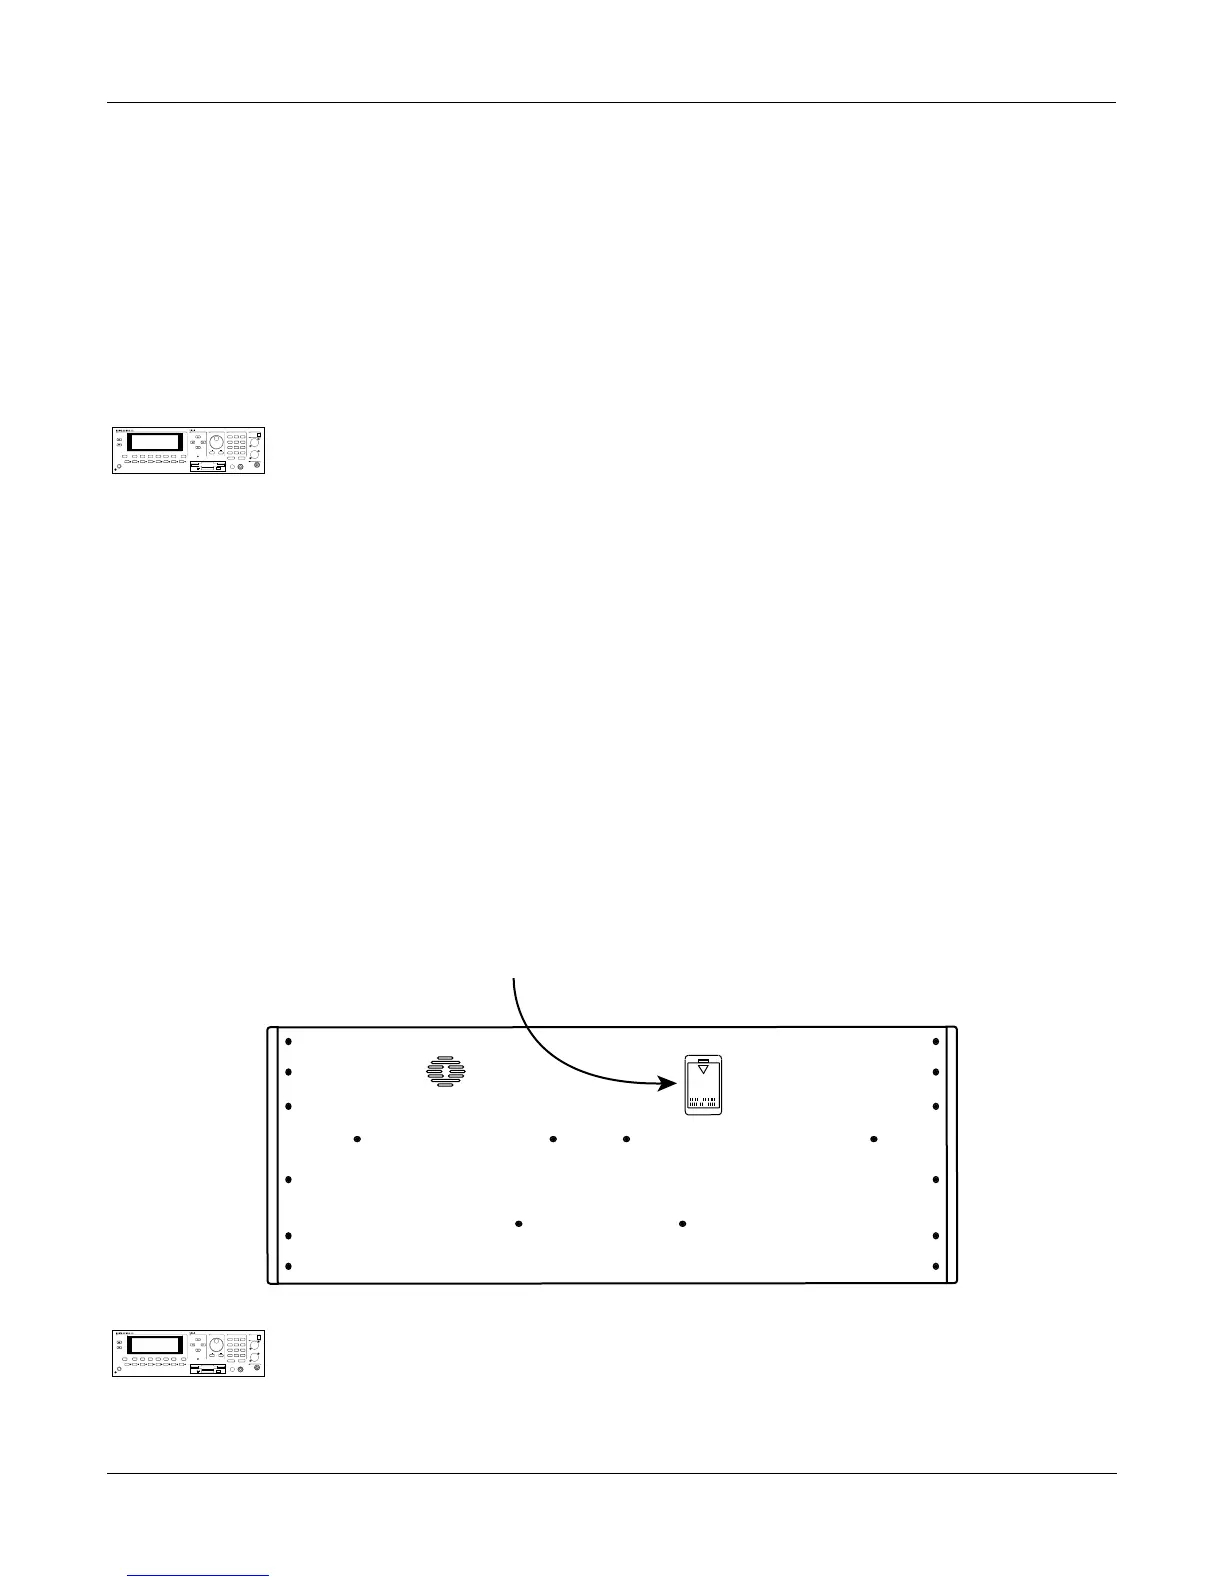
Locate the battery compartment in the lower right-hand corner of the rear panel of the K2500R
(refer the illustration on the following page) or the small door on the bottom of the K2500
keyboard models, as shown below.
Remove the battery compartment cover by inserting a flat-head screwdriver or coin into its slot,
then turning it counterclockwise until it pops out. Slide the three batteries, all positive side out,
into the compartment. Install the battery compartment cover by lining up the tabs, pushing the
cap inward, then turning it 90
°
.
When you start up your unit for the first time after installing the batteries, it will take a few
minutes to initialize all of its memory. This will not happen on every power up.
Zoom +
Mute 2
P
ower
P
rogram
Mute 1
Zoom -
dit
E
Layer/Zone
C
han/Bank
aster
Mark
Gain +
ffects
FX Bypass
Access
Samp/Sec
Mute 3
etup
QS E MIDI
Gain -
Previous Pg
M
E
Compare
ong
Link
Jump
S
isk
D
xit
MIDI
2500RS
K
olume
ancel
UPPER/lower
V
C
+
/
-
7
STU
Tip=Left
eadphone
H
Ring=Right
iZ
nter
E
H
0-9
0
VWX
8
CLR
Space
9
YZ
Right
Left
4
JKL
ABC
1
oZ
ptical In
MNO
5
DEF
2
6
PQR
3
GHI
L
O
echnology
TSAV
ynthesisrchitectureariable
Sampler
Battery Compartment
Zoom +
Mute 2
P
ower
P
rogram
Mute 1
Zoom -
dit
E
Layer/Zone
C
han/Bank
aster
Mark
Gain +
ffects
FX Bypass
Access
Samp/Sec
Mute 3
etup
QS E MIDI
Gain -
Previous Pg
M
E
Compare
ong
Link
Jump
S
isk
D
xit
MIDI
2500RS
K
olume
ancel
UPPER/lower
V
C
+
/
-
7
STU
Tip=Left
eadphone
H
Ring=Right
iZ
nter
E
H
0-9
0
VWX
8
CLR
Space
9
YZ
Right
Left
4
JKL
ABC
1
oZ
ptical In
MNO
5
DEF
2
6
PQR
3
GHI
L
O
echnology
TSAV
ynthesisrchitectureariable
Sampler

 Loading...