Do you have a question about the Lanzar HERITAGE HTG 2600D and is the answer not in the manual?
Checks for no power, including ground, remote, and battery connections.
Diagnosing and resolving hiss or engine noise issues.
Steps to take when the protection LED is lit.
Causes and solutions for the amplifier getting very hot.
Troubleshooting distorted sound from the amplifier.
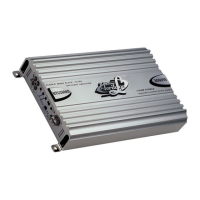
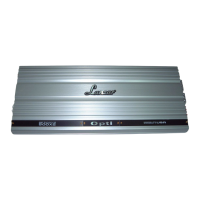
The Lanzar Heritage Class-D amplifier is a high-quality audio product designed for powerful bass reproduction in mobile environments. This mono subwoofer amplifier utilizes advanced high-speed switching technology, which offers greater efficiency compared to traditional Class AB designs. It is specifically engineered to process low-frequency information, making it ideal for subwoofers, and is not intended for reproducing mid or high-frequency audio. This specialization is due to the inherent noise introduced by the power supply's switching speed, which is filtered out to maintain audio clarity. The amplifier's power supply is a DC-to-DC switching type, meticulously designed to provide ample headroom for the demanding peak and dynamic ranges found in modern audio recordings.
One of the key usage features of the Lanzar Heritage Class-D amplifier is its Class-D design, which ensures high efficiency and is optimized exclusively for subwoofer low-frequency information. The amplifier incorporates stiffly regulated PWM power supplies with MOSFET switches, allowing it to maintain its rated power output consistently across a wide range of battery voltages.
For precise audio tuning, the amplifier includes a Low Pass Filter that is adjustable from 50Hz to 150Hz, featuring a steep 24dB per octave slope. This enables users to fine-tune the upper frequency limit for their subwoofer, ensuring seamless integration with other audio components. Complementing this is a Variable Subsonic Filter, adjustable from 15Hz to 40Hz, also with a 24dB per octave slope. This filter is crucial for attenuating inaudible low frequencies that can unnecessarily strain the amplifier and subwoofer, thereby improving overall system performance and longevity.
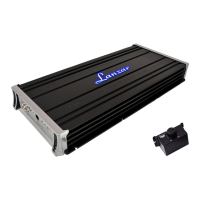
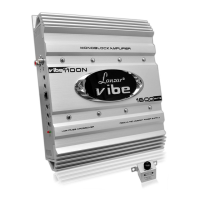
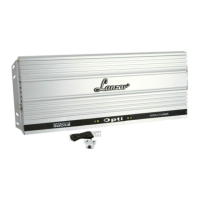
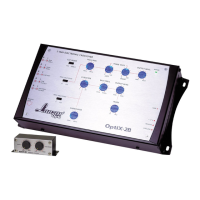
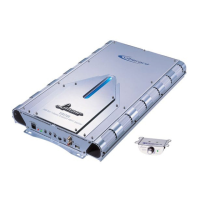
The amplifier also comes equipped with a Remote Dash-Mount Gain Control. This compact controller can be conveniently installed on or under the dashboard of your vehicle, providing easy access for adjusting the gain level without having to reach for the amplifier itself.
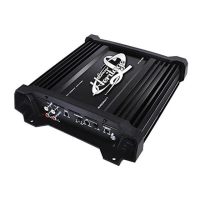
The rear panel of the amplifier features several controls and connections designed for optimal system integration and performance. The Line Out RCA Jacks are a particularly useful feature for building multiple amplifier systems. Instead of requiring splitter cords, users can simply bring one set of RCAs into the first amplifier and then use the line-out RCA jacks to feed the signal to subsequent amplifiers, simplifying wiring and maintaining signal integrity. The Line Input RCA Jacks are dedicated inputs for signal cables from the source unit, and it is recommended to use high-quality shielded RCA cables for these connections to minimize interference.
Input Level Controls allow for precise matching of the amplifier's input levels to the output levels of the head unit or other signal sources, ensuring optimal signal-to-noise ratio and preventing distortion. The Phase Shift control is another critical feature, enabling users to adjust the subwoofer's phase from 0 to 180 degrees. This helps compensate for timing differences between drivers, ensuring that the subwoofer's output aligns acoustically with the rest of the audio system, resulting in a more coherent and impactful bass response. The amplifier also includes a Bass Boost Remote Control Input, which works in conjunction with the remote gain control to allow for on-the-fly adjustments to bass intensity.
For system status monitoring and protection, the amplifier features Power & Protection Indicators. These indicators provide instant feedback on the amplifier's operational status, including alerts for short-circuit and thermal overload conditions, helping users quickly identify and address potential issues. The Speaker Terminals are robust, chrome-plated connectors designed to accept a wide range of wire gauges, from 26 to 8 gauge. Proper polarity must be observed when connecting speaker cables to ensure correct operation and prevent damage.
In terms of maintenance and troubleshooting, the manual provides comprehensive guidance. If the amplifier fails to power up, users are advised to check for a good ground connection, verify that the remote DC terminal has at least 13.8V DC, confirm battery power on the + terminal, and inspect all fuses. It's also important to ensure that the Protection LED is not lit; if it is, a brief shutdown and repower might resolve the issue.
For issues like high hiss or engine noise (alternator whine) in the speakers, the troubleshooting steps suggest disconnecting all RCA inputs to the amplifier. If the noise disappears, the problem lies with the component driving the amplifier. The manual emphasizes setting the amplifier's input level as low as possible to achieve the best subjective signal-to-noise ratio, driving as high a signal level from the head unit as possible.
If the Protection LED illuminates when the amplifier is powered up, users should check for shorts on speaker leads, ensure the head unit's volume control is turned down low, and remove speaker leads before resetting the amplifier. If the LED remains on, the amplifier itself may be faulty.
Overheating is addressed by advising users to check that the minimum speaker impedance for the specific model is correct, inspect for speaker shorts, and ensure adequate airflow around the amplifier. In some cases, an external cooling fan might be necessary.
For distorted sound, the recommendations include verifying that the Level control(s) are set to match the head unit's signal level, confirming that all crossover frequencies are properly set, and checking for shorts on the speaker leads. Finally, high squeal noise from speakers is almost always attributed to a poorly-grounded RCA patch cord, highlighting the importance of proper grounding for all audio components.
The amplifier also supports Bridged Mode, allowing two amplifiers of the same model number to be bridged together for increased power output. This feature provides flexibility for users looking to maximize their system's performance. Installation precautions include carefully investigating the vehicle's layout before drilling, securing all components to prevent damage in accidents, and ensuring adequate ventilation for the amplifier. It is crucial to disconnect the vehicle battery before making or breaking power connections and to replace fuses only with identical types and ratings to avoid damaging the system.
| Channels | 1 |
|---|---|
| Max Power | 2600W |
| Signal to Noise Ratio | >95dB |
| Input Sensitivity | 200mV-6V |
| Operating Voltage | 14.4V |
| Input Impedance | 10k Ohms |
| Frequency Response | 10Hz - 250Hz |
| Subsonic Filter | 15Hz - 40Hz |
| Bass Boost | 0dB - 18dB |
| Damping Factor | >200 |