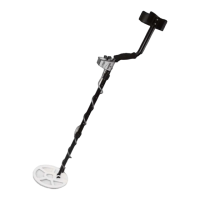
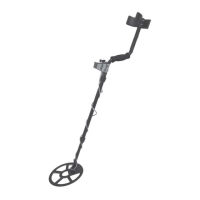
LASER RAPIER II OPERATOR INSTRUCTION MANUAL
Pinpoint Mode and check the target response sound. If the response is
weak, it may well be a deep, good target. But if the response is very
strong, it is probably trash. Note that a coin close to the surface can give
a double beep sound, but it is regular and repeatable. Raising the coil an
inch or two will restore the single beep on surface targets.
When searching in the Discriminate Mode, it is best not use a
higher DISC LEVEL setting than necessary. Nickels and most smaller
rings are rejected when the DISC LEVEL is set to reject pull tabs on any
metal detector that is a TR Discriminator like the Rapier II. If you don’t
dig any junk at all, you are surely passing up a lot of good finds as well.
Set the DISC LEVEL only high enough to suit the conditions where you
are searching. If there is any doubt whether a target is good or not, dig
it.
Pinpointing a target
Pinpointing a target in Discriminate Mode is probably best done
by “X-ing” as well. Remember that the detector will beep just as the tar-
get passes under the center of searchcoil Slowing the sweep speed down
will help you pick out the center of the X because the target response is
reduced at very slow speeds making it easier to correlate the sound with
the coil center.
Another easy method is to sweep the coil from side to side across
the target in very short sweeps as you slowly move forward and back-
ward across the target. Slow down the sweep rate and shorten the sweeps
until you just barely get a response at one spot. The target will be di-
rectly below the coil center at this response time.
Another method of pinpointing in Discriminate Mode is to
quickly change to Pinpoint Mode to check the target response. Remem-
ber that Pinpoint Mode is not susceptible to the false signals of Dis-
criminate Mode and can sometimes give a clearer and more consistent
response to difficult targets such as a dime buried next to a pull tab. By
switching back and forth between modes and comparing the target re-
sponse sound in Pinpoint to the target response sound in Discriminate,
you can often better identify the likely location of the target. The
QuickCheck PINPOINT Push-button allows you to do this easily and
without looking away from the ground at your controls.
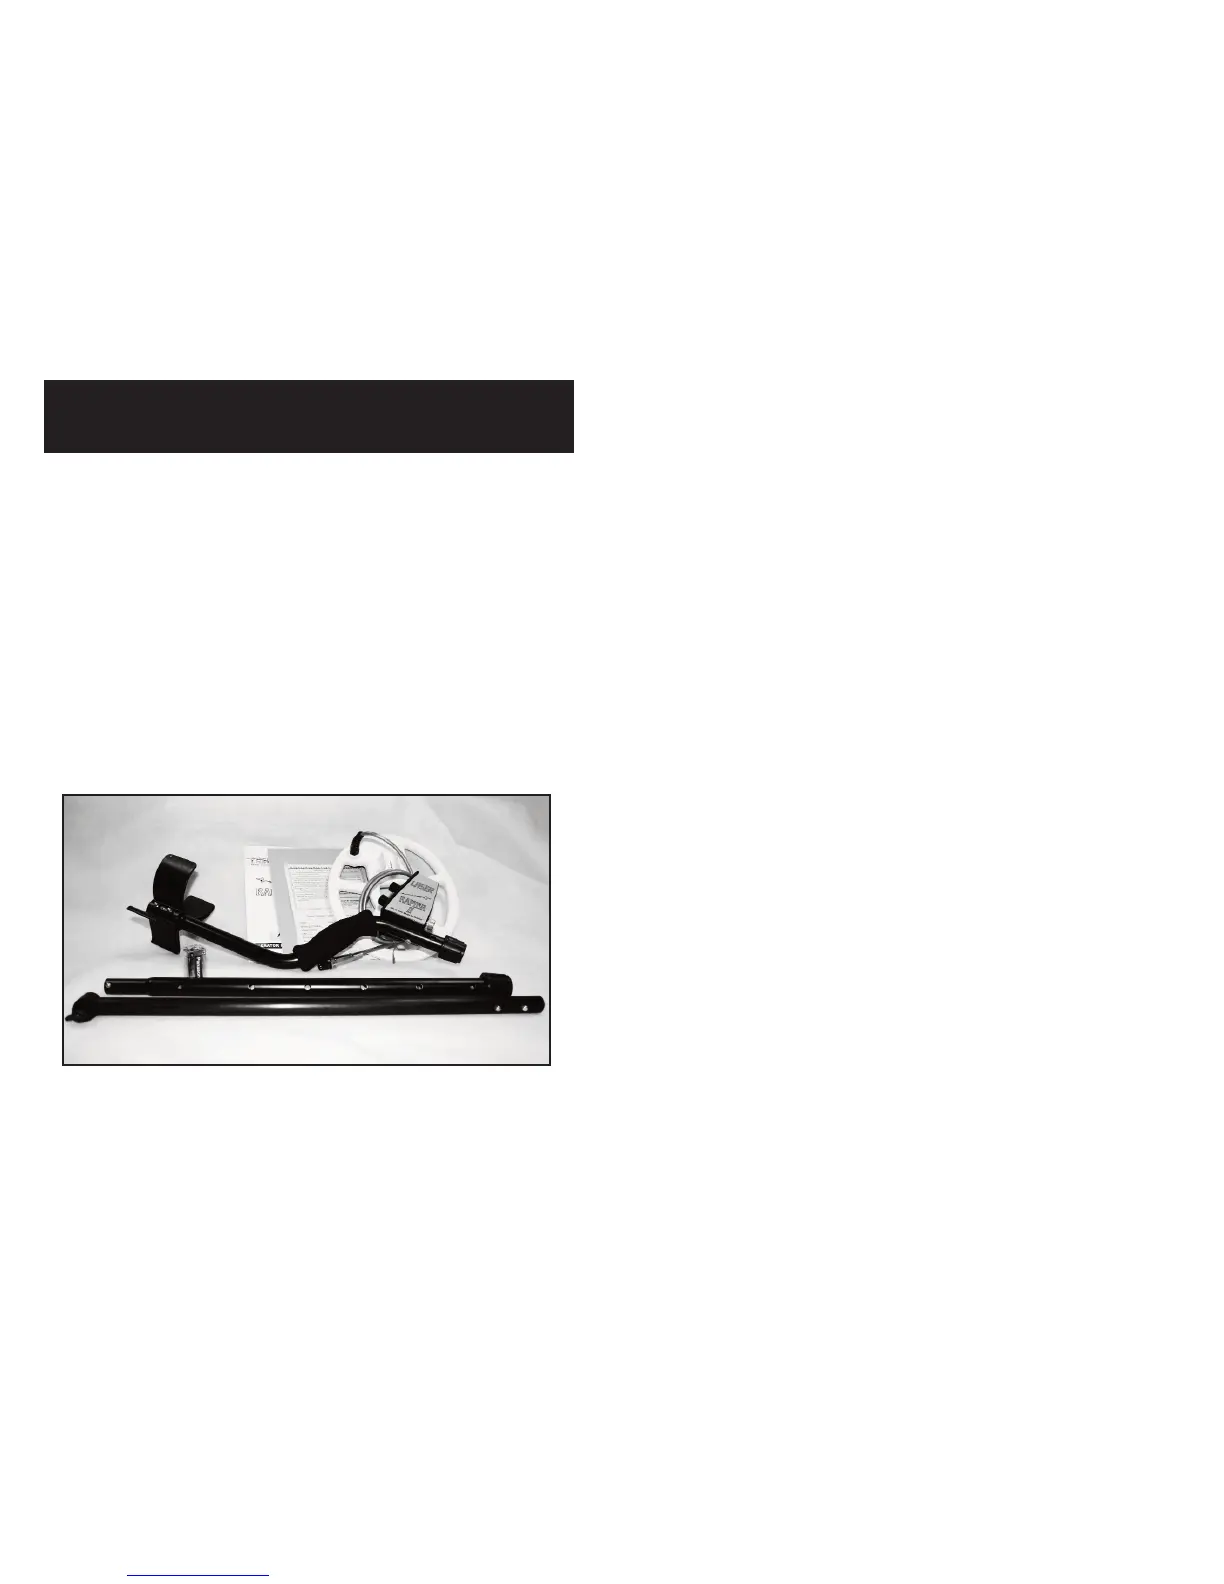
Your Rapier II was shipped with these parts:
1 Upper Pole Assembly
Fully assembled, including upper pole stem with handle grip,
padded arm bracket and control housing.
1 Middle Pole Assembly With Pole Lock
1 Lower Pole Assemby
Fully assembled with nylon pole tip complete with two friction
washers, wingbolt, and thumb nut.
1 9”x8”round concentric searchcoil with 3’ cable
1 9-volt alkaline battery
1 Operator Instruction Manual
If any of these items are missing, contact the Laser Authorized
Dealer where you purchased your detector immediately.
Assembly of the Rapier II is simple and requires no special tools.
Just install the battery, mount the searchcoil on the lower pole assembly,
connect the two pole assemblies together, wrap the excess cable around
the pole and plug the cable into the control housing. Finally, adjust the
pole length and searchcoil angle and you’re ready!
19
6
GETTING STARTED
UNPACKING THE BOX
OPERATING TECHNIQUES
 Loading...