Pinpointing a Target
When pinpointing a target, the ALL METAL Mode can offer advan-
tages over the DISCRIMINATE Mode, such as no false signals and no
need to move the searchcoil to get a target response.
A good method for pinpointing in ALL METAL Mode is “X-ing” the
target with the searchcoil. Remember that the target’s response sound is
always greatest when the target is directly under the center of the search-
coil. To “X” a target, sweep the searchcoil over the target from side to side
and then from front to back until you can identify the center of the X- the
spot on the ground where the target response sound is the greatest.
Pinpointing a target in DISCRIMINATE Mode is probably best done
by “X-ing” as well. Remember that the detector will beep just as the target
passes under the center of the searchcoil. Slowing the sweep speed down
will help you pick out the center of the X because the target response is re-
duced at very slow speeds making it easier to correlate the sound with the
coil center.
Another easy method is to sweep the coil from side to side across
the target in very short sweeps as you slowly move forward and backward
across the target. Slow down the sweep rate and shorten the sweeps until
you just barely get a response at one spot. The target will be directly below
the coil center.
Another method of pinpointing in the DISCRIMINATE Mode is to
quickly change to the ALL METAL Mode to check the target response.
Remember the ALL METAL Mode is not susceptible to the false signals of
the DISCRIMINATE Mode and can sometimes give a clearer and more
consistent response to difficult targets such as a dime buried next to a
pulltab. By switching back and forth between modes and comparing the
target response sound in all metal to the target response sound in discrim-
inate, you can often better identify the likely location of the target.
Finally, by raising the searchcoil during pinpointing can also help to
narrow the response to the target. Practice pinpointing often, and you will
soon become more accurate and faster.
The Quickstart is designed to teach you how to use your new
Trident I. It provides a quick and easy means of learning your detector and
the concepts behind all of the functions.
You will need the following items:
1) Your fully assembled Trident I.
2) An iron target (a small nail or screw will do), a 5 pence, a 2 pence,
and a couple of different pull tabs.
3) A nonmetal tabletop or counter.
Here’s what you will do
:
1) Perform Audio Battery Test.
2) Adjust THRESHOLD.
3) Adjust SENSITIVITY.
4) Perform Air Test in DISC Mode.
5) Perform Air Test in PINPOINT Mode.
6) Super Tune Your Trident I.
7) Adjust FREQ Switch.
Prepare for the Quickstart
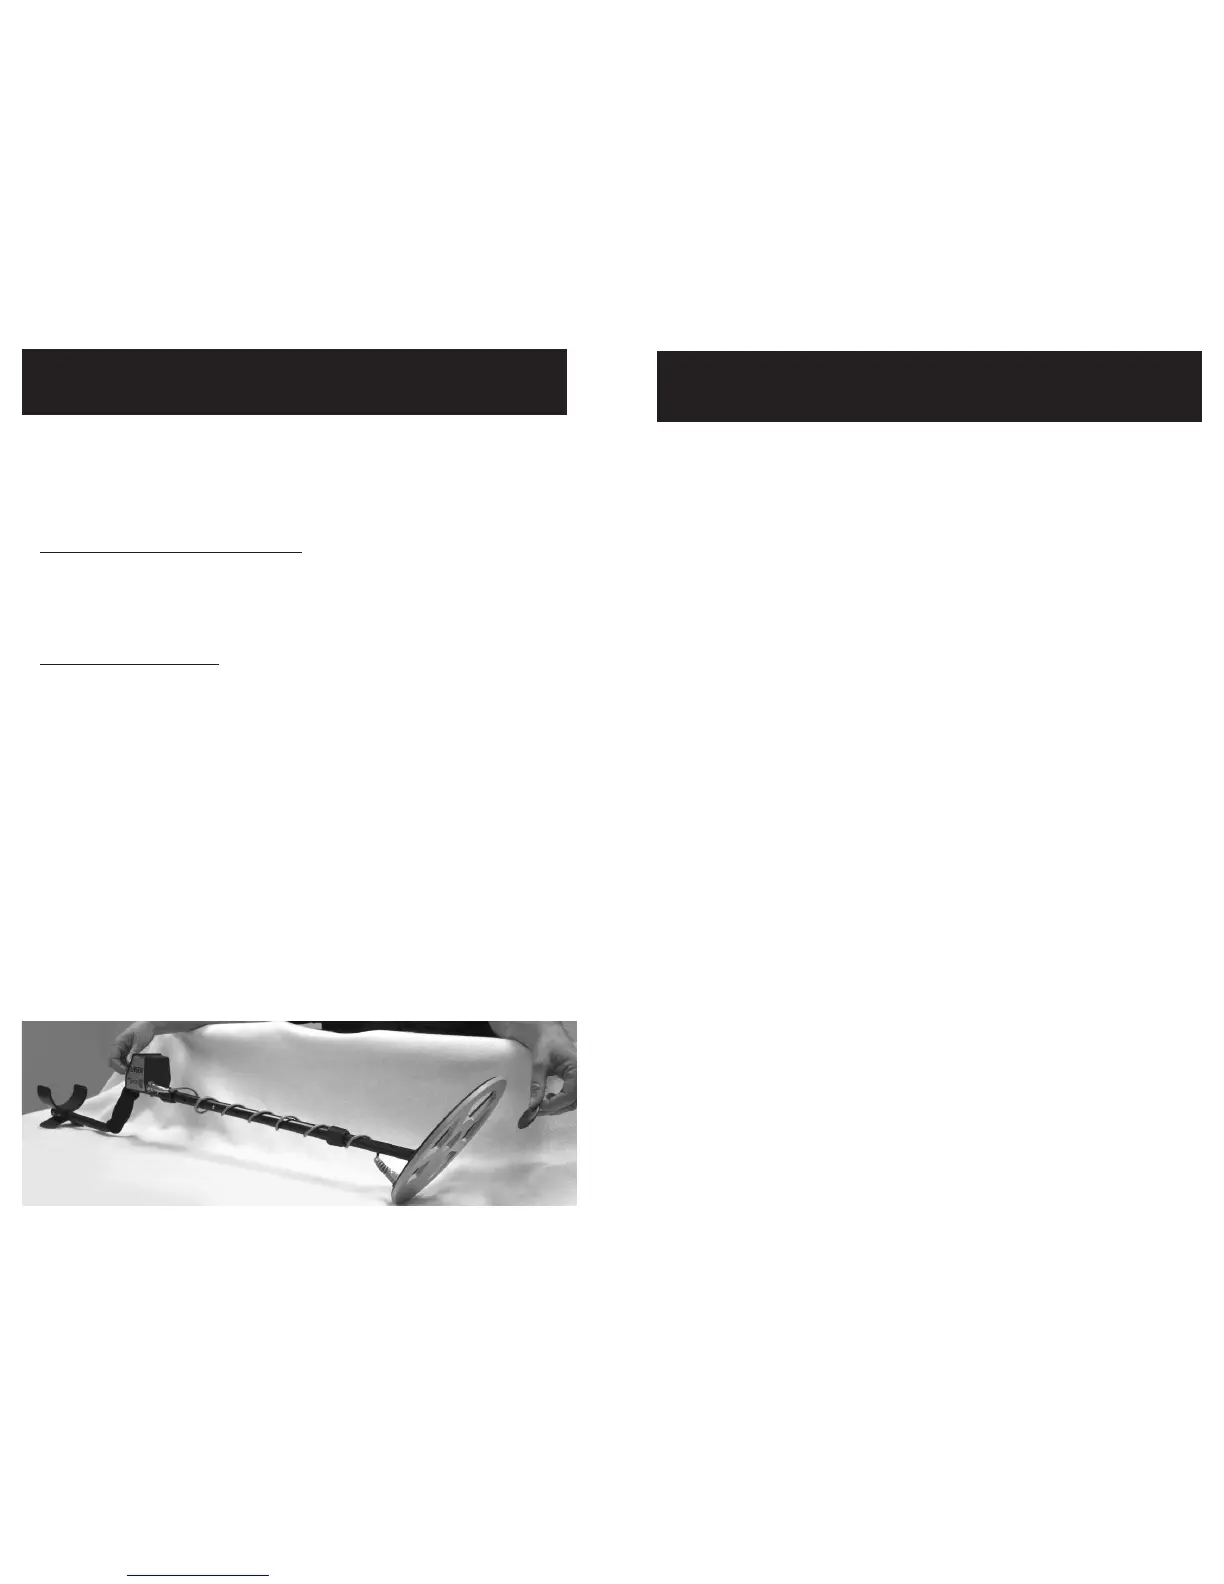
Place your assembled Trident I on the nonmetal surface. Make sure
that there are no metal objects near the coil and remove any jewelry from
your hands and wrists.
QUICKSTART
SELF-GUIDED TUTORIAL
OPERATING TECHNIQUES
FIELD USE
6 TRIDENT I OPERATIOR INSTRUCTION MANUAL
OPERATING TECHNIQUES 15