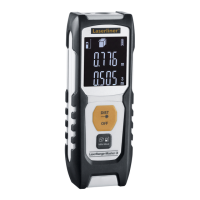
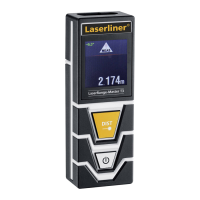
08
2
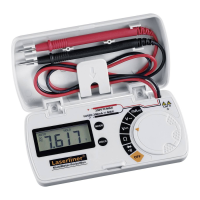
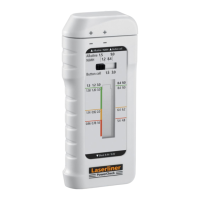
a b c
e
d
f
1 3 4
C / AAAAA D
5 62
3
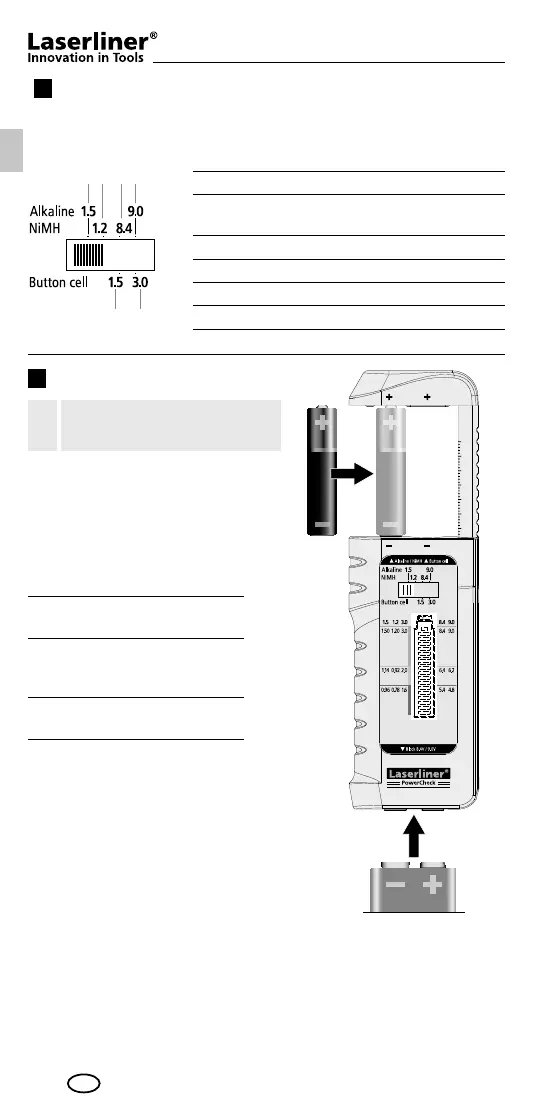
a 1.5V round cells (AA, AAA, C, D)
b 1.2V round cells (NiMH)
(AA, AAA, C, D)
c 8.4V at cells (NiMH) (E-block)
d 9.0V at cells (E-block)
e 1.5V button cell (small)
f 3.0V button cell (small / large)
GB
To check battery charge
Open the battery holder and insert
battery corresponding to the +/-
symbols or place block batteries
on the contacts 3a and 3b. Be
sure to pay attention to polarity.
3-colour display scale
Good (green): battery
fully charged
Weak (orange): battery is
weak and will soon need
replacing
Replace (red): battery is at
and should be replaced
Refer to Point 2
„To set battery type“.
!
To set battery type
The switch (4) must be set to the corresponding position depending
on the type of battery.
 Loading...