LM800 - LM800GR • 7
1 Glass Enclosed
2 Self-Leveling (with ±5º) Rotary Laser
Beam
3 Anti-Drift System LED Indicator
4 Manual Mode LED Indicator
5 Battery Level LED Indicator
6 Remote Sensor eye
7 Top Cage with Gun Sight with “X” &
“Y” Identifiers
8 Heavy-Duty Handle – Built-in Trivet
(LM800 only) for Laydown and
Vertical Jobs with 5/8- 11 Tripod
Threads
9 Down Plumb Beam (LM800 only)
6 • LM800 - LM800GR
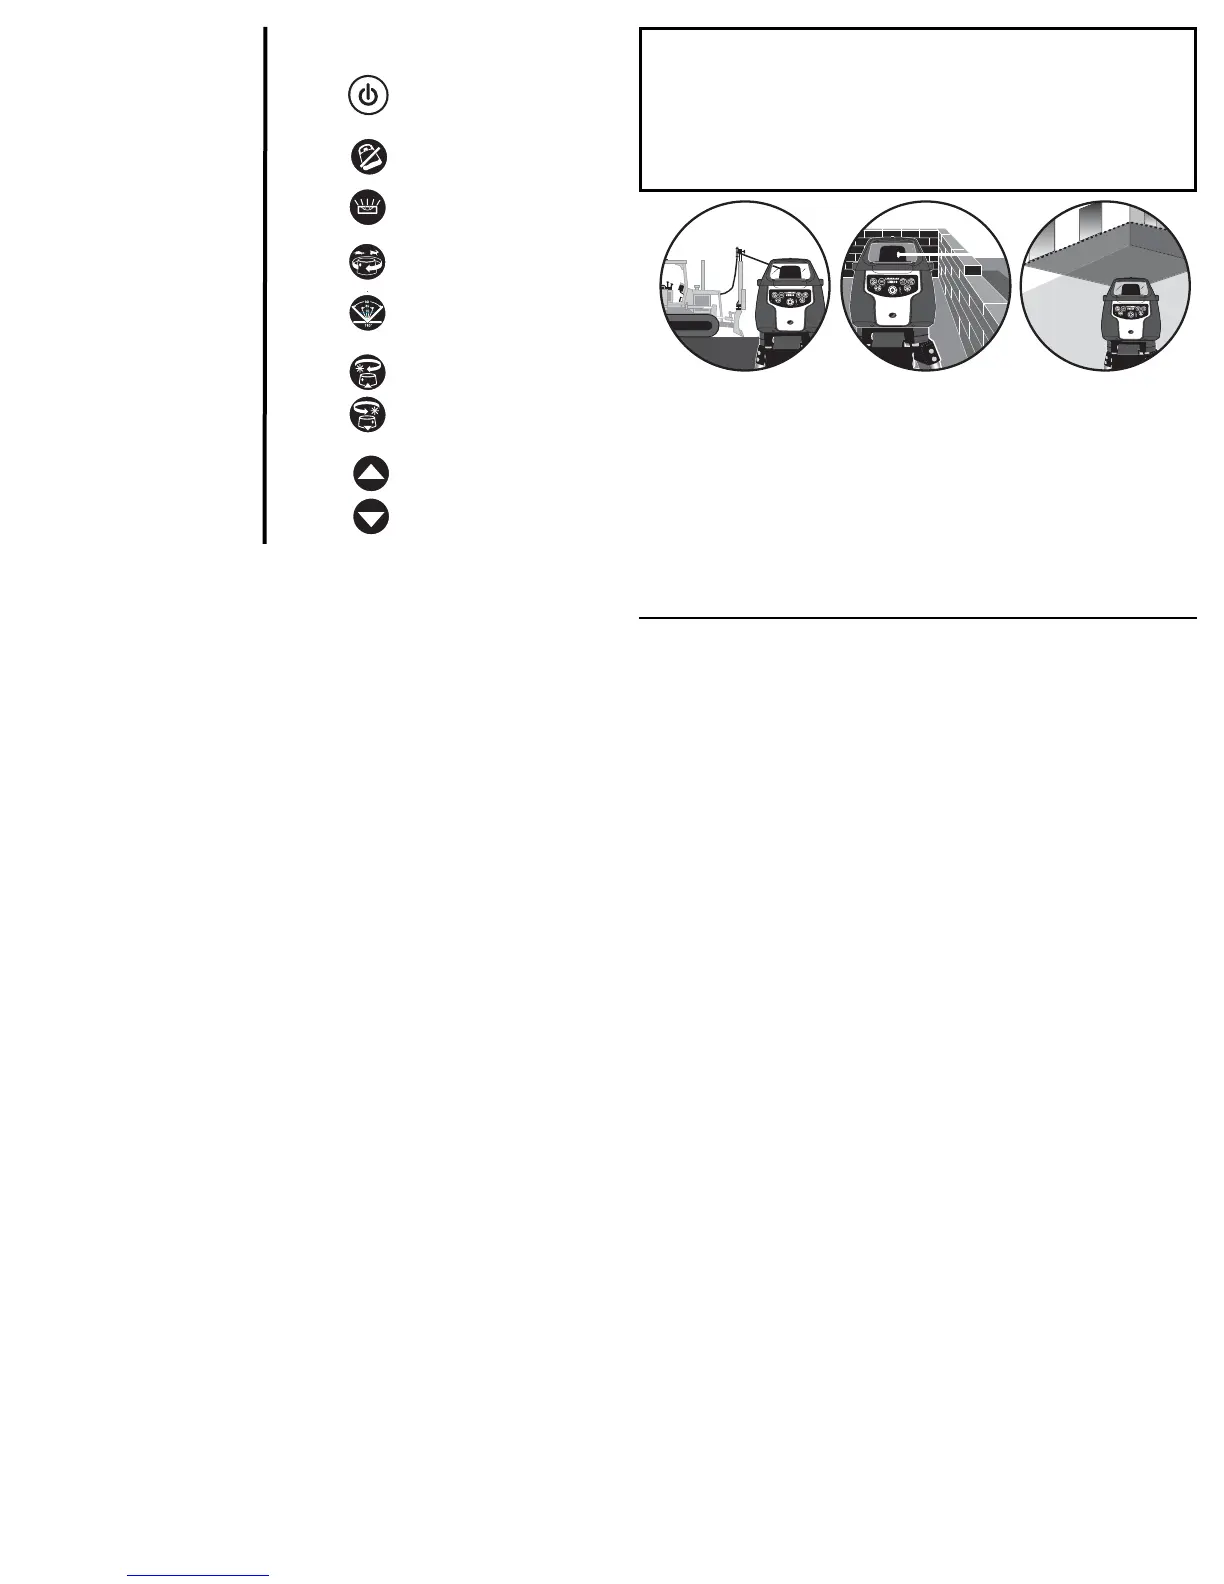
APPLICATIONS
Use your LM800 Series Self-Leveling Laser for many projects including:
Outdoor General Construction Applications & Site Preparation, Grading & Excavating,
Batterboards and Foundations, Masonry Work, Setting Concrete Forms, Machinery
Installation, Marking Elevation, Septic Work, Paving Roads, Driveways, Checking Depth of
Trenches.
Drop Ceiling Installation, Floors, Cabinets & Shelves, Carpentry, Pools, Decks & Patios,
Flagpoles, Aligning 90° Joints & Edges, Landscaping, Tile Work, Septic Work, Plumbing,
Batterboards, Fencing, Walls & Partitions, Remodeling, Siding Installation, Doors & Windows.
Operating Instructions for General Construction Applications
Note: A level plane of laser light is created by the rotating beam of the laser. The laser light can be
used to reference elevations with the use of a laser detector.
1. Place the instrument on a flat, level surface such as a tripod. Setup the instrument in an
area where it can not be obstructed and is set at a convenient height.
2. Press the “A” button. Allow the instrument to self-level.
3. Setup a "Benchmark".
Note: Setup a Benchmark
During the work day, periodically check your initial set-up to ensure that the laser reference has
not moved.
Establish, at a suitable distance (furthest possible), a benchmark (reference) on a stable surface
(ie. tree, building). Periodically during the work day, check the benchmark to ensure that your
setup has not moved.
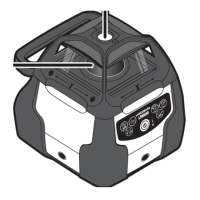
Power Button (Allow 60
seconds for instrument to self-
level)
For LM800 – Use also to
activate the Plumb Down Beam
ADS Button– Anti-Drift System
ON | OFF
Manual Mode/Automatic Level
Button
Variable Rotation Button– 4
Speed Selections (LM800 Only)
Sweep Button– 4 Preset
Scanning/ Angles and spot.
(LM800 Only)
CW and CCW Button
Clockwise andCounter- Clock-
wise Head Positioning (Press
and Hold Button Moves the
Rotation More Quickly
For LM800– Use also during
Grade Mode.
Manual Grade Adjustment
Buttons
(LM800 GR Only)
ICONS
Reference in
the text