Do you have a question about the Launch Creader Professional 123 Series and is the answer not in the manual?
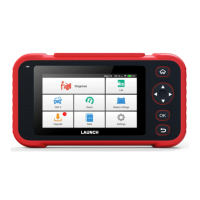
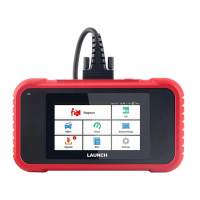
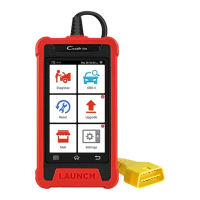
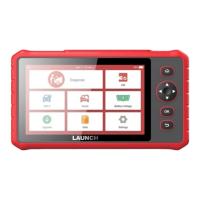
Physical components of the diagnostic tool, including ports and buttons like DB-15, charging port, and touch screen.
Explains the two methods for charging the tool: via charging cable or diagnostic cable.
Instructions on how to turn on the Creader Professional 123X using the power button.
Steps for initial setup including language, time zone, and email configuration.
Advises users to update the software for enhanced capabilities and service.
Guides users to find the Data Link Connector (DLC) on the vehicle, typically 16-pin.
Details on connecting the diagnostic cable to the tool and the vehicle's DLC.
Explains the options for AutoDetect and manual diagnosis modes.
Provides a visual guide for the AutoDetect diagnostic process.
Outlines the steps for performing manual vehicle diagnosis.
Describes how VIN input leads to automatic vehicle identification and diagnosis.
The Creader Professional 123X is a diagnostic tool designed to assist in vehicle maintenance and troubleshooting. It features an 8-inch touch screen for user interaction and a robust set of connectors and buttons for various functions.
The primary function of the Creader Professional 123X is to diagnose vehicle issues by connecting to the vehicle's Data Link Connector (DLC). It supports both AutoDetect and manual diagnosis modes, allowing flexibility based on the user's preference or the vehicle's compatibility.
In AutoDetect mode, the tool attempts to automatically identify the vehicle's VIN (Vehicle Identification Number) upon connection. If successful, it proceeds with an auto-diagnosis and generates a diagnostic report. This mode is particularly useful for quick and efficient troubleshooting. The system will automatically obtain the correct network date and time if properly connected to the Internet. After configuration, the system automatically sends diagnostic reports to the user's email address every time a complete Auto-Detect process is successfully finished.
In manual diagnosis mode, the user can manually select the vehicle manufacturer, make, test system, and diagnostic function. This mode is beneficial when the AutoDetect function fails or when the user prefers a more guided diagnostic process. A "DEMO" option is available for new users to familiarize themselves with the diagnostic process.
The device also supports software updates, which are strongly recommended to ensure access to the latest capabilities and services. This helps keep the diagnostic software synchronized with the latest vehicle models and diagnostic protocols.
| Brand | Launch |
|---|---|
| Model | Creader Professional 123 Series |
| Category | Diagnostic Equipment |
| Language | English |