26
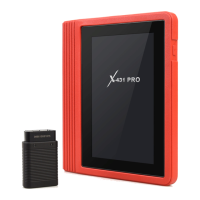
FX9000 User Manual
Note: To detect more and accurate VINs, a stable network connection is
highly recommended for this function.
Caution: Don’t connect or disconnect any test equipment with ignition on
or engine running.
A. Once the system successfully obtains the VIN (Vehicle Identication Number)
information of the currently identified vehicle, it will continue scanning the
vehicle systems. After the scanning is complete, a diagnostic report will be
automatically generated and sent to your email box (if bound).
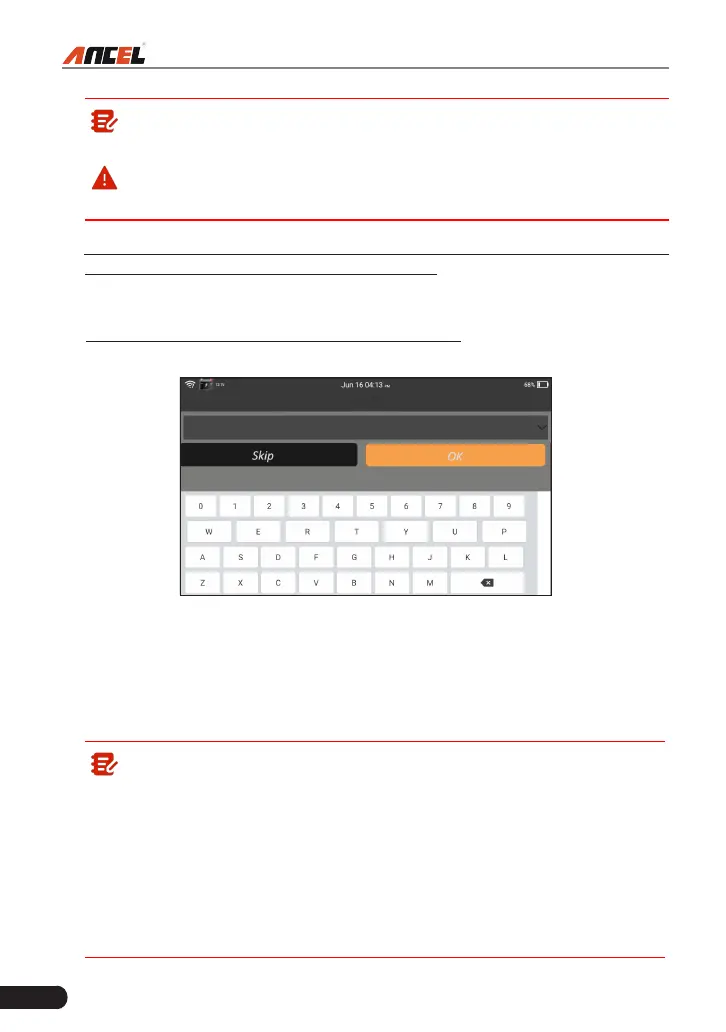
B. If the tool failed to access the VIN information, the screen will display a
interface for VIN input.
Fig. 5-2
Input the VIN, and tap “OK”, the system will automatically identify the vehicle
model. If the vehicle VIN is successfully decoded, it will perform auto-
diagnosis until a diagnostic report is automatically output. Otherwise it will
enter manual diagnosis mode. For details on manual diagnosis, see Chapter
5.2.2.
Note:
• The most recognizable location for this number is in the top left corner
on the vehicle’s dashboard. Other locations include the driver’s door
or post, and the rewall under the hood.
• In general, vehicle identification numbers are standardized - all
contain 17 characters. VIN characters may be capital letters A through
Z and numbers 1 through 0; however, the letters I, O and Q are never
used in order to avoid mistakes of misreading. No signs or spaces are
allowed in the VIN.