- 8 -- 7 -
EN
E
F
D
G
I
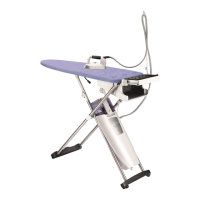
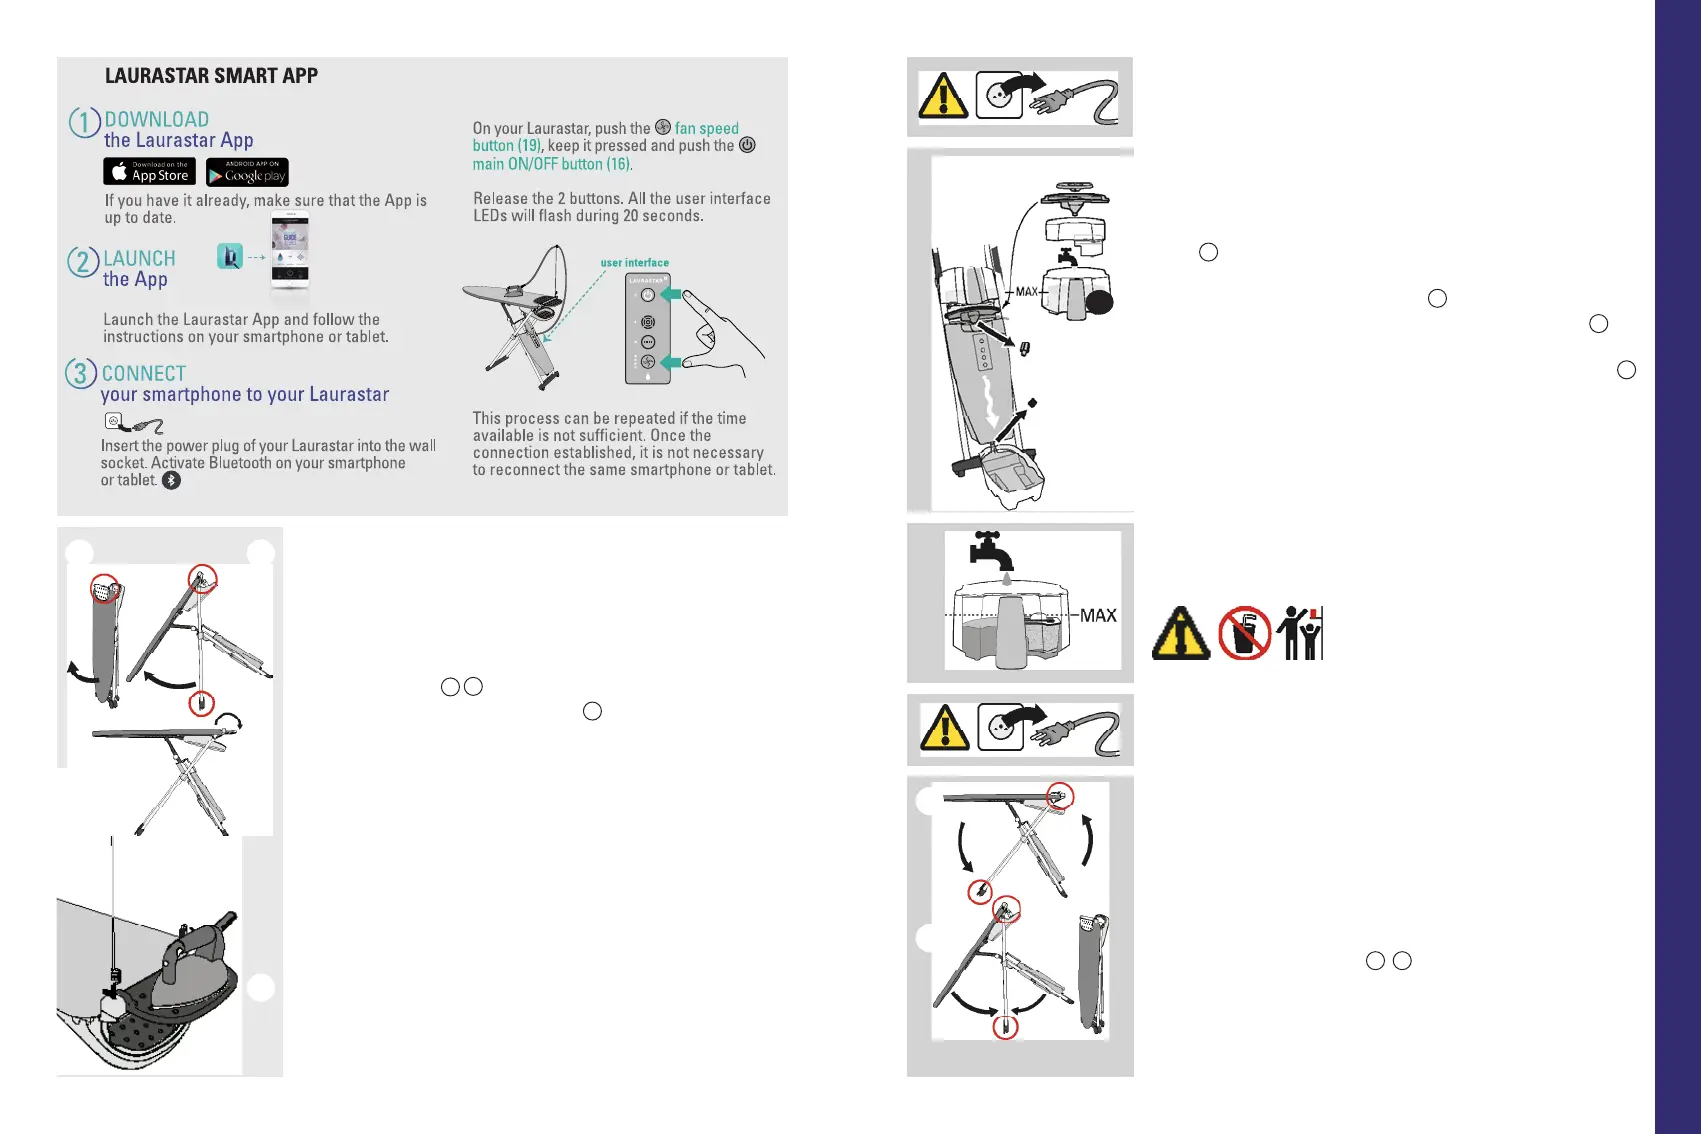
Preparing the appliance
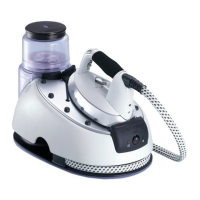
We recommend that you rinse out the steam generator (15) before using it
for the first time:
• Check that the plug (23) is disconnected from the mains socket.
• Set the ironing board (1) to its highest position, then remove the water
reservoir (11).
• Place the drain tray (14) beneath the drain cap (22).
• First unscrew the steam generator cap (21), then unscrew the drain cap
(22).
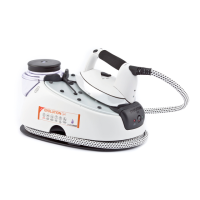
D
• Remove the small and the large lid (12) from the water reservoir. Remove
the filter compartment with the filter (13).
E
• Fill the water reservoir with warm tap water up to the MAX level.
F
• Position the large funnel shaped lid (12) at the place of the water reservoir (11)
on top of the steam generator (15) and place the water reservoir above it.
G
• Once all the water has flown through and the reservoir is empty, screw the
two caps in place again.
• Dispose of the water.
Which water should be used?
Your Laurastar has been designed for use with tap water. It is still absolutely
necessary to use the supplied anti-scale filter (13) in order to benefit fully
and longer from your Laurastar.
NOTICE: Never use additives (e.g.
perfumed water), water containing
chemical products or water from tumble
dryers as these products will have a
detrimental effect on the function of your
Laurastar.
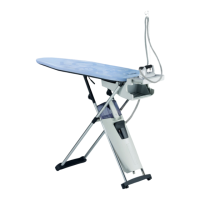
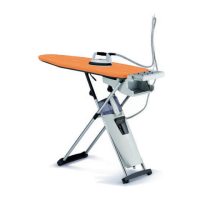
Storing your system
• To turn your appliance off, press the main ON/OFF button (16).
• Remove the power plug (23) and roll the electric cable around the feet of
the table. If your model has the automatic rewind, pull on the cable in order
to activate the rewind.
• Place the steam hose holder (8) horizontally in the hole designed for this
purpose.
• Place the iron in the iron safety storage box (5). Fold the iron-rest into the
“close” position on top of the table. Hold the table with one hand on the
iron rest side (6). With the other hand grasp the ironing board (1), tilt the
table into the vertical position.
H
I
• Store your system in a vertical position. You can leave the water in the
reservoir until the next usage.
• NOTE: if you store your system in a horizontal position, you must
empty the water reservoir (11).
H
A B
C
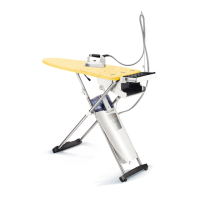
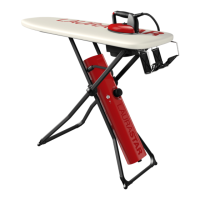
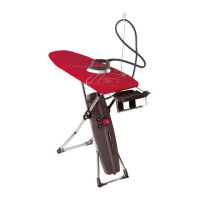
Installation and storage
Installing your ironing system
• Remove the appliance from the box and position it vertically on the ground
in a closed position.
• Hold the table with one hand on the iron rest side (6). Hold the middle
of the table (1) with the other hand and pivot it to a horizontal position
(maximum height).
A
B
• Unfold the iron-rest to the open position.
C
• Fit the ironing board cover (4), securing it from the side of the iron rest
to the tip of the ironing board, then adjust. The cover supplied with this
product is specially designed to ensure uniform distribution of air over the
whole board in vacuum or blower mode. Use only a Laurastar approved
cover to ensure that its effectiveness is not impaired. The cover is was-
hable at 30°C (warm water); do not spin dry.
• Take the iron (2) out of its safety storage box (5) and place it on the iron-
rest (6).
• You can fold the iron-rest into the close position (6a) if you desire.
• Insert the steam hose holder (8) in one of the two holes beside the iron-
rest (6), fix the steam hose on the steam hose holder (3a). Insert the
protective soleplate hook (28) in the other hole.
• You can lower the table height by clamping the handles (7). There are six
levels. To lift the table, simply pull it up without using the handles.
• To move your Laurastar, simply raise the tip of the board and roll.
 Loading...