Page 9
DOOR CLOSER HYDRAULIC REGULATION & POWER ADJUSTMENT
Fig. 9
LATCH SPEED
MAIN SPEED
BACKCHECK
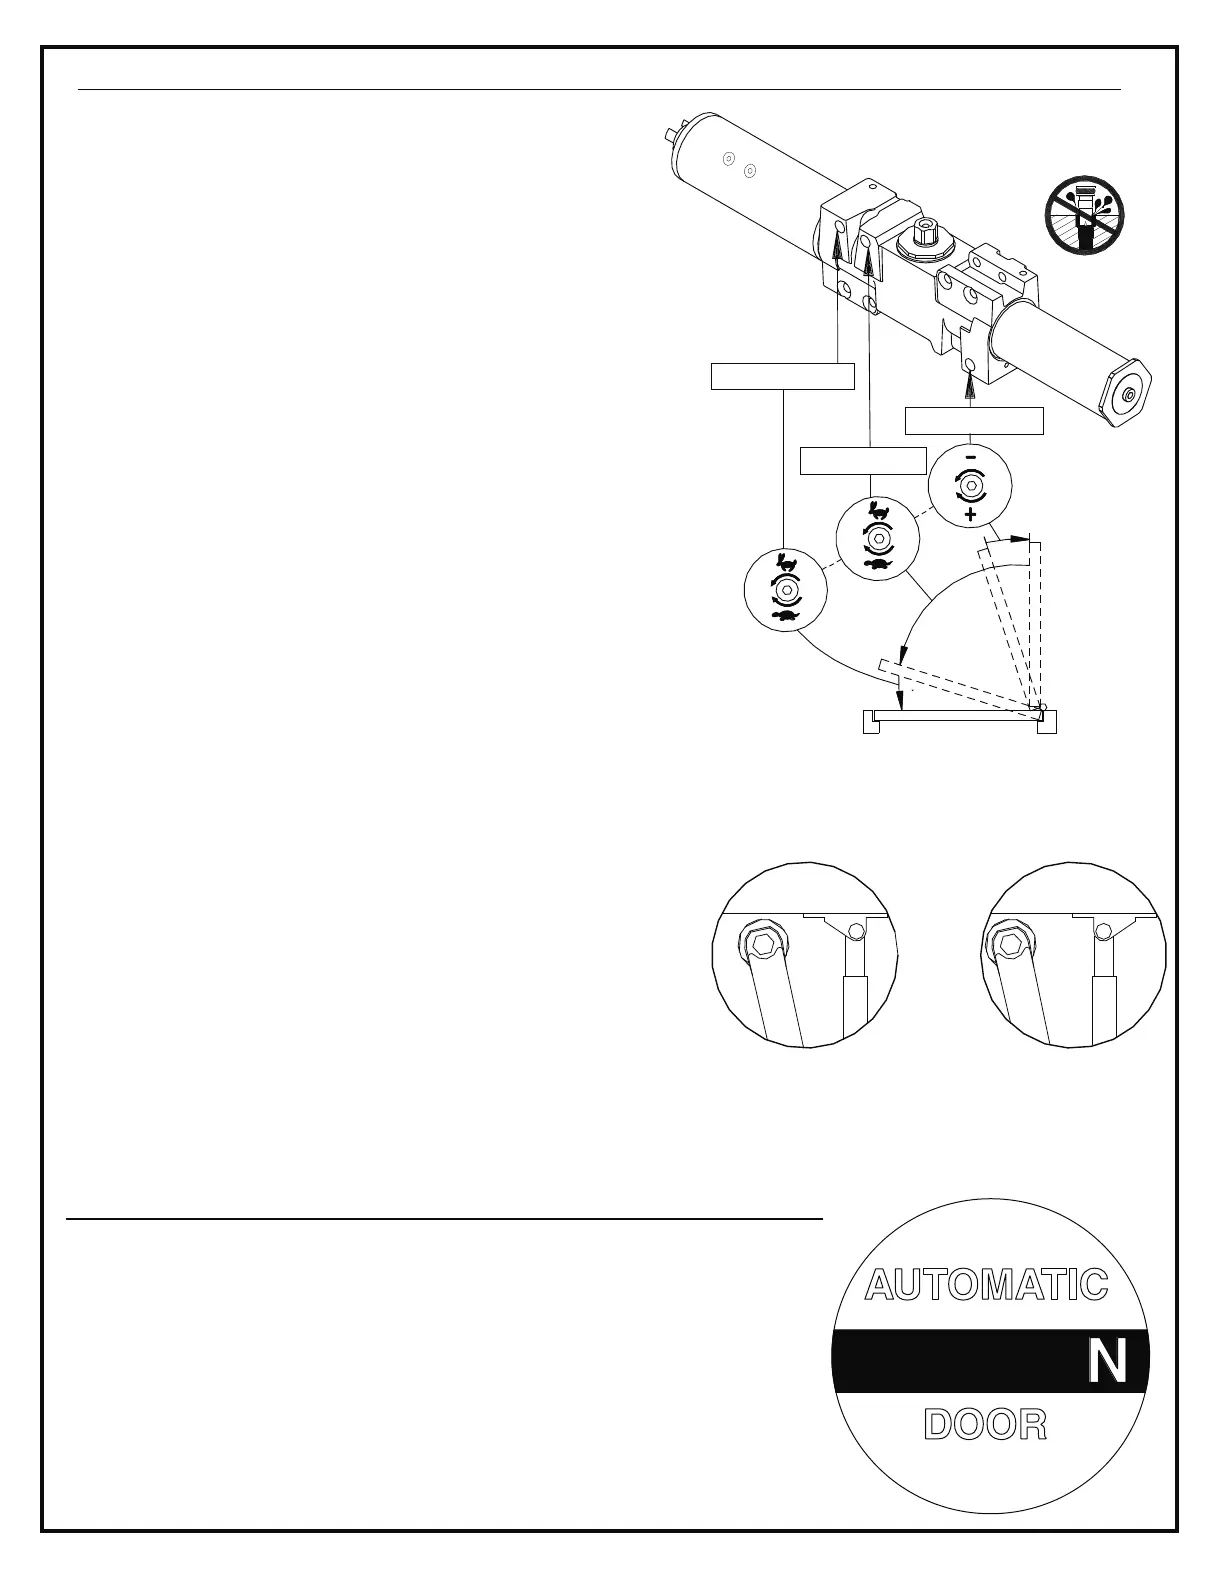
1. CLOSING SPEED ADJUSTMENT: Fig. 9
Fig. 9
MAIN SPEED & LATCH SPEED
MAIN LATCH SPEED
2. BACKCHECK ADJUSTMENT:
BACKCHECK
DO NOT USE AN
ABRUPT BACKCHECK SETTING.
FOR 4640 SERIES ONLY:
A.
B.
Fig. 10
C.
(See )
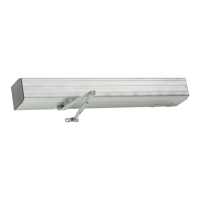
The hydraulic regulation of the 4600 series has
been adjusted prior to shipment. Open door to at
least 90°, and observe closing of door. Make sure
the spring power and closing speed are adequate.
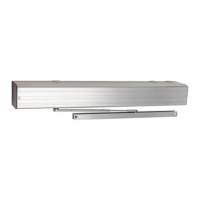
If adjustments are necessary, use 3/32 allen wrench
provided and refer to door diagram shown in .
Turn screws
clockwise to slow door speed, counter-clockwise
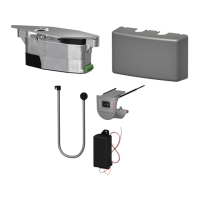
to increase speed. The installation of the controller
will make the and regulating
screws inaccessible.
Backcheck slows the door swing as it approaches
full opening. Increase the backcheck setting only if
necessary. Adjust by turning screw
clockwise by quarter turns.
To adjust for additional
closing power at latch:
Remove forearm set screw and open door,
separating rod from forearm tube.
Remove shoe screws and flip shoe 180° as
shown in at right. Re-attach shoe to
door.
Re-assemble arm, as in steps 3 & 4 on page 8.
NOTE: Do not back regulating
screws out of closer or an oil
leak will occur
For 4640 series only
Fig. 10
STANDARD
INSTALLATION
SHOE POSITIONED
FOR INCREASED
POWER AT LATCH
LOCATING CAUTION / AUTOMATIC DOOR DECAL
1.
2.
Locate one decal on each side of door, near latch area. Decal must
be located at 58" (+/- 5") from the floor to the center line of the sign.
The decal location must be visible without interference from door trim
or auxiliary door hardware.
Clean the 6" x 6" area where decal is to be placed. Apply decal by
removing the backing and "rolling" it onto door. This will help prevent
air bubbles from being trapped under decal.
AUTOMATIC
DOOR
CAUTION