Do you have a question about the Learn to Solder Kit Jitterbug and is the answer not in the manual?
Explains heating part lead and solder pad, then introducing solder for a strong joint.
Attaching the vibration motor to the PCB using wires and solder.
Securing the battery holder to the PCB with four soldering connections.
Placing and soldering LEDs, ensuring correct polarity and avoiding shorts.
Mounting the on/off switch and soldering its three connections.
Cutting and soldering wires to create the Jitterbug's legs.
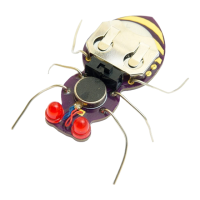
Inserting the battery, powering on, and testing the Jitterbug's movement.
| Brand | Learn to Solder Kit |
|---|---|
| Model | Jitterbug |
| Category | Toy |
| Language | English |